When building this MOC, I faced a couple of problems:
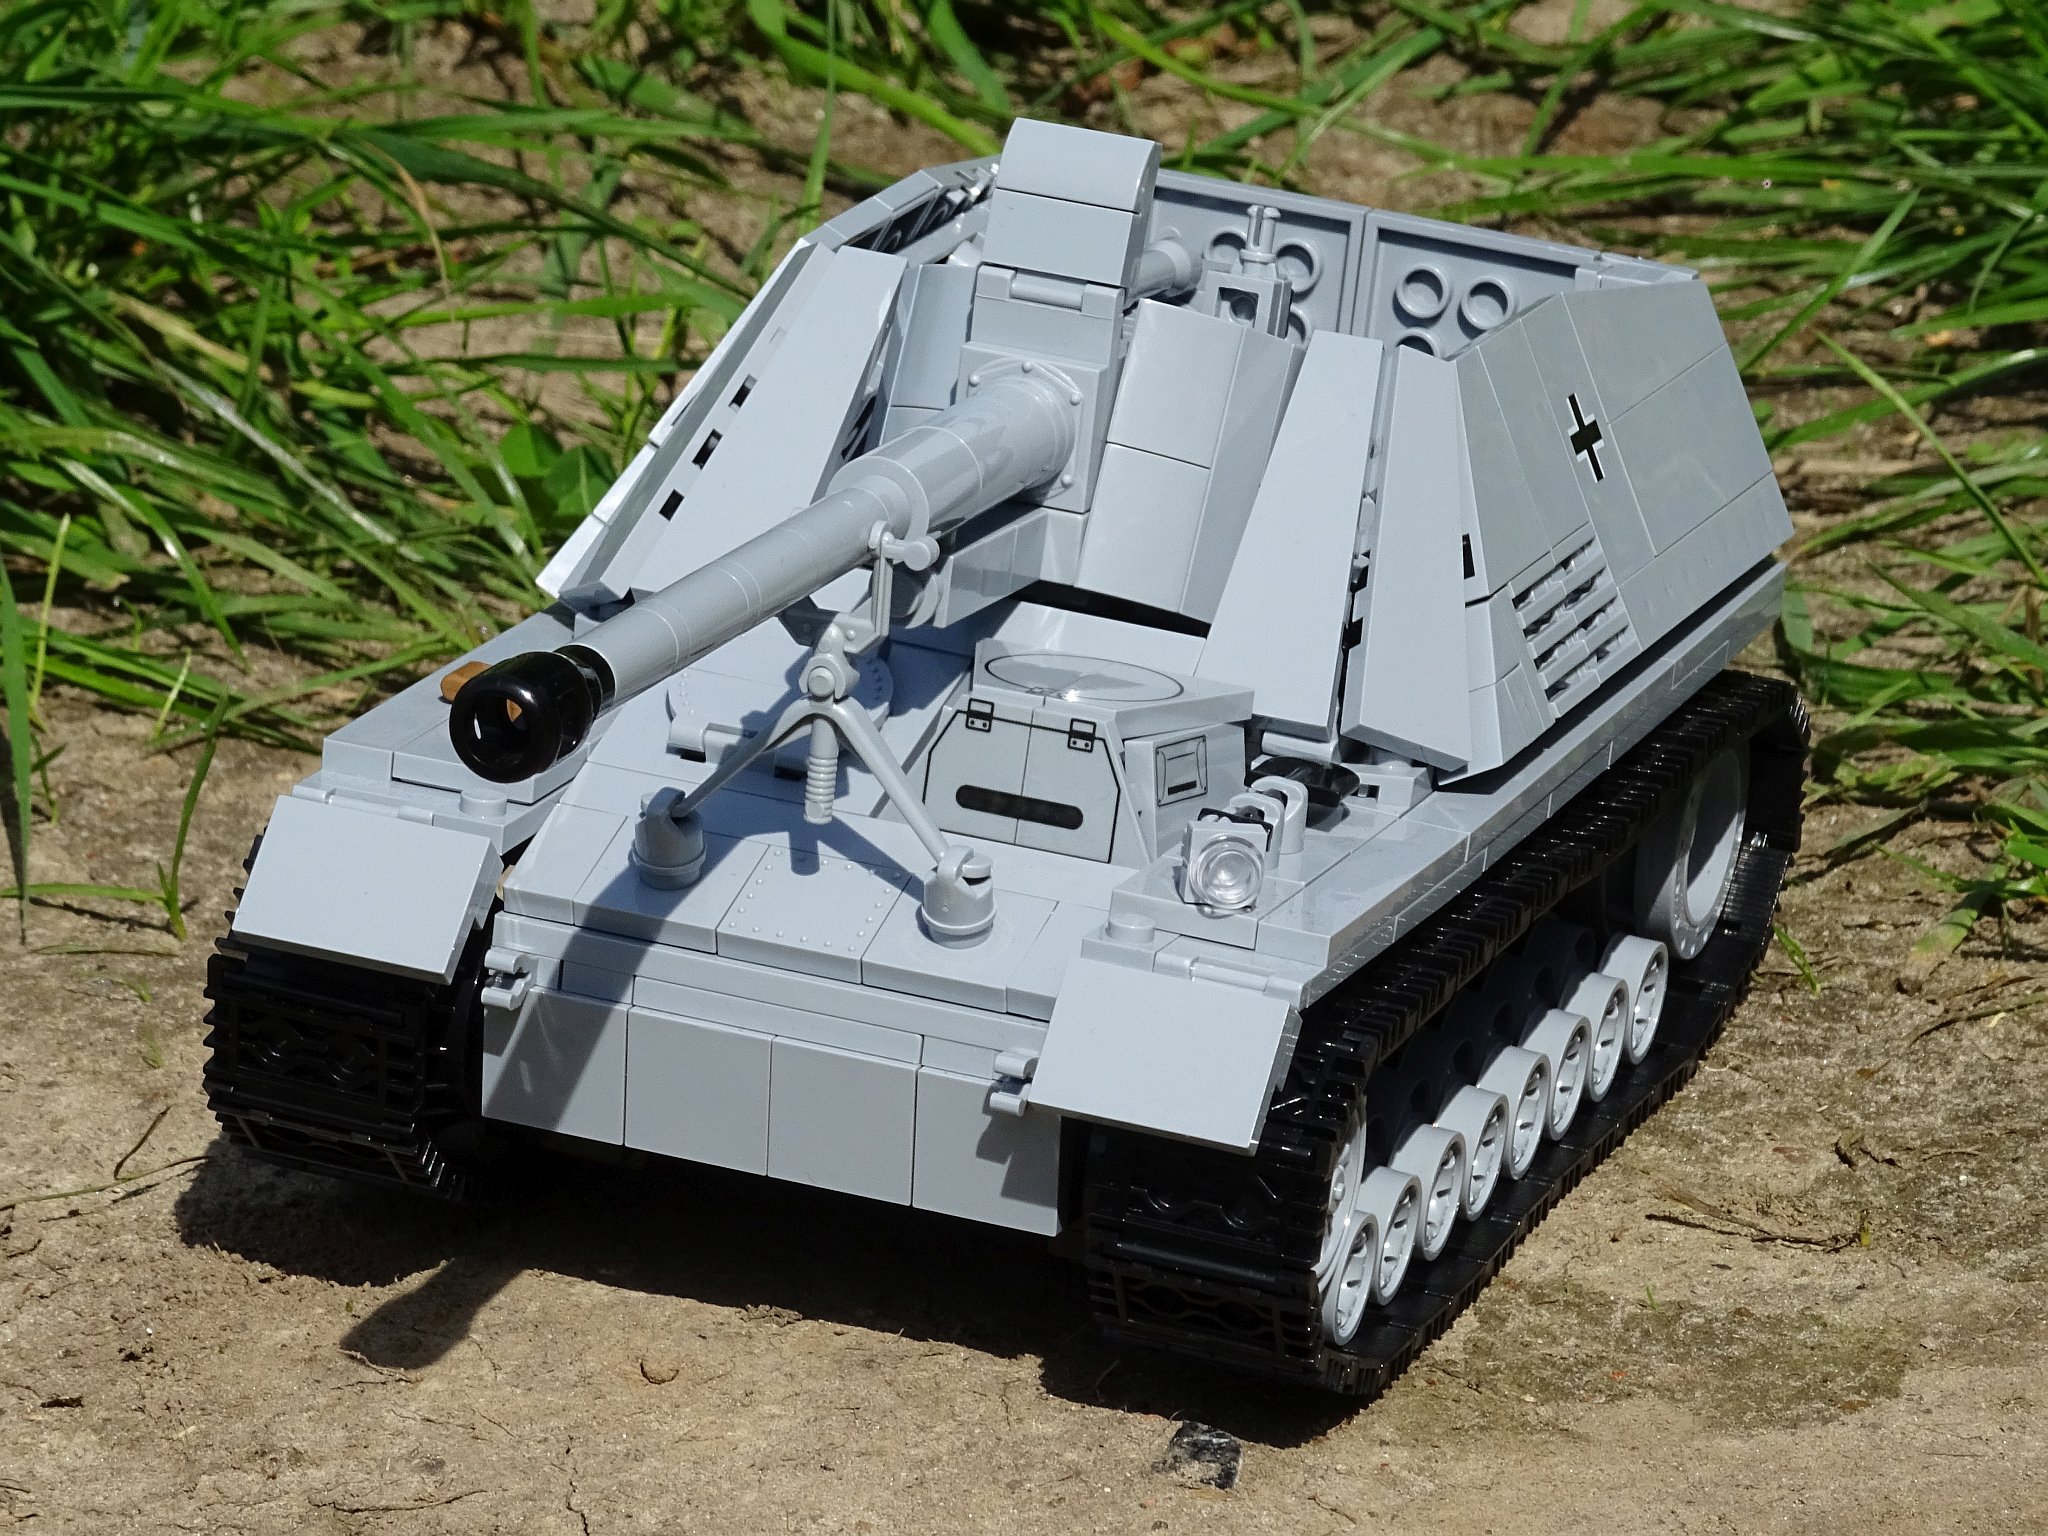
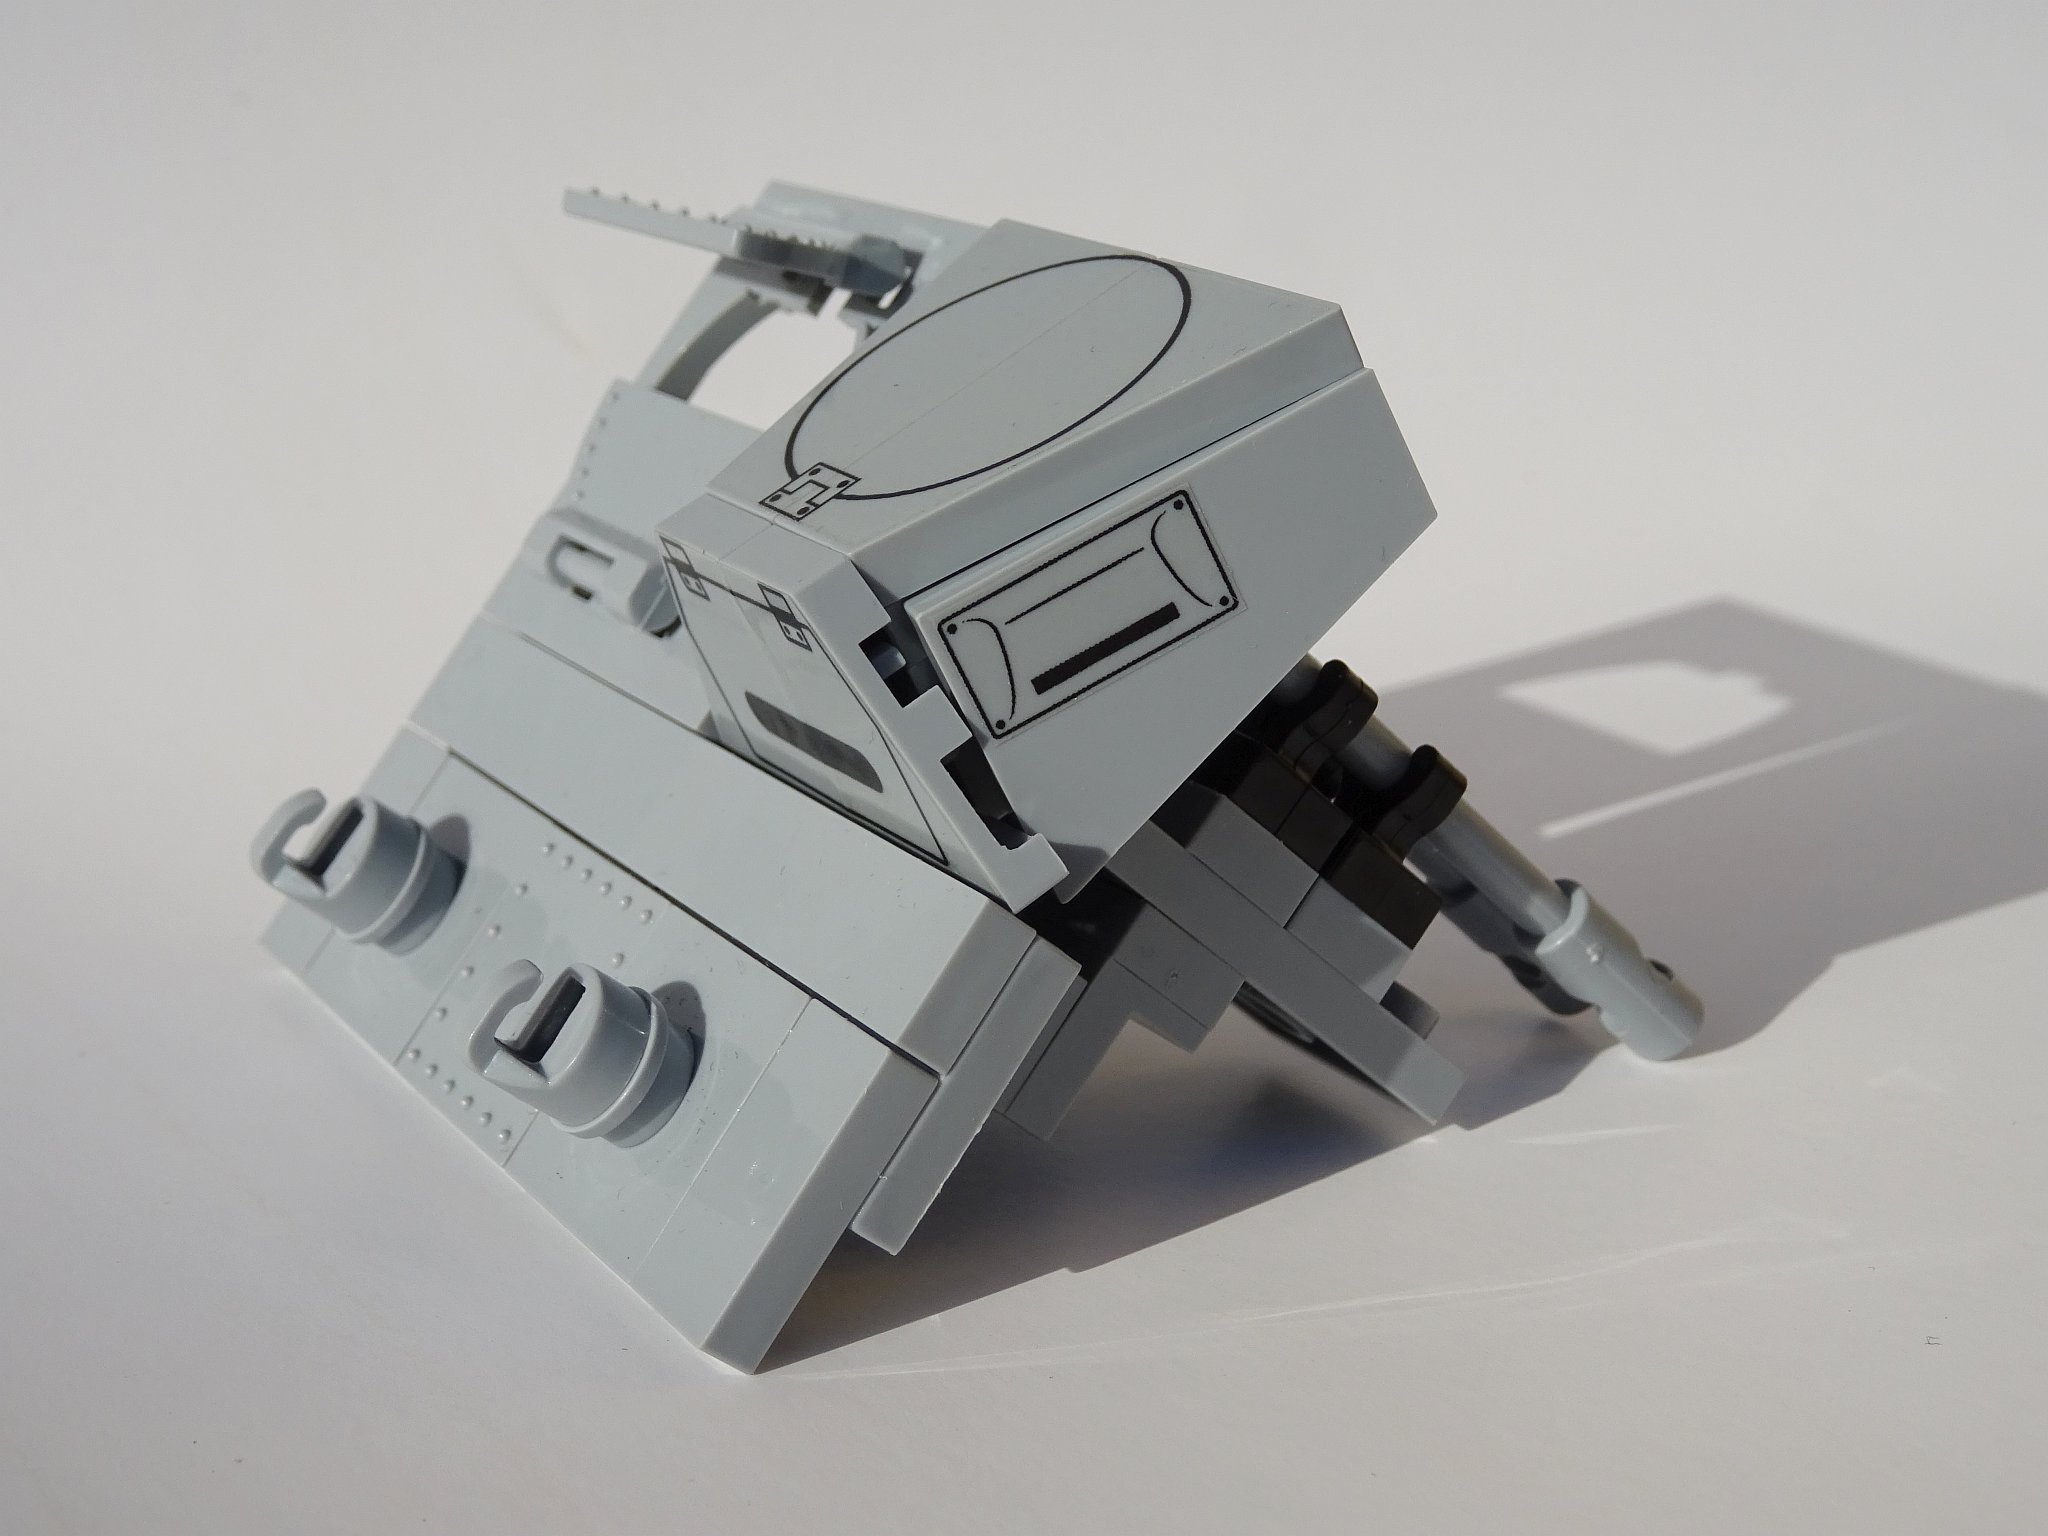
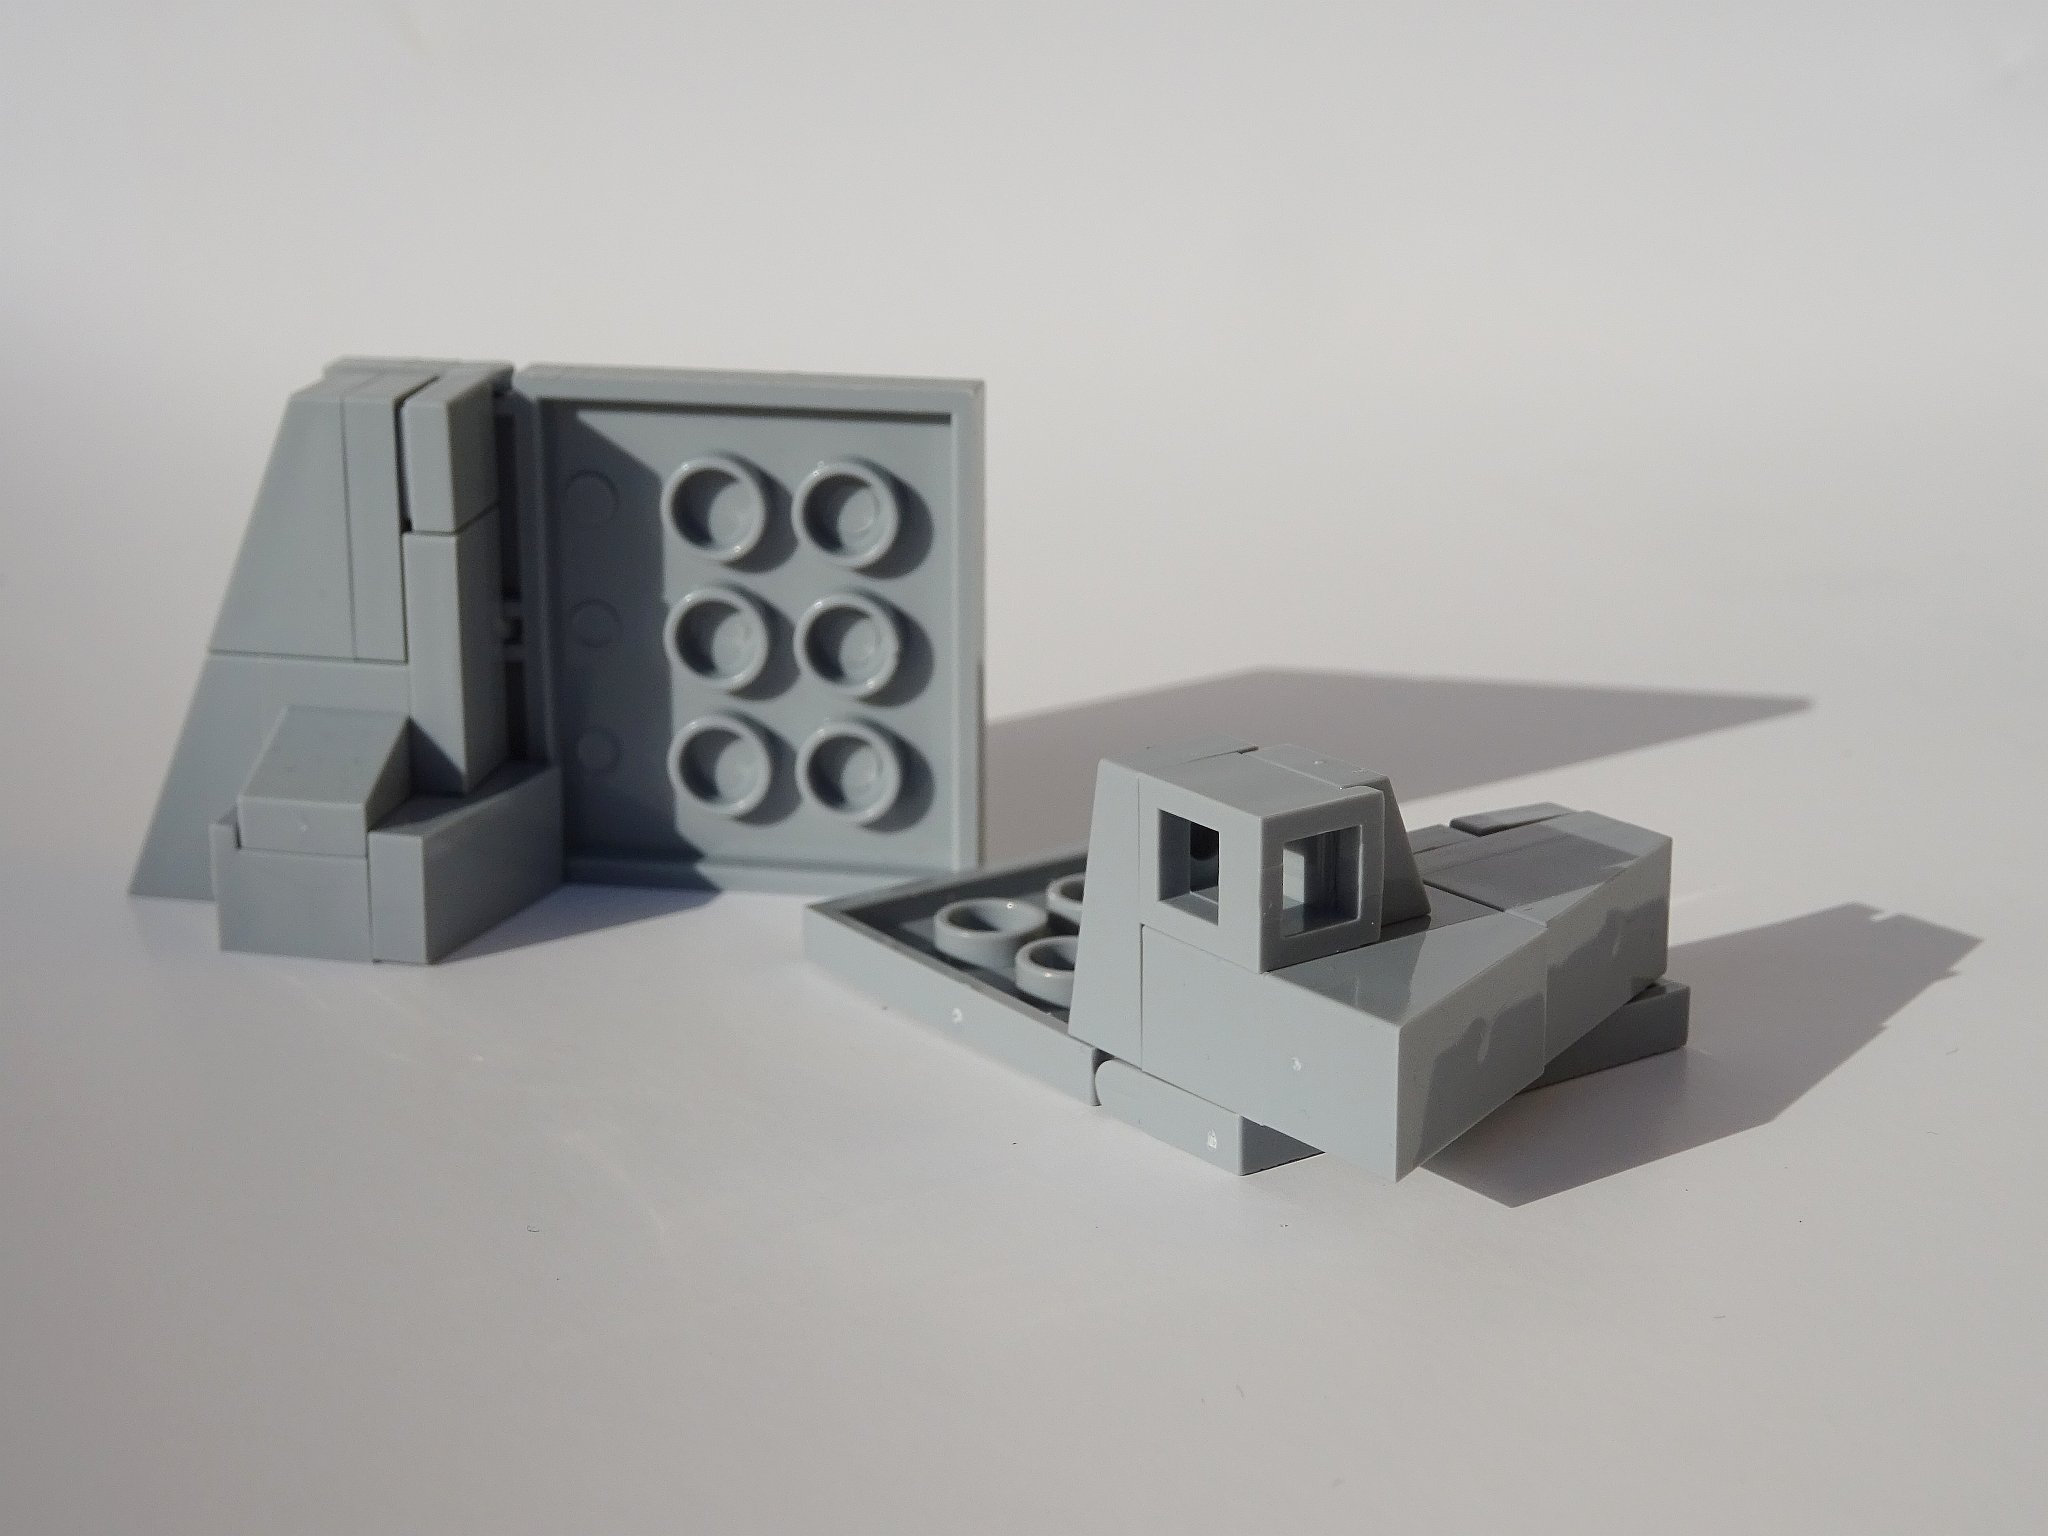
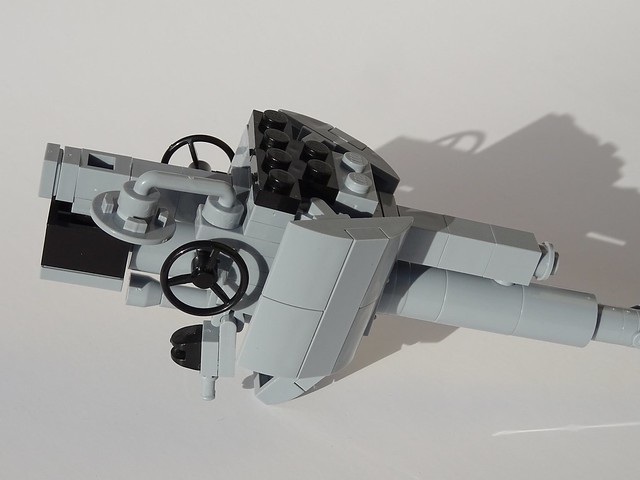
Front cupola/hatch:

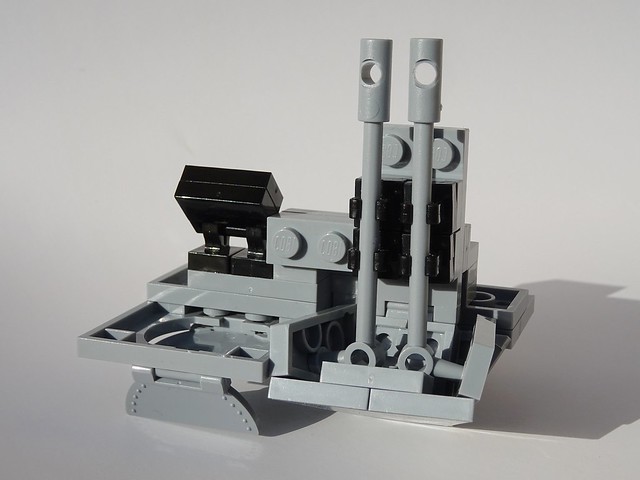
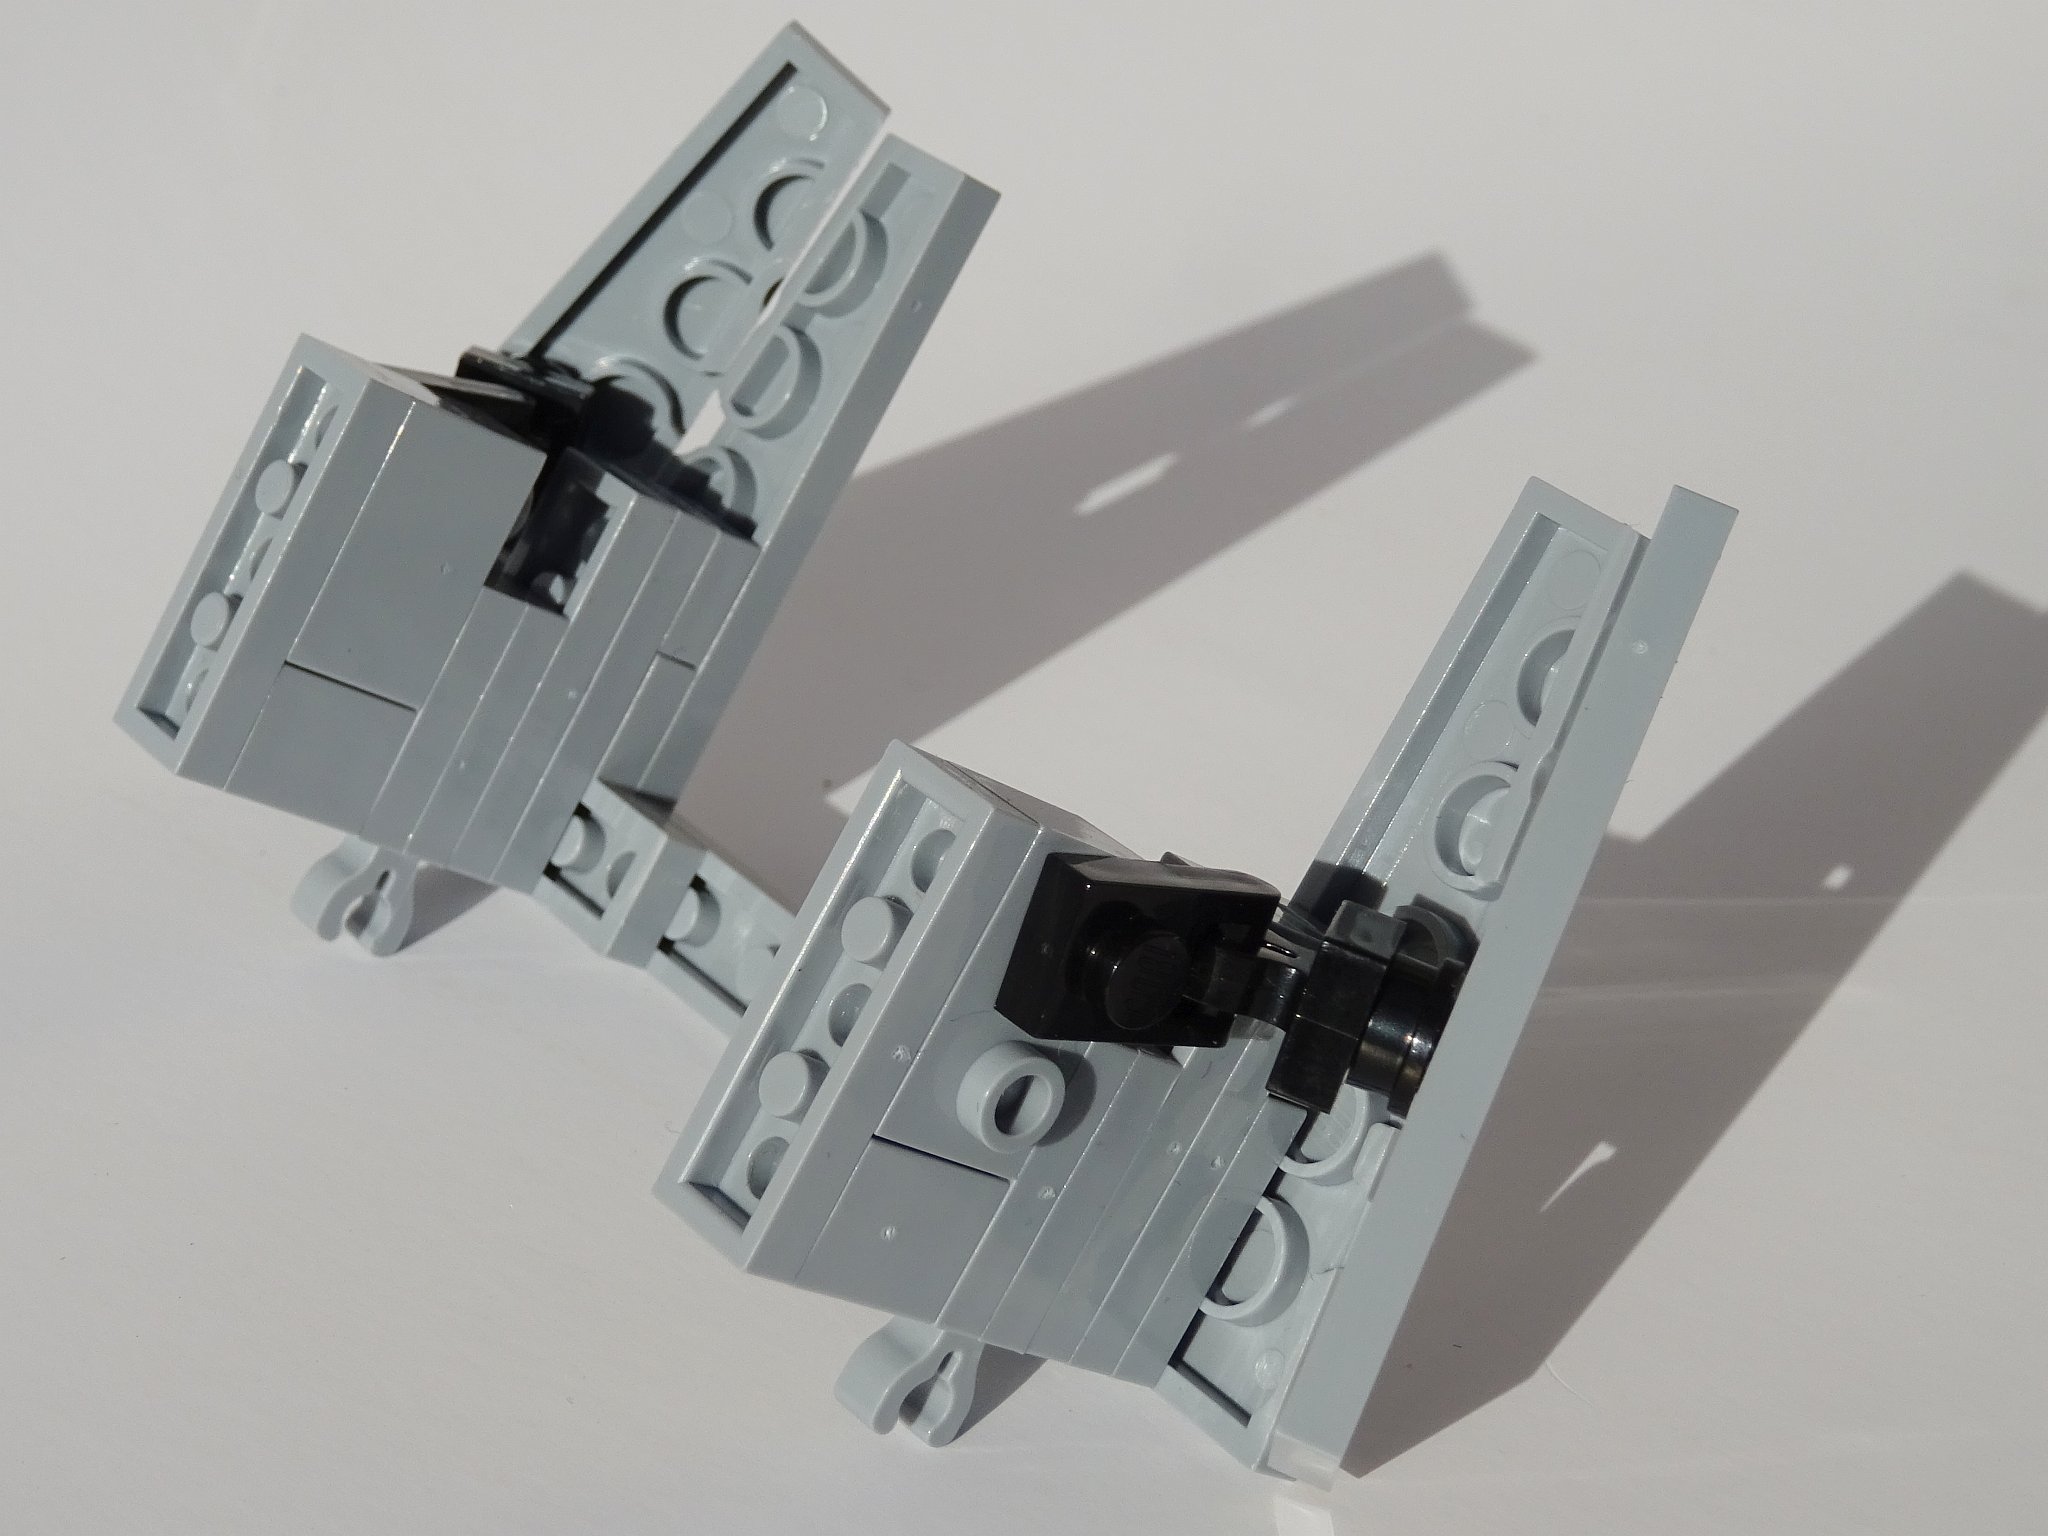
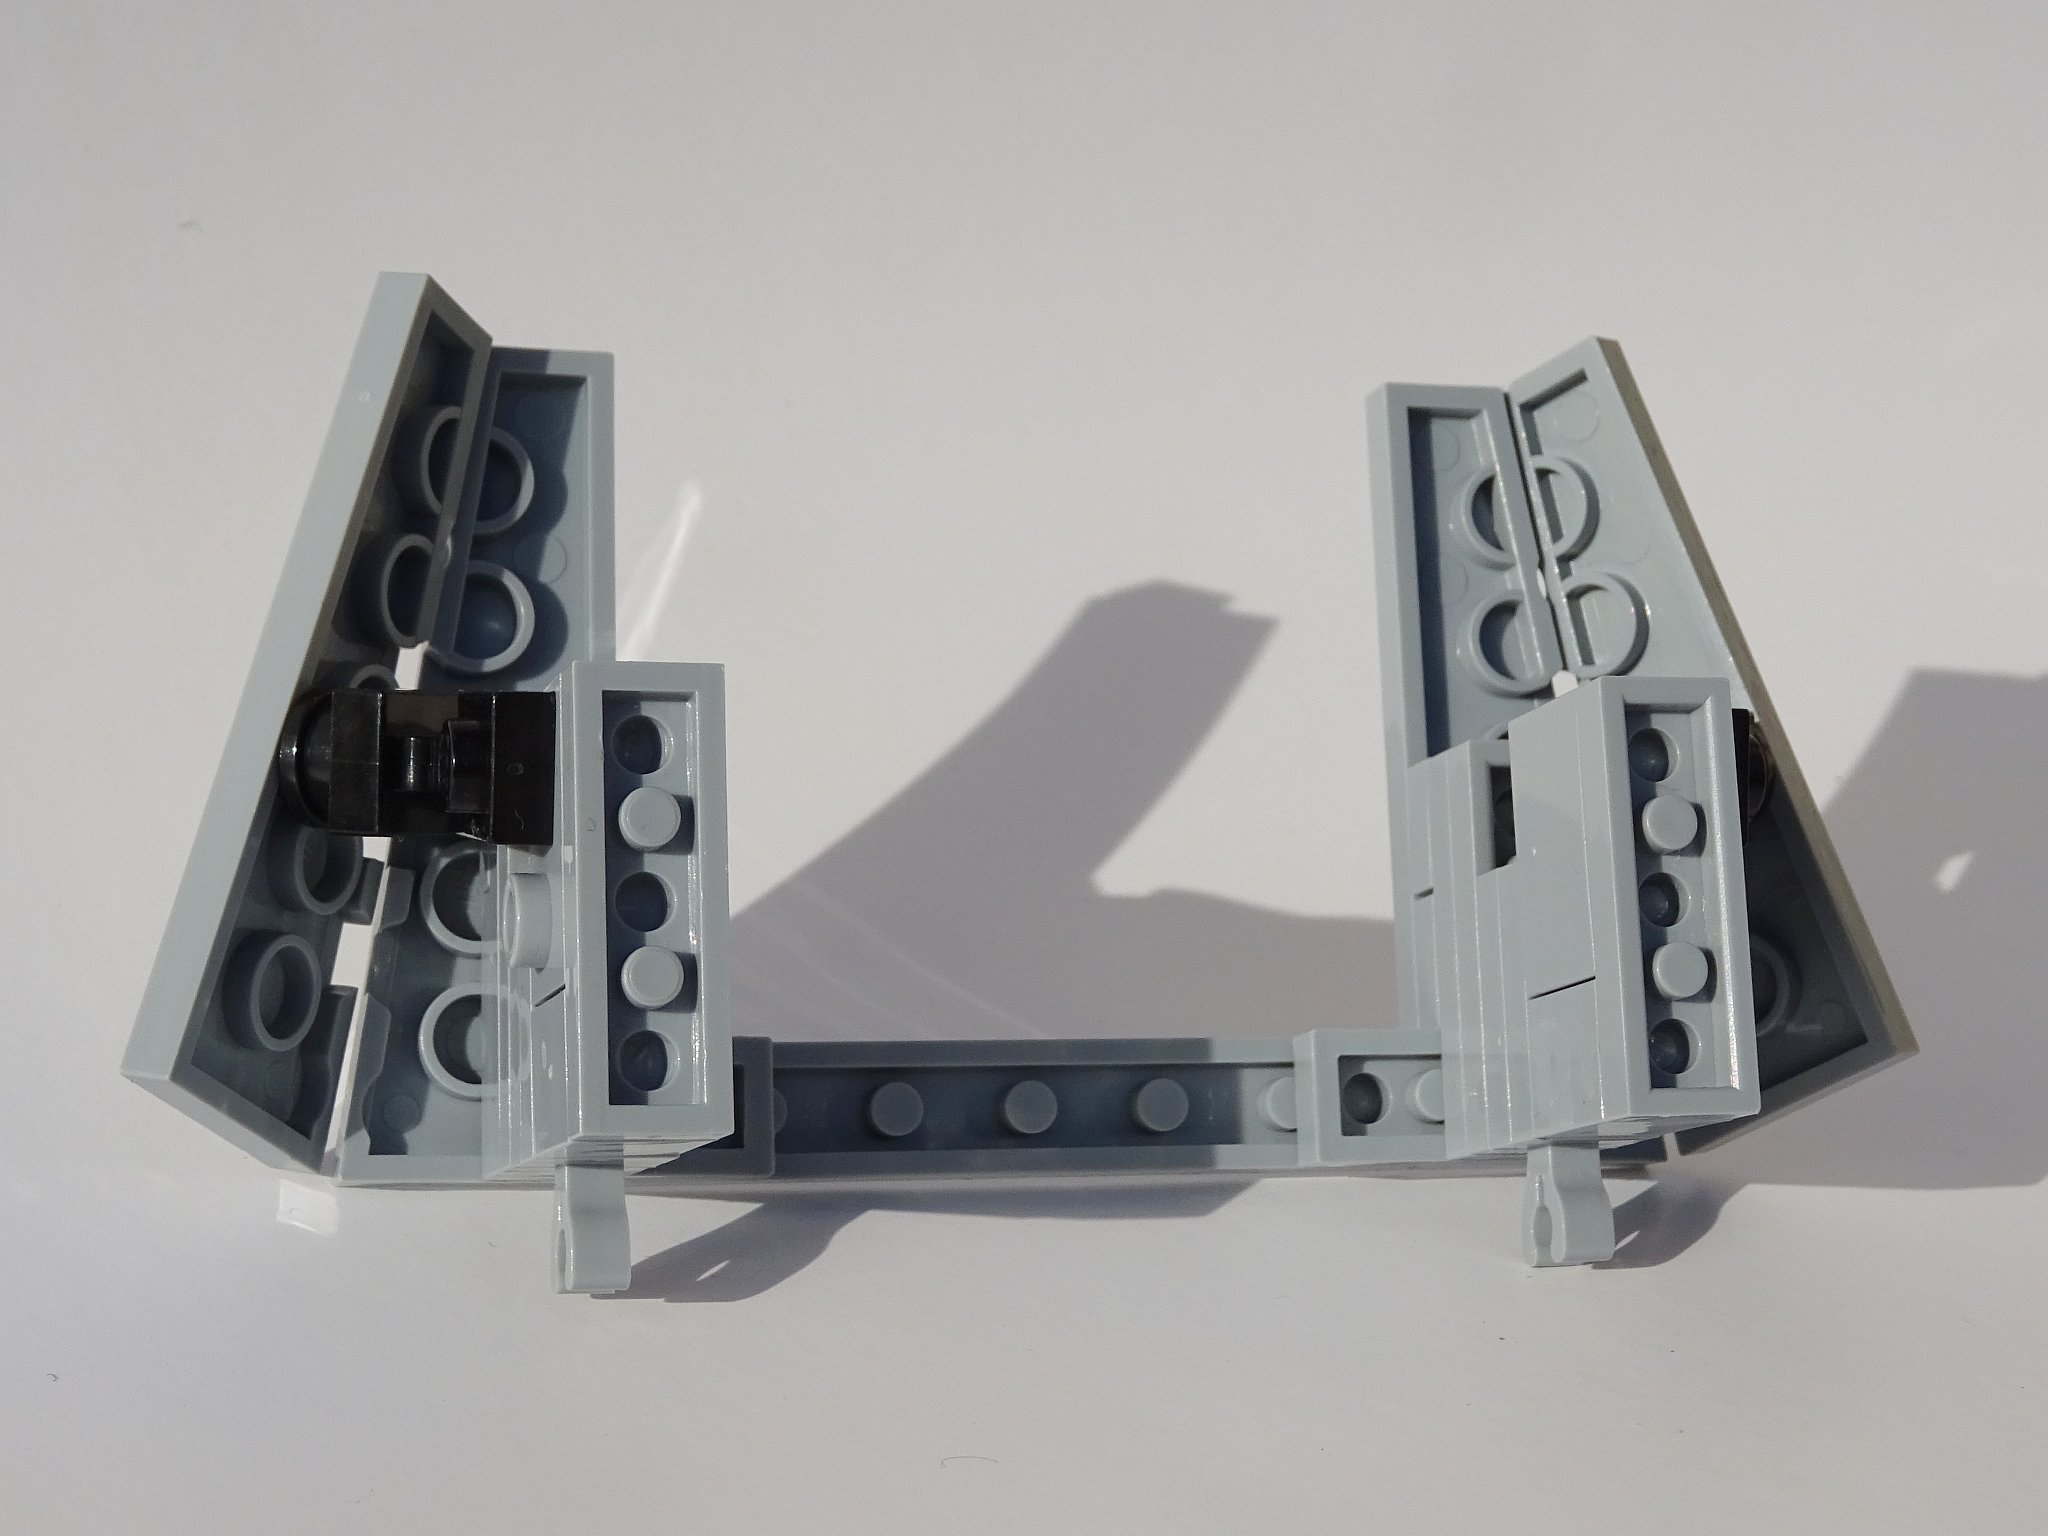
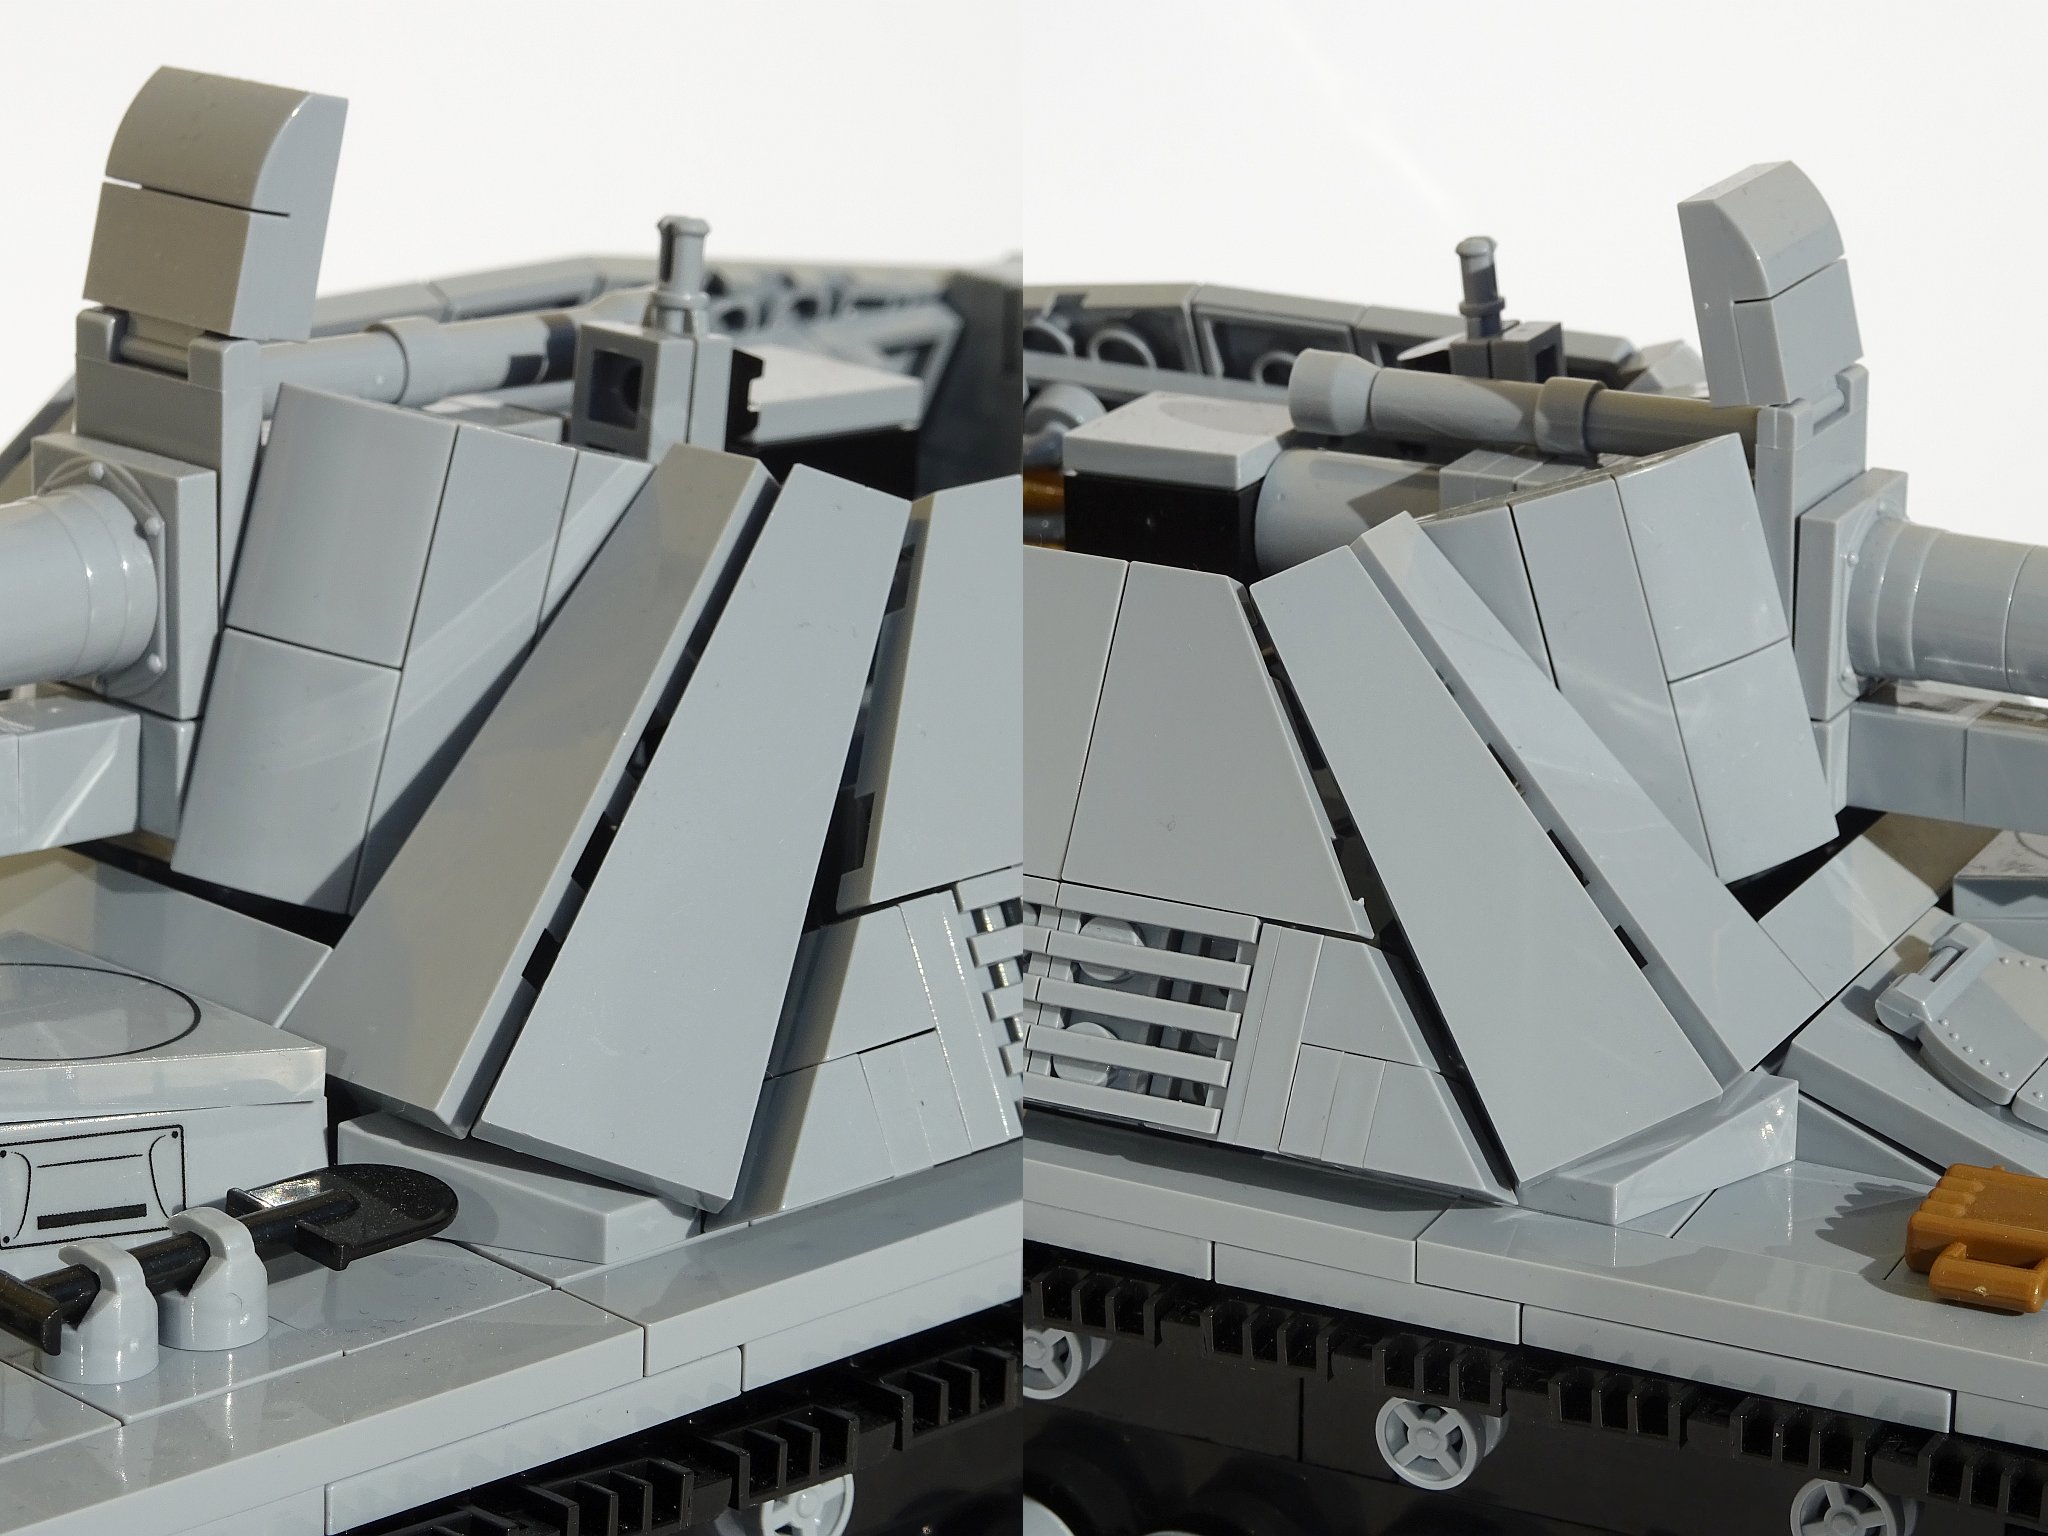
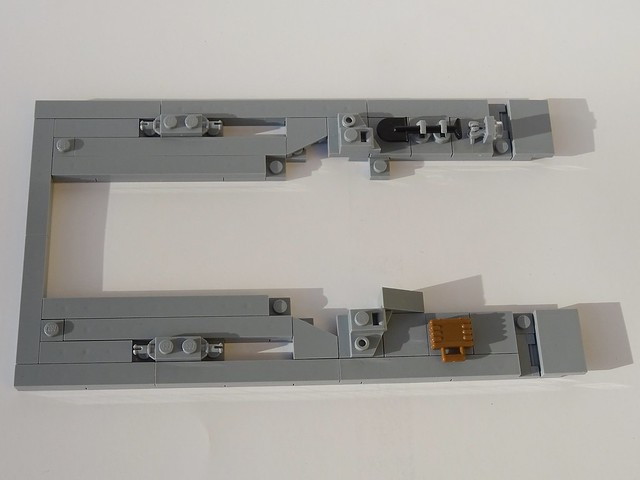
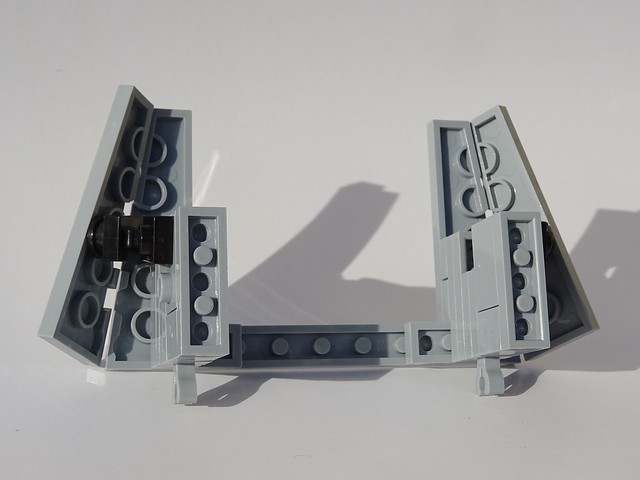
If you look at the pictures of the construction of the front cupola, you must be thinking:
What an insane construction, why on earth did he built it that way?
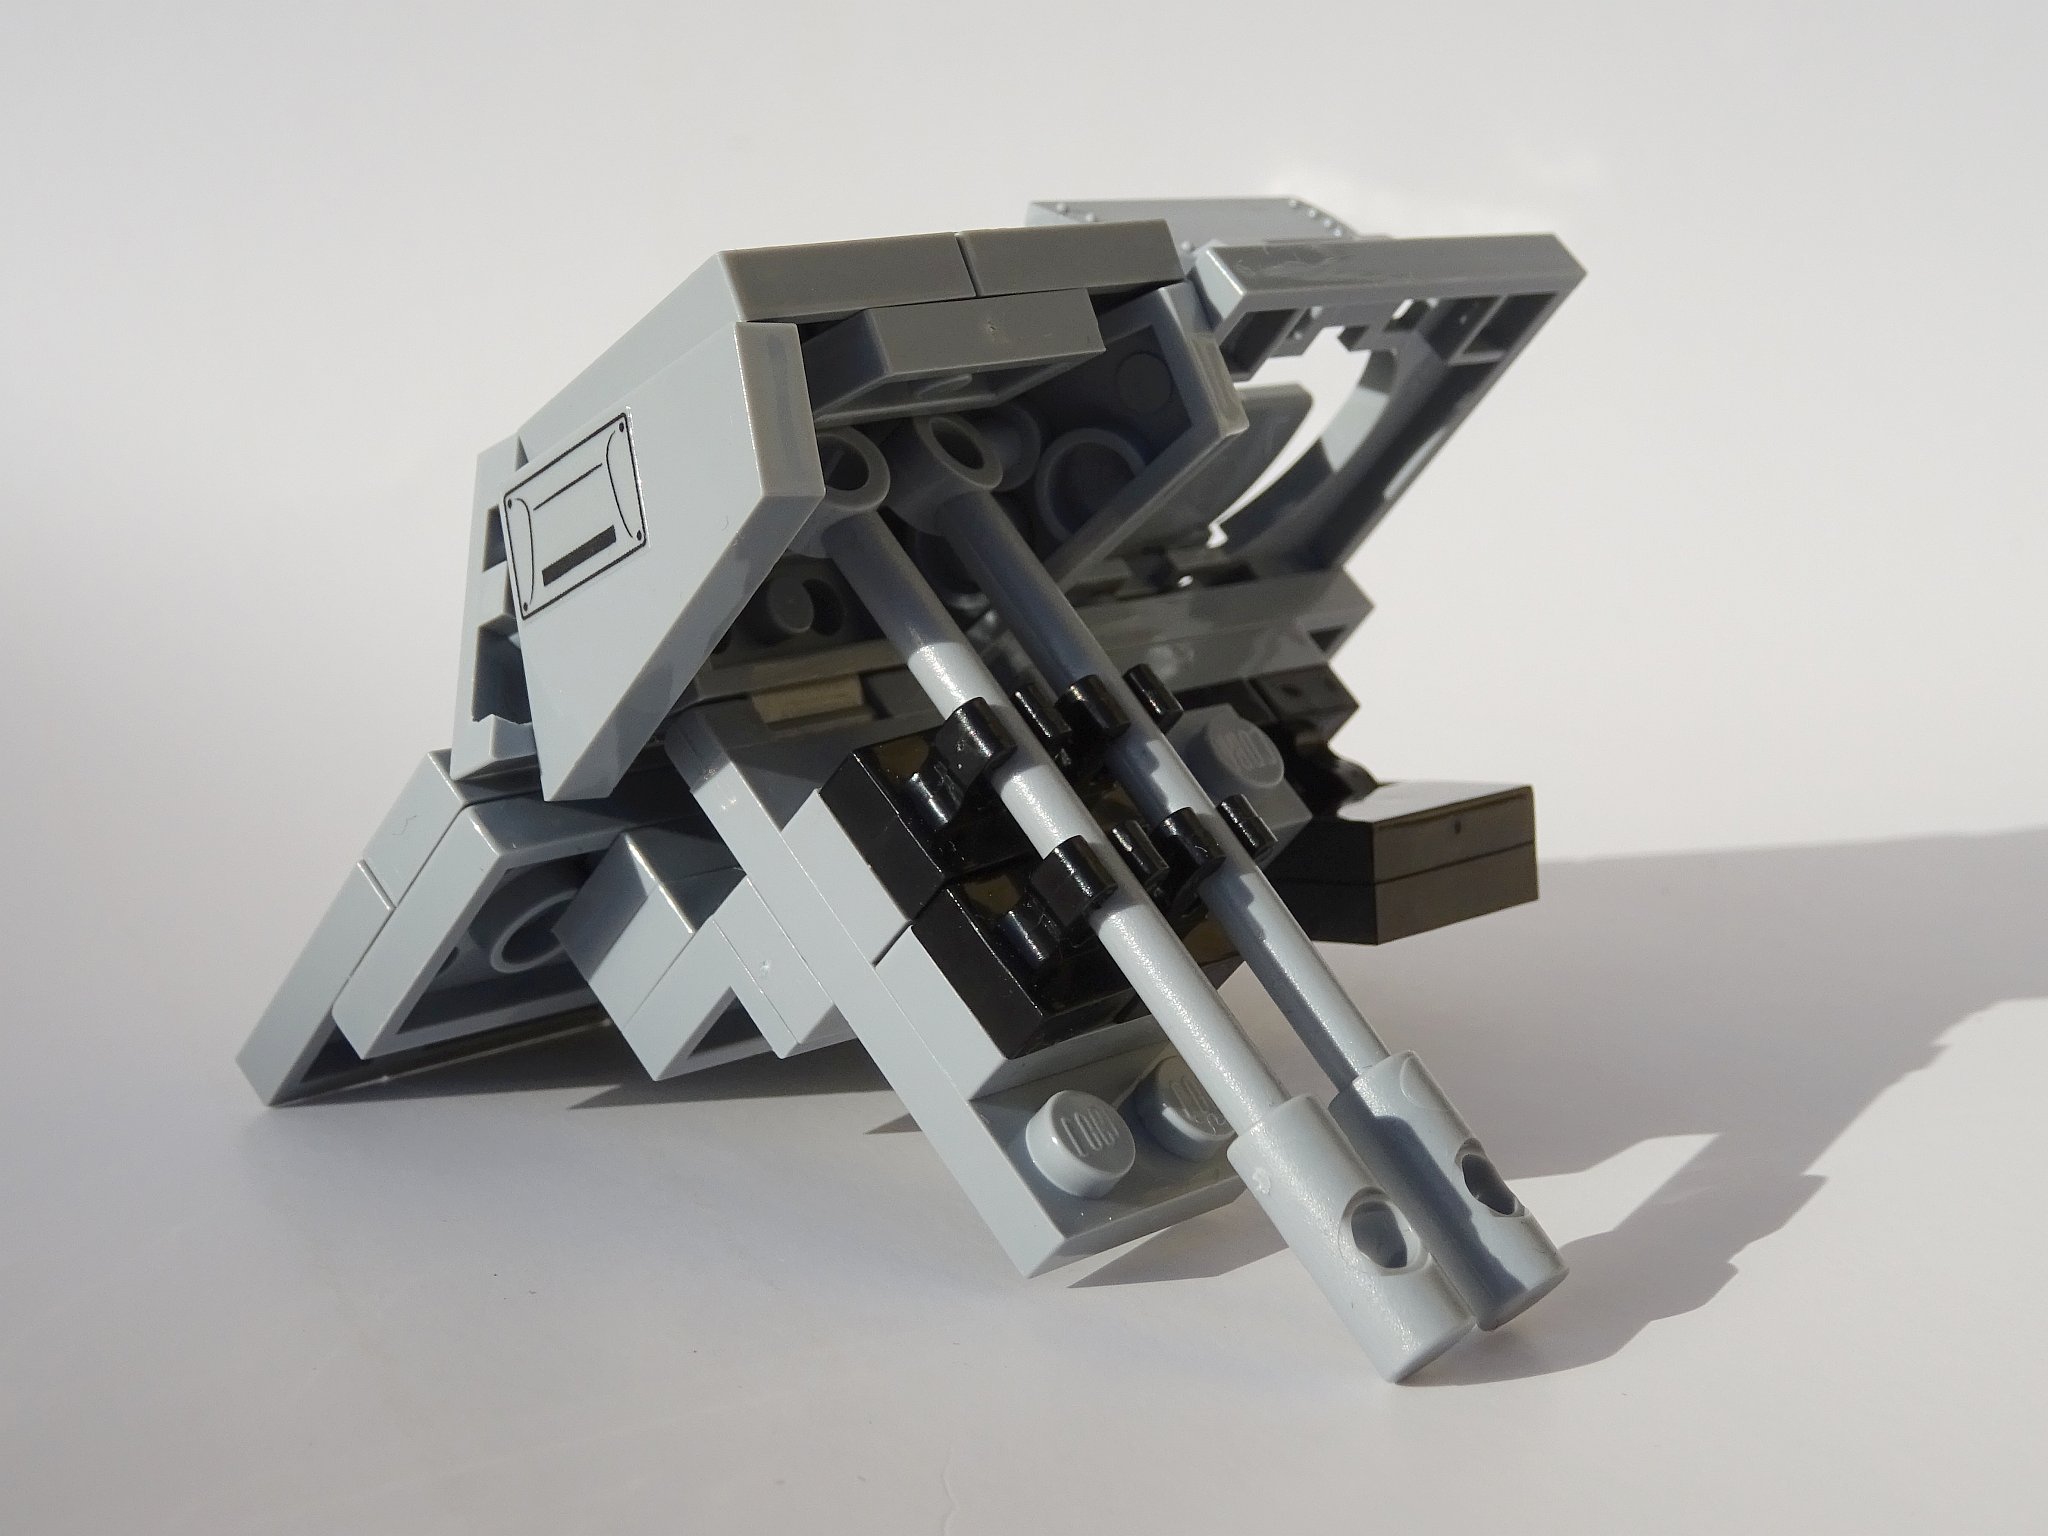
Well, I love using these shaped wing tiles, so I had to somehow mount the 2x3 wing tiles on the sides of the hatch, which (like the 2x6 wing tiles for the upper hull armor) had to be rotatable on all 3 axes.
After some experiments I found the bar pieces from sets 2184 used by the horse to pull the Bofors gun.
These parts had one "angled" end with and angle close enough to what I needed, and you could stick the 2x3 wing plate on top of that end.
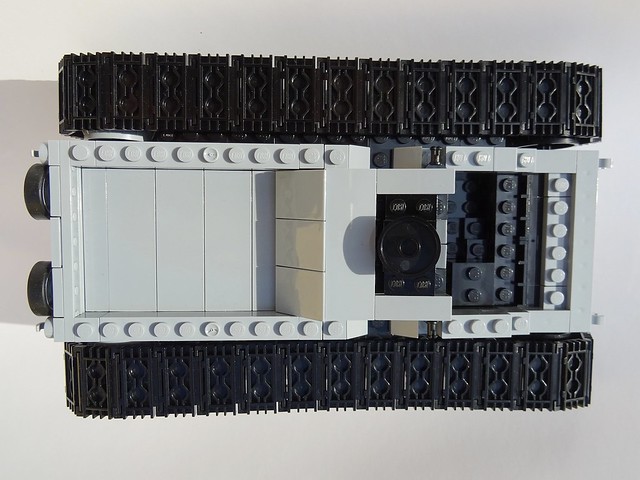
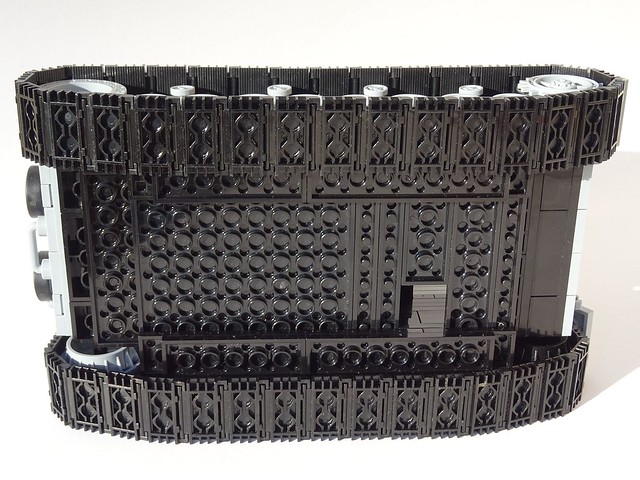
Problem: These bars are quite long, so I had to leave a hole in the bottom of the tank in order to fit the whole construction!
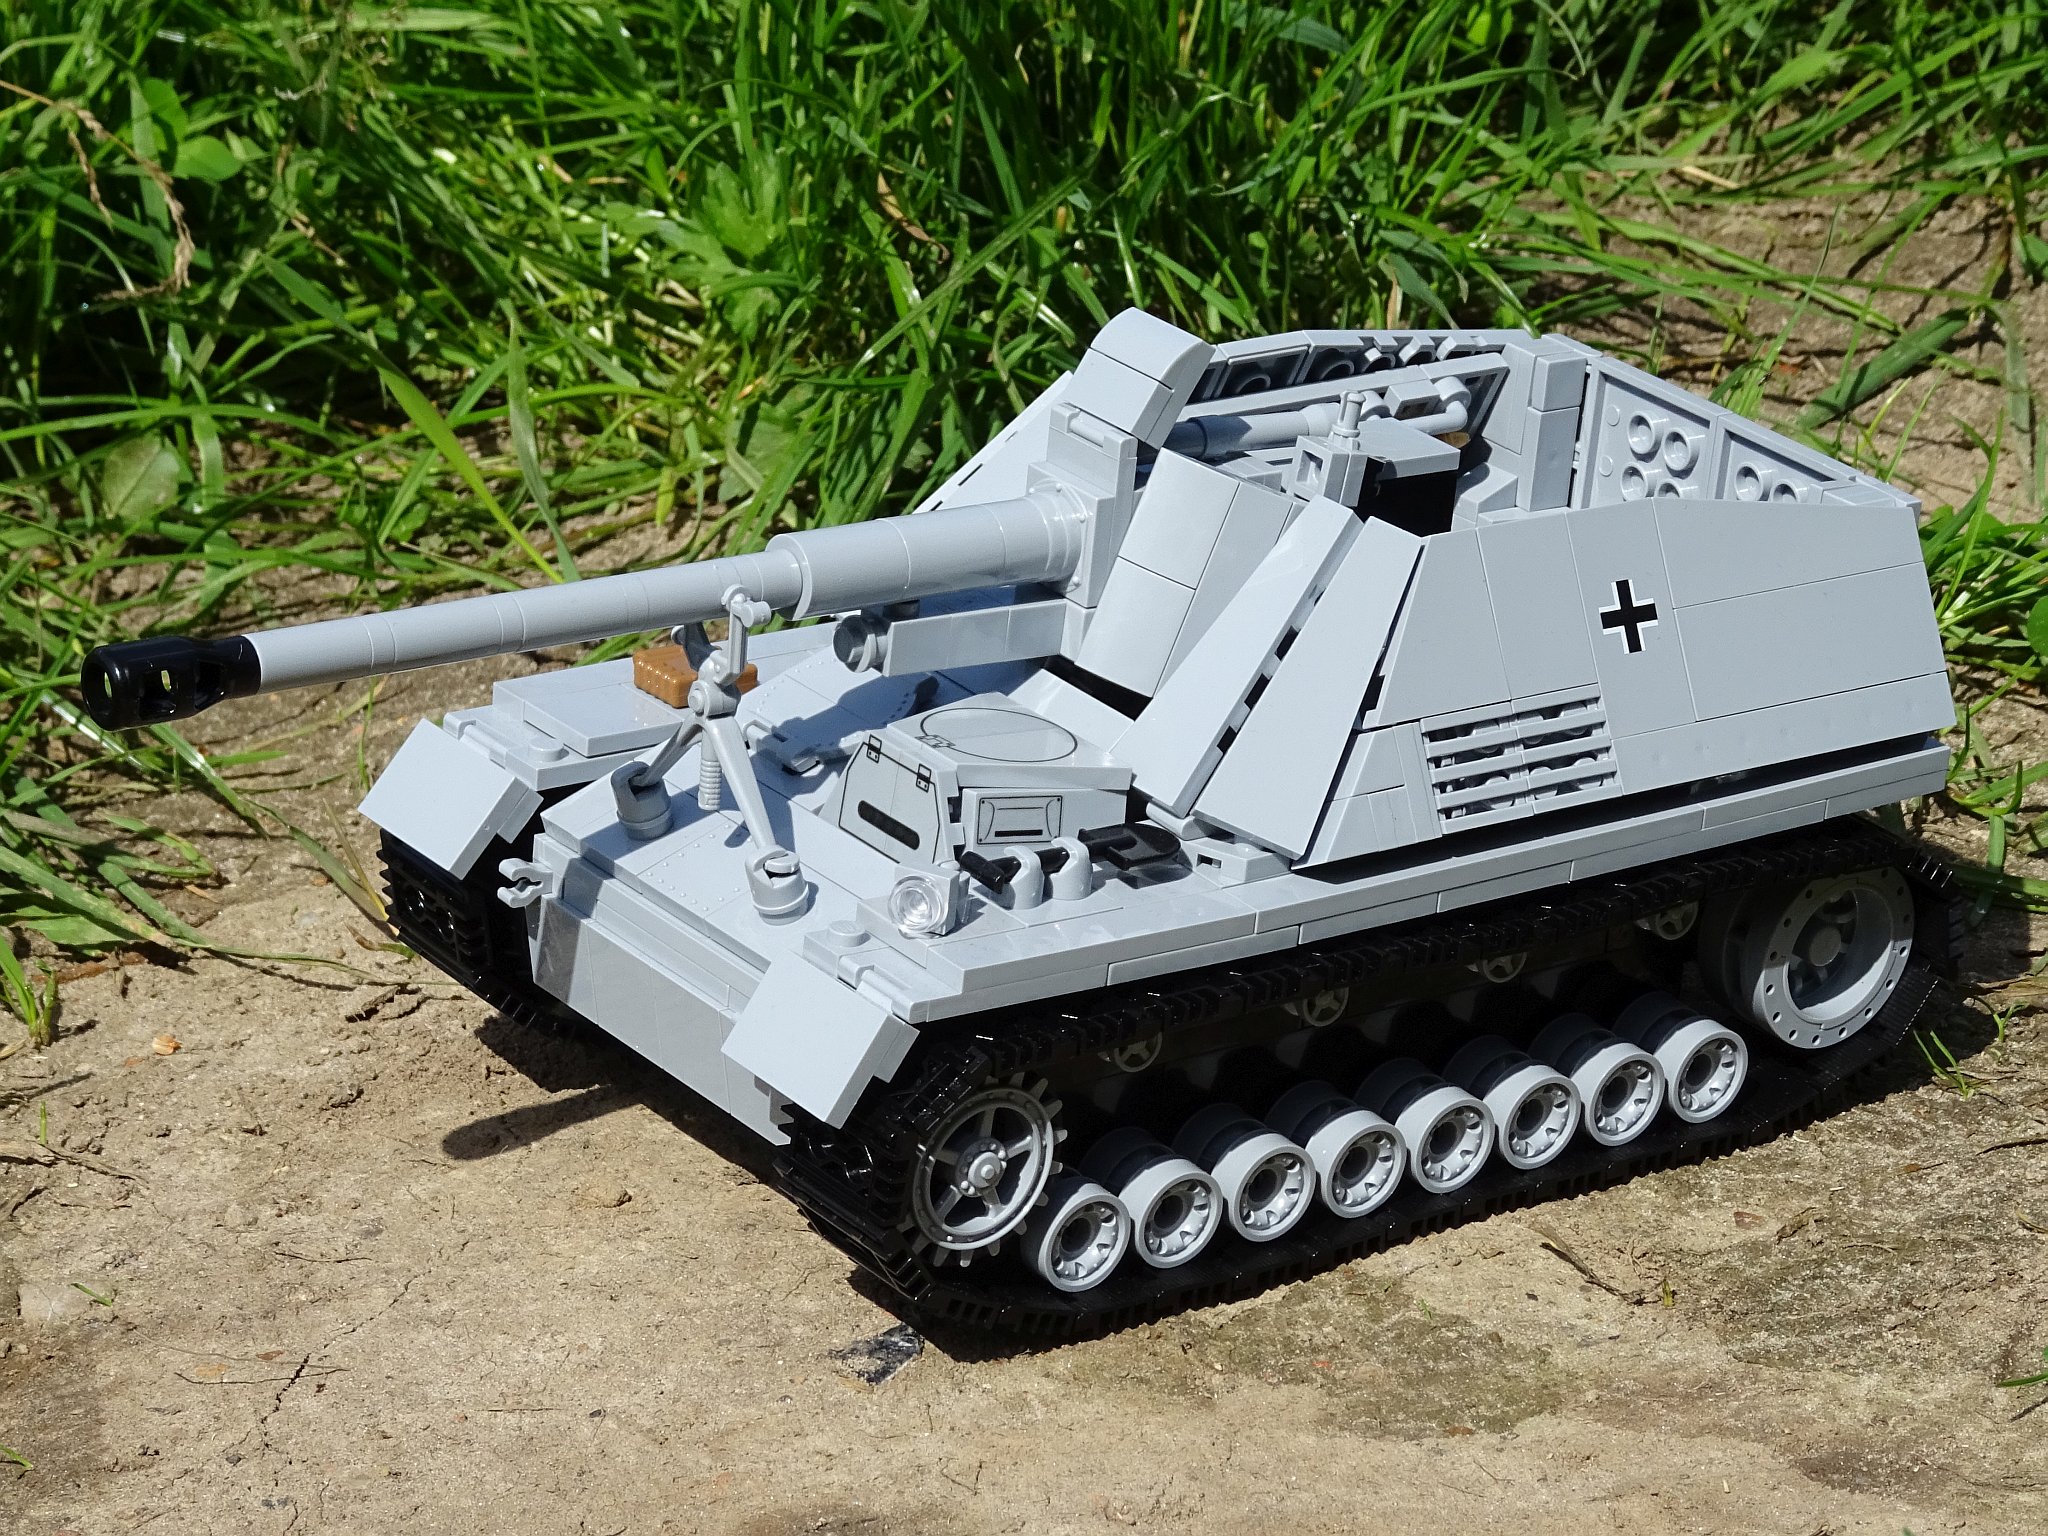
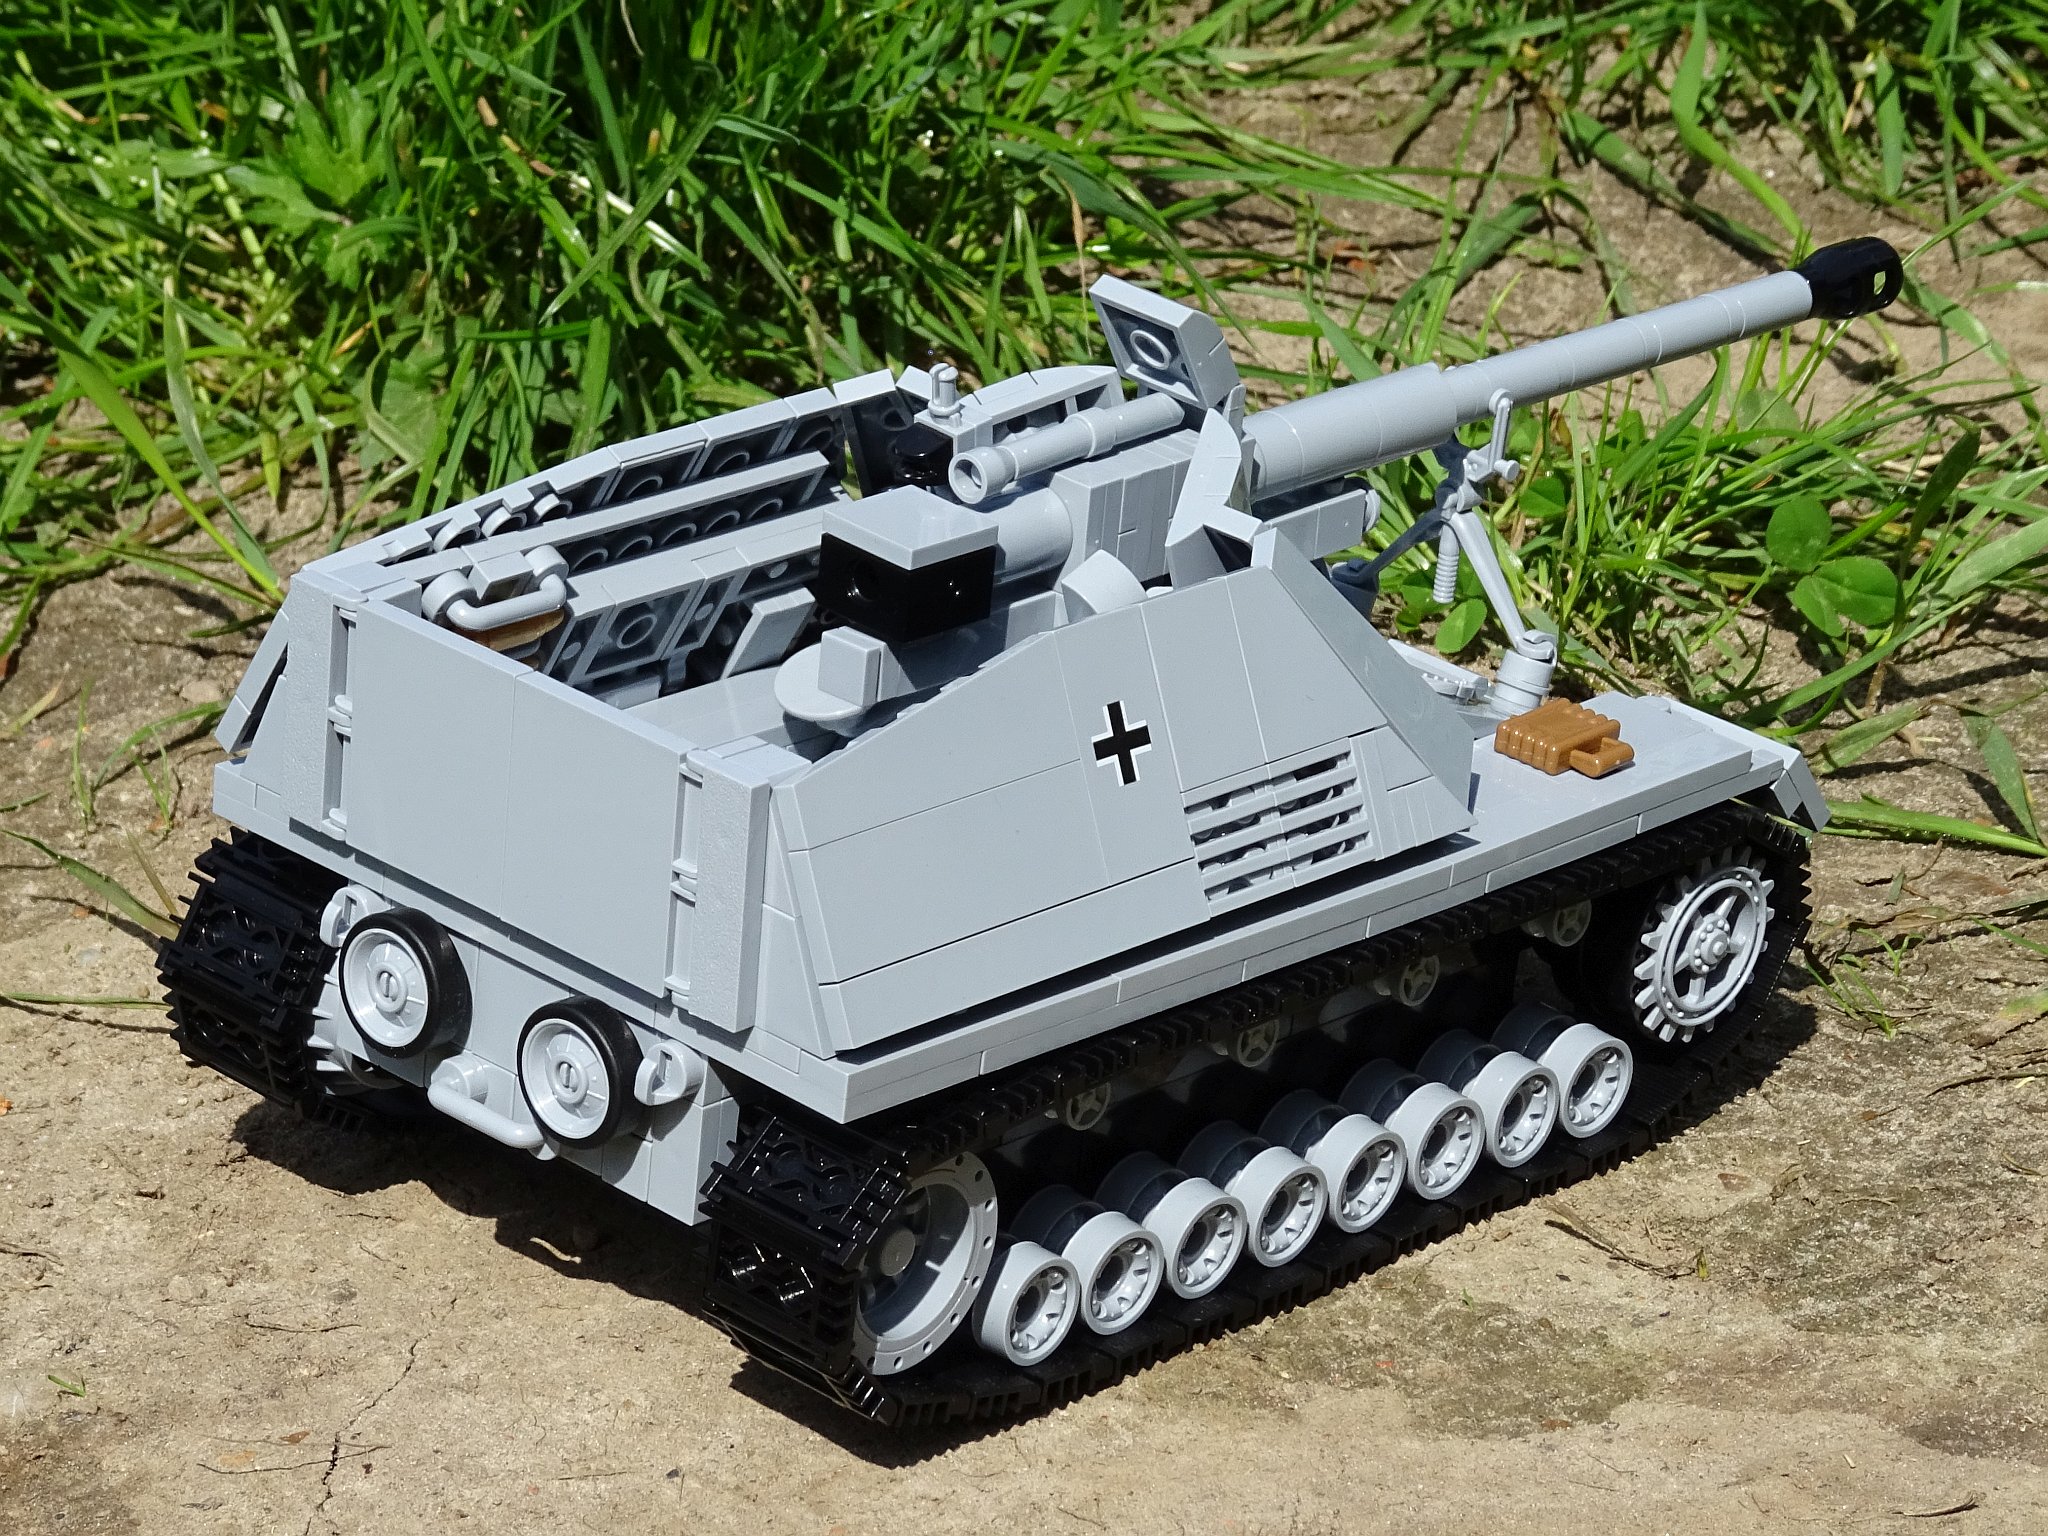
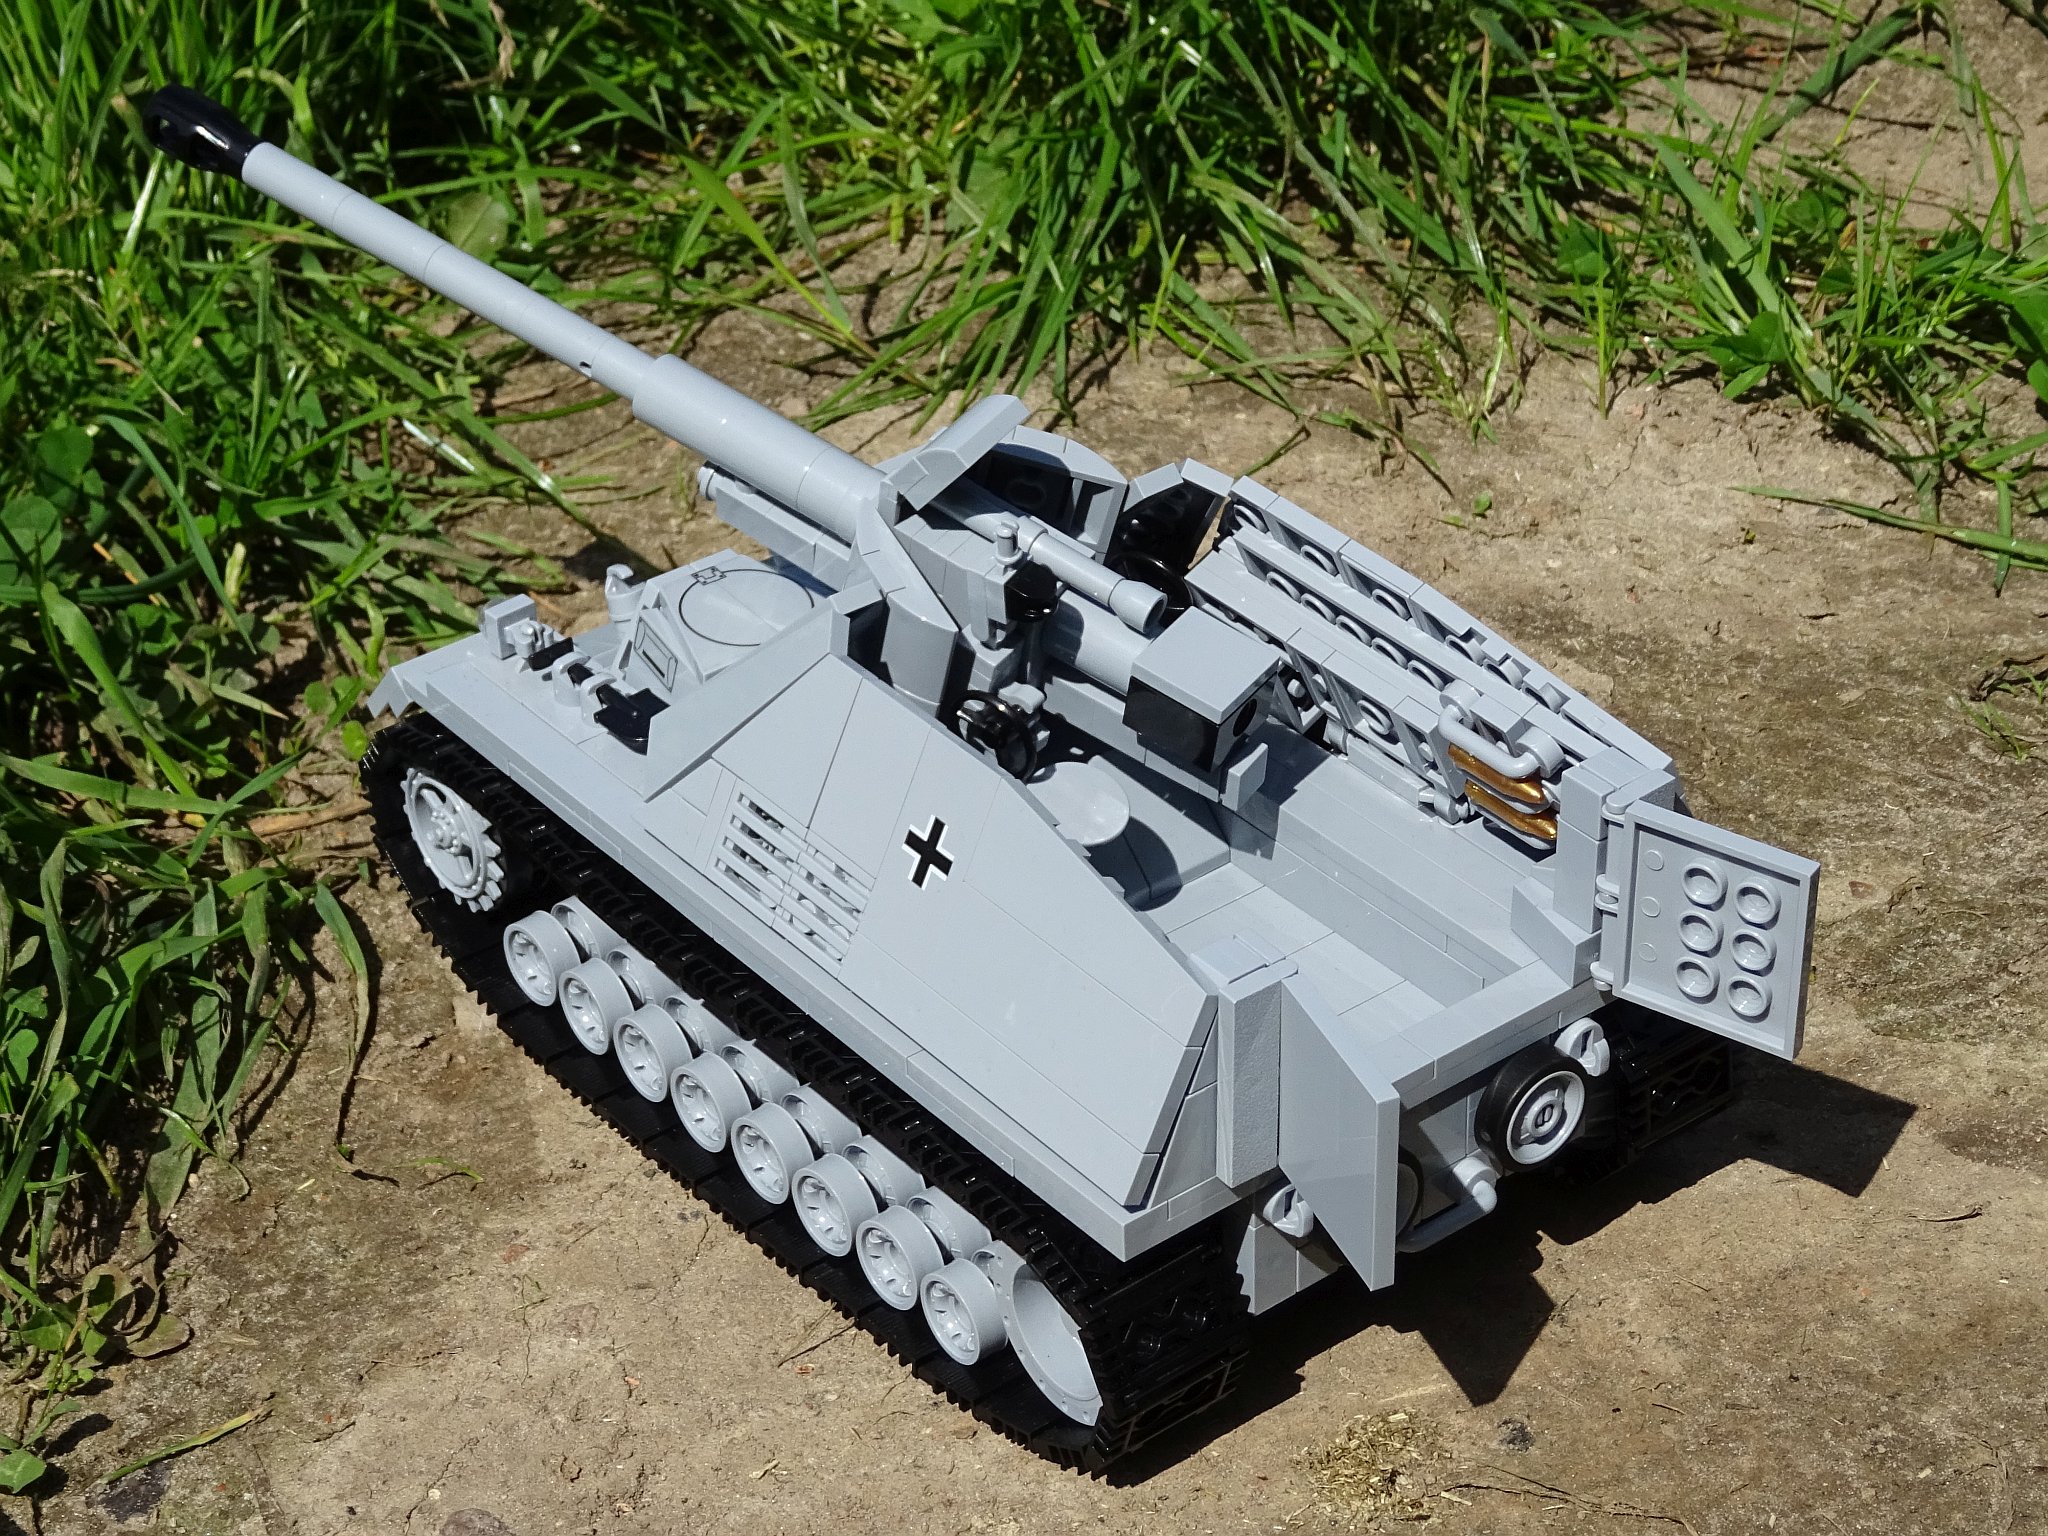
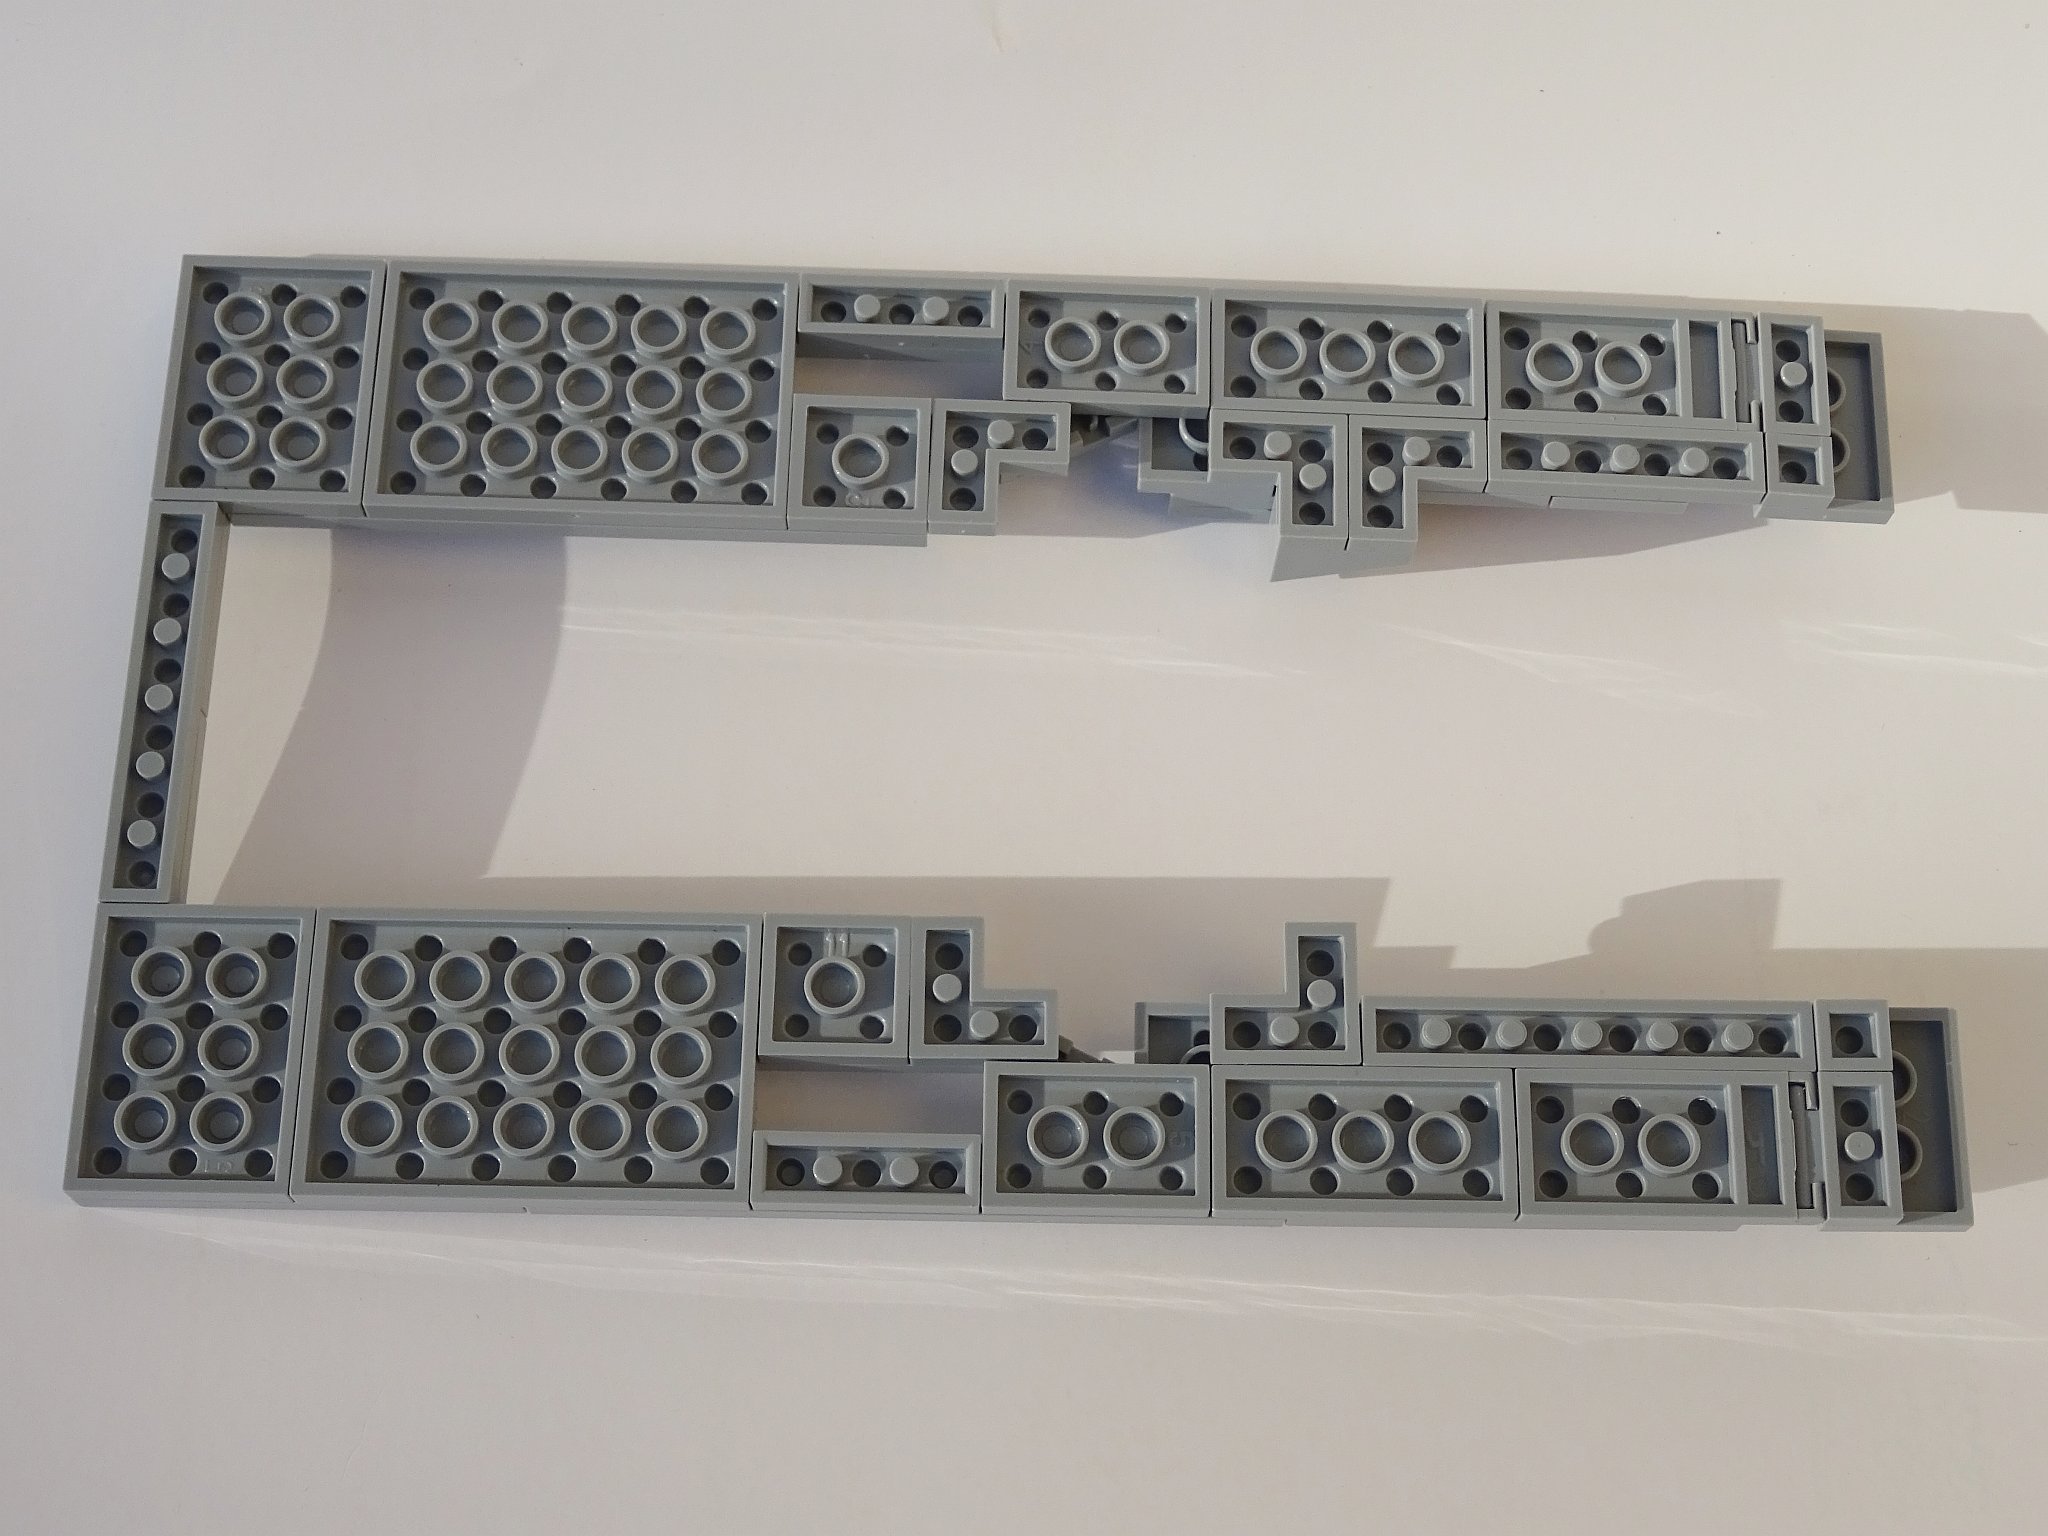
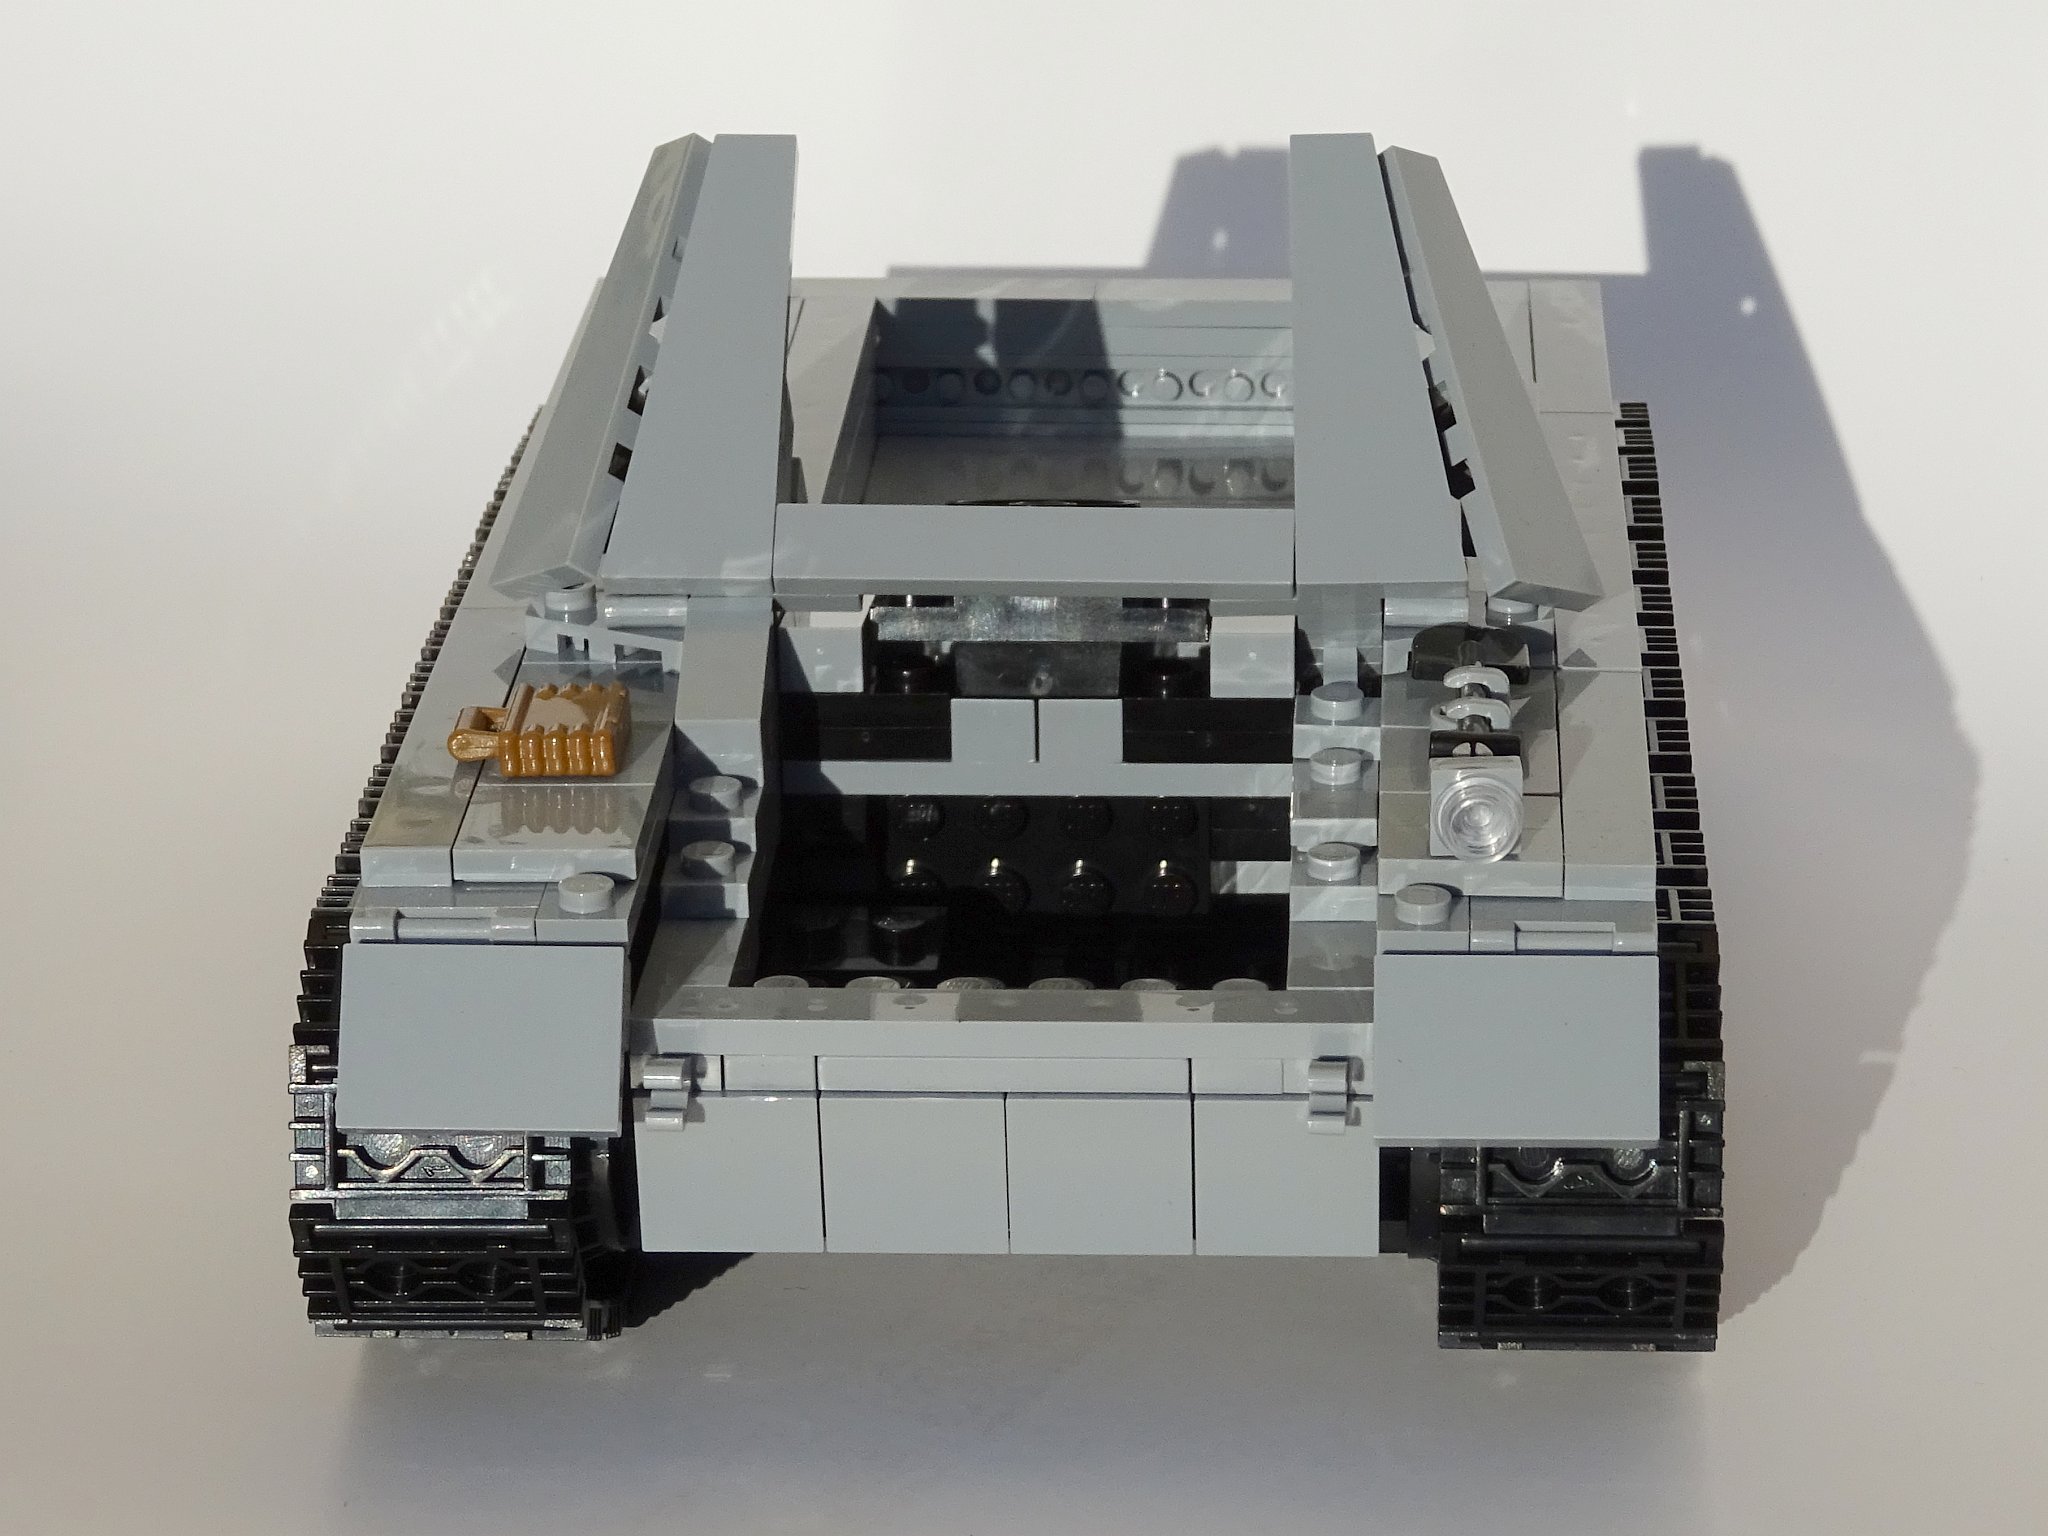
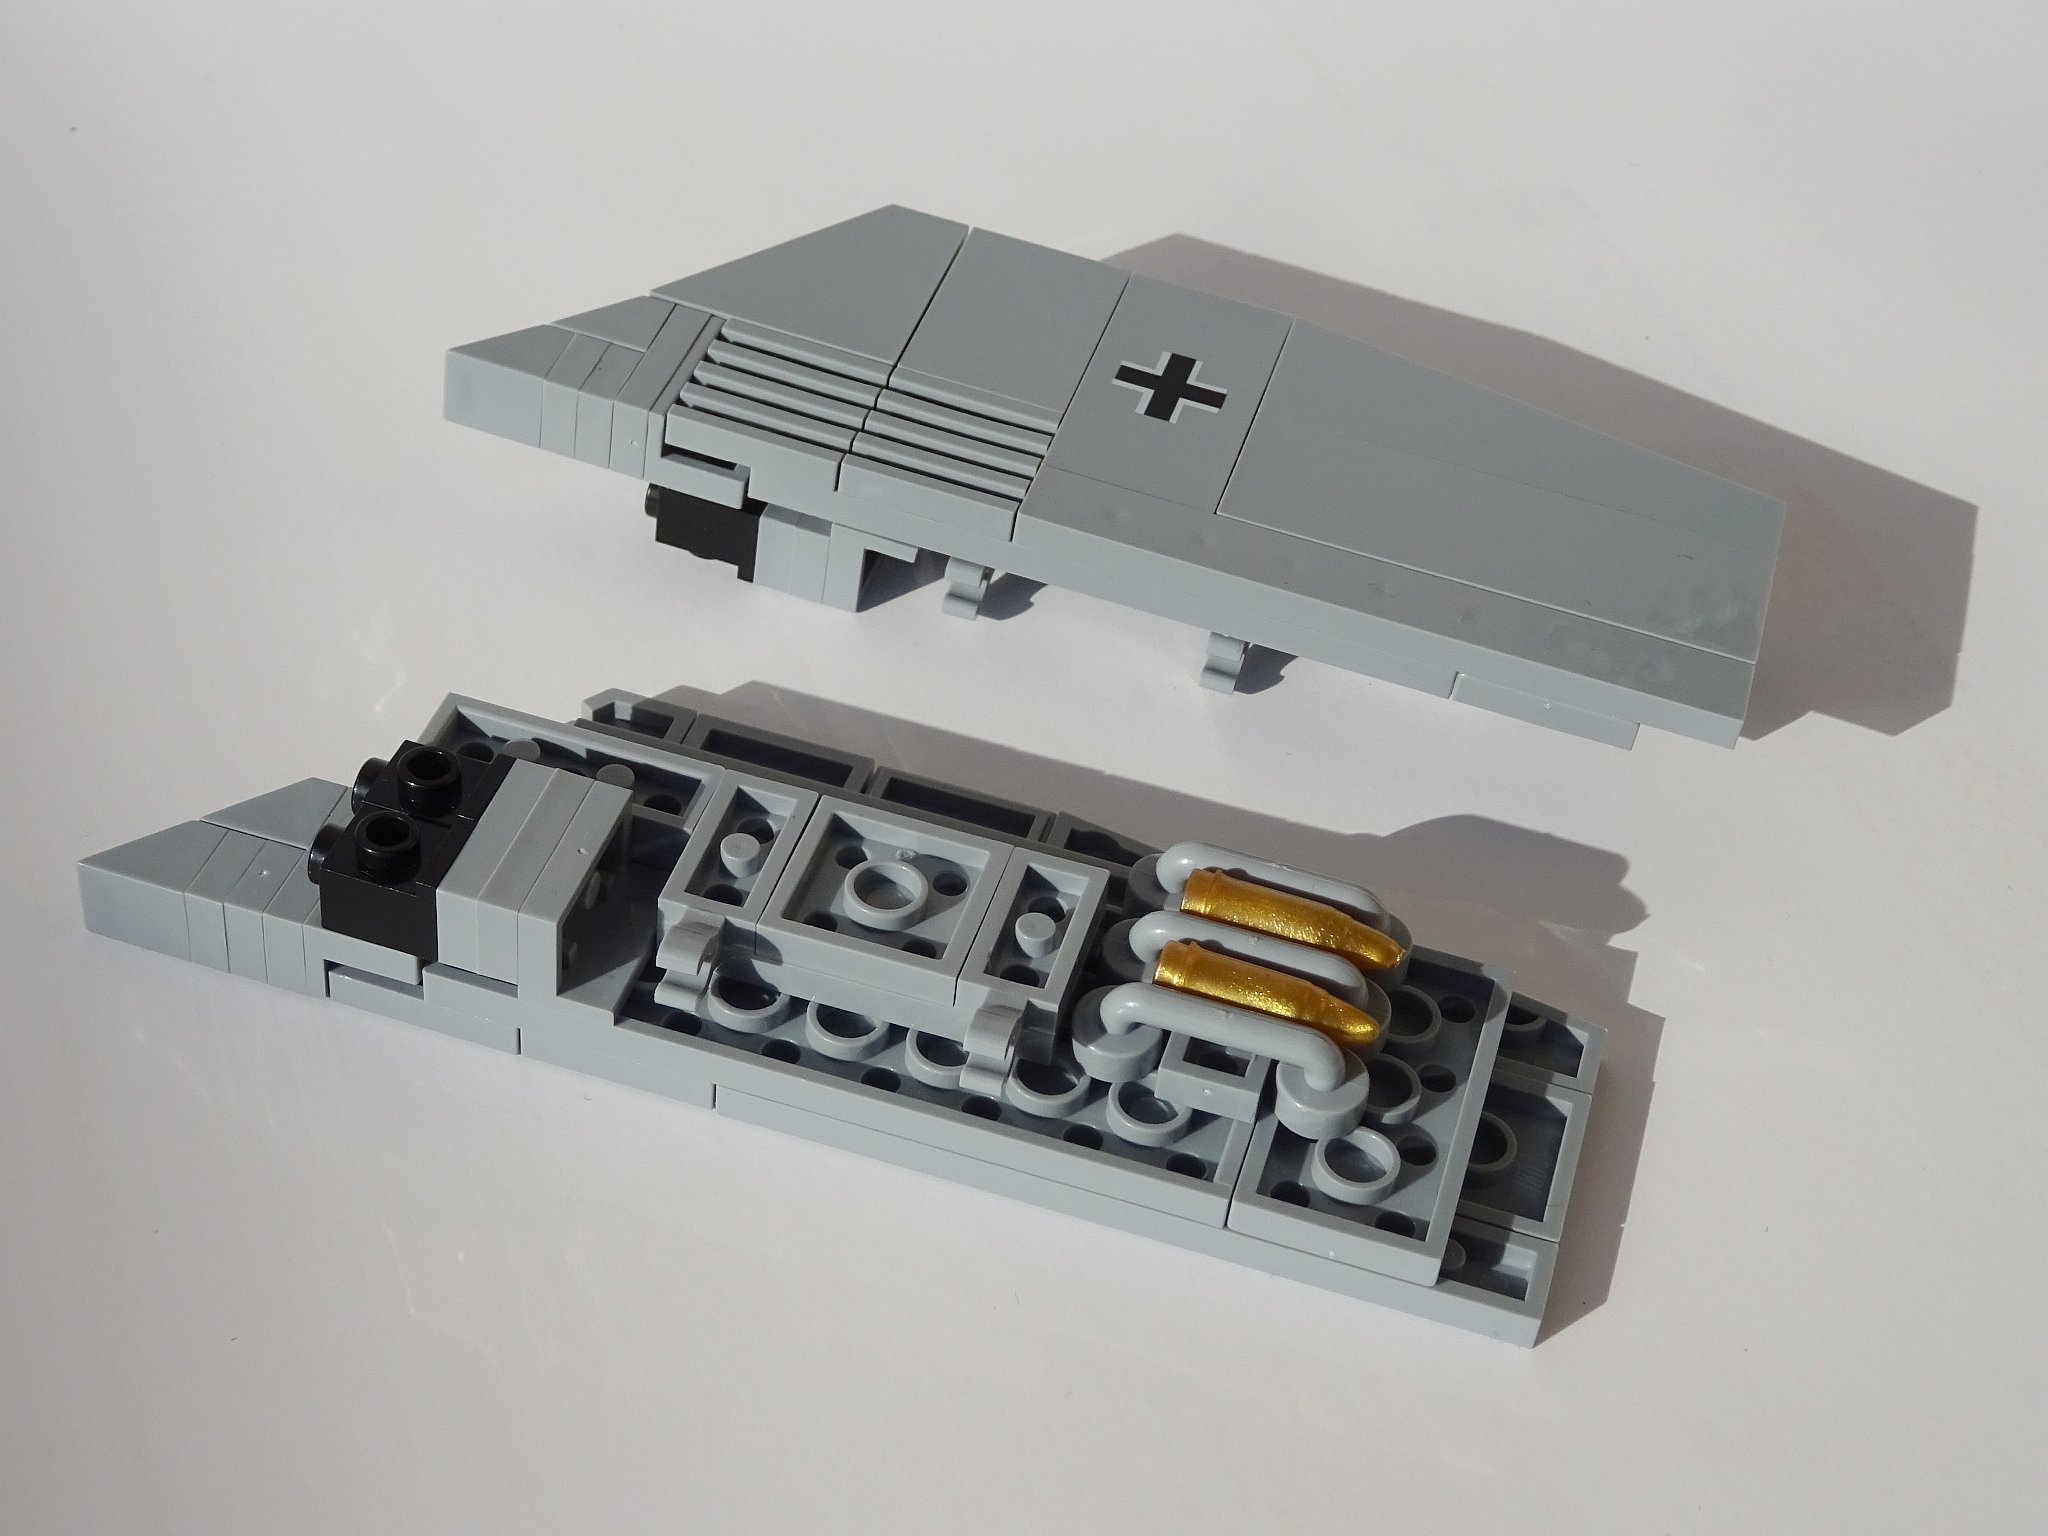
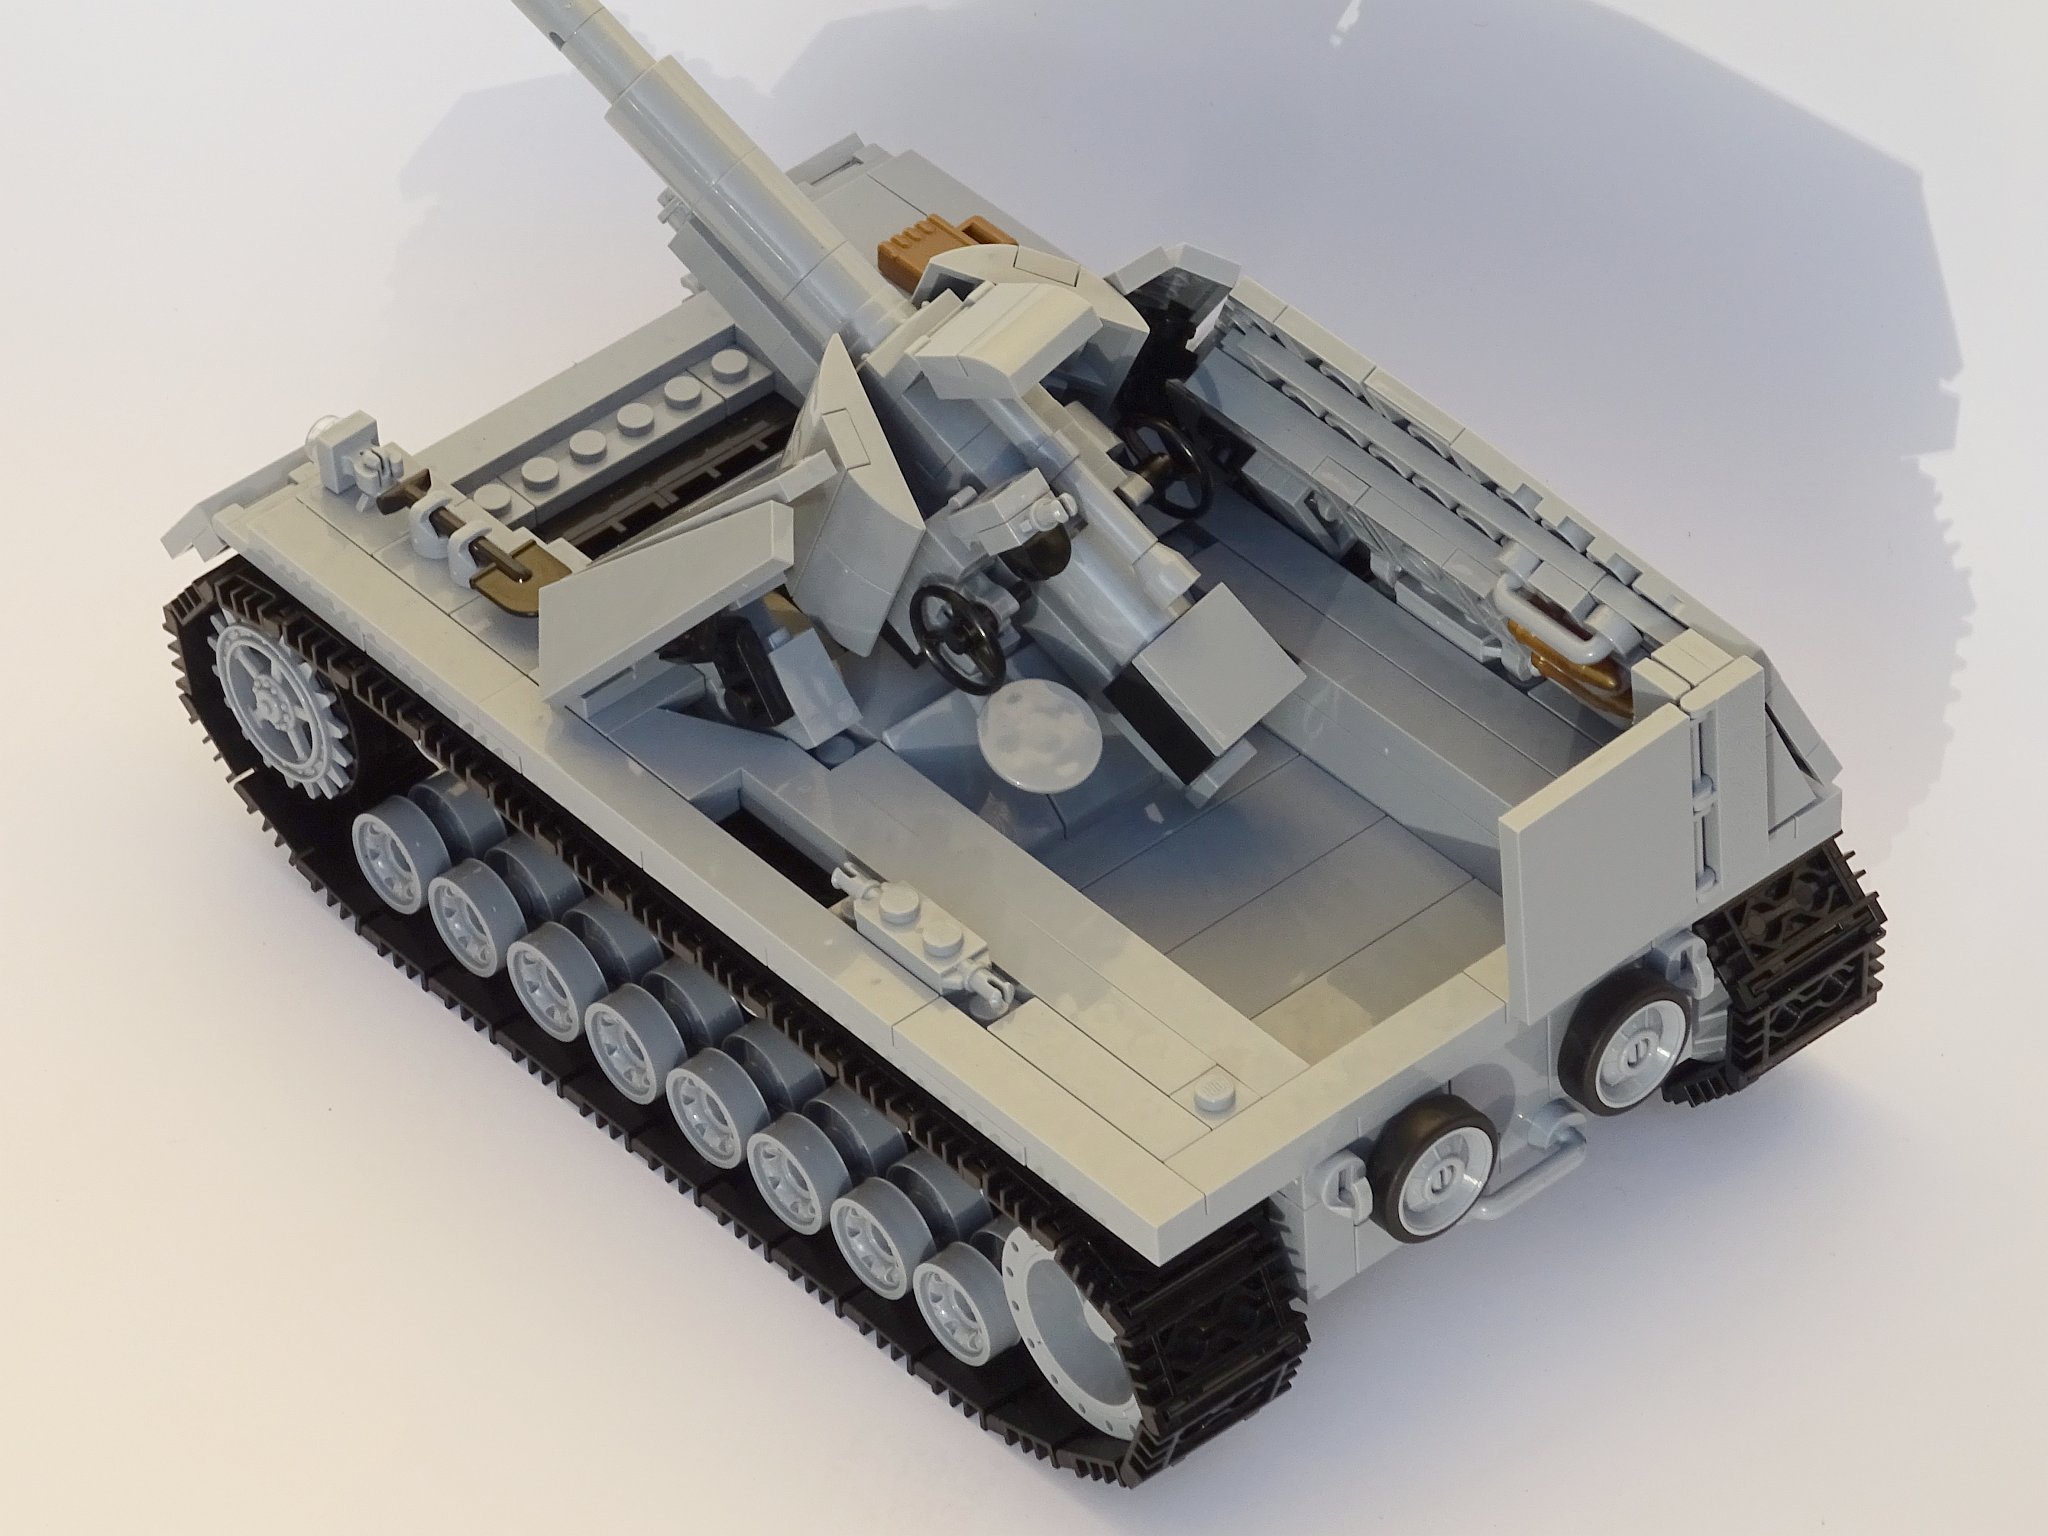
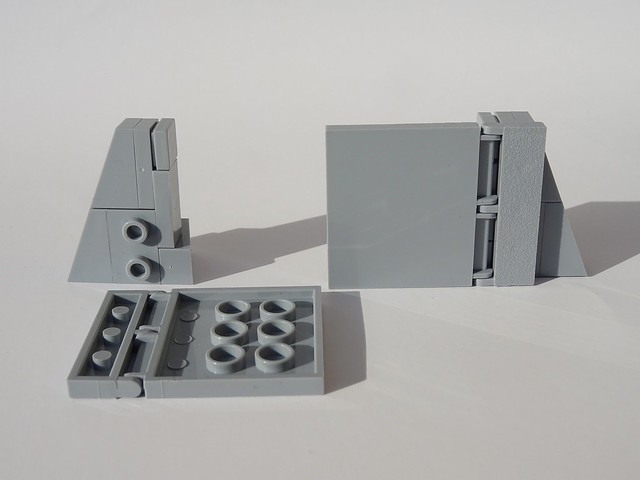
Upper hull front armor:If you look at a picture of a real "Nashorn" you realize that the 2x6 wing tiles have the perfect shape for the front armor.
So I definitely wanted to use them, but the challenge was to mount them next to each other in an angle (and in the correct angle to the side armor).
So the outer 2x6 wing tiles had to be rotated around all 3 axes, resulting in the outer tile being mounted on a single stud only (The ingenious "single stud on demand" part is used here inside the 1x1 tile with clip)
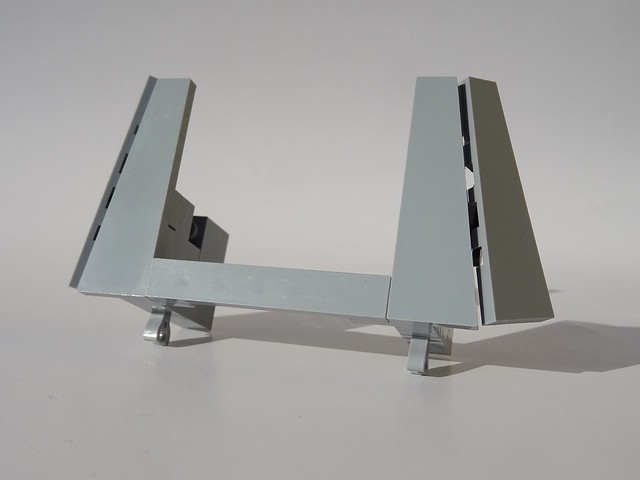

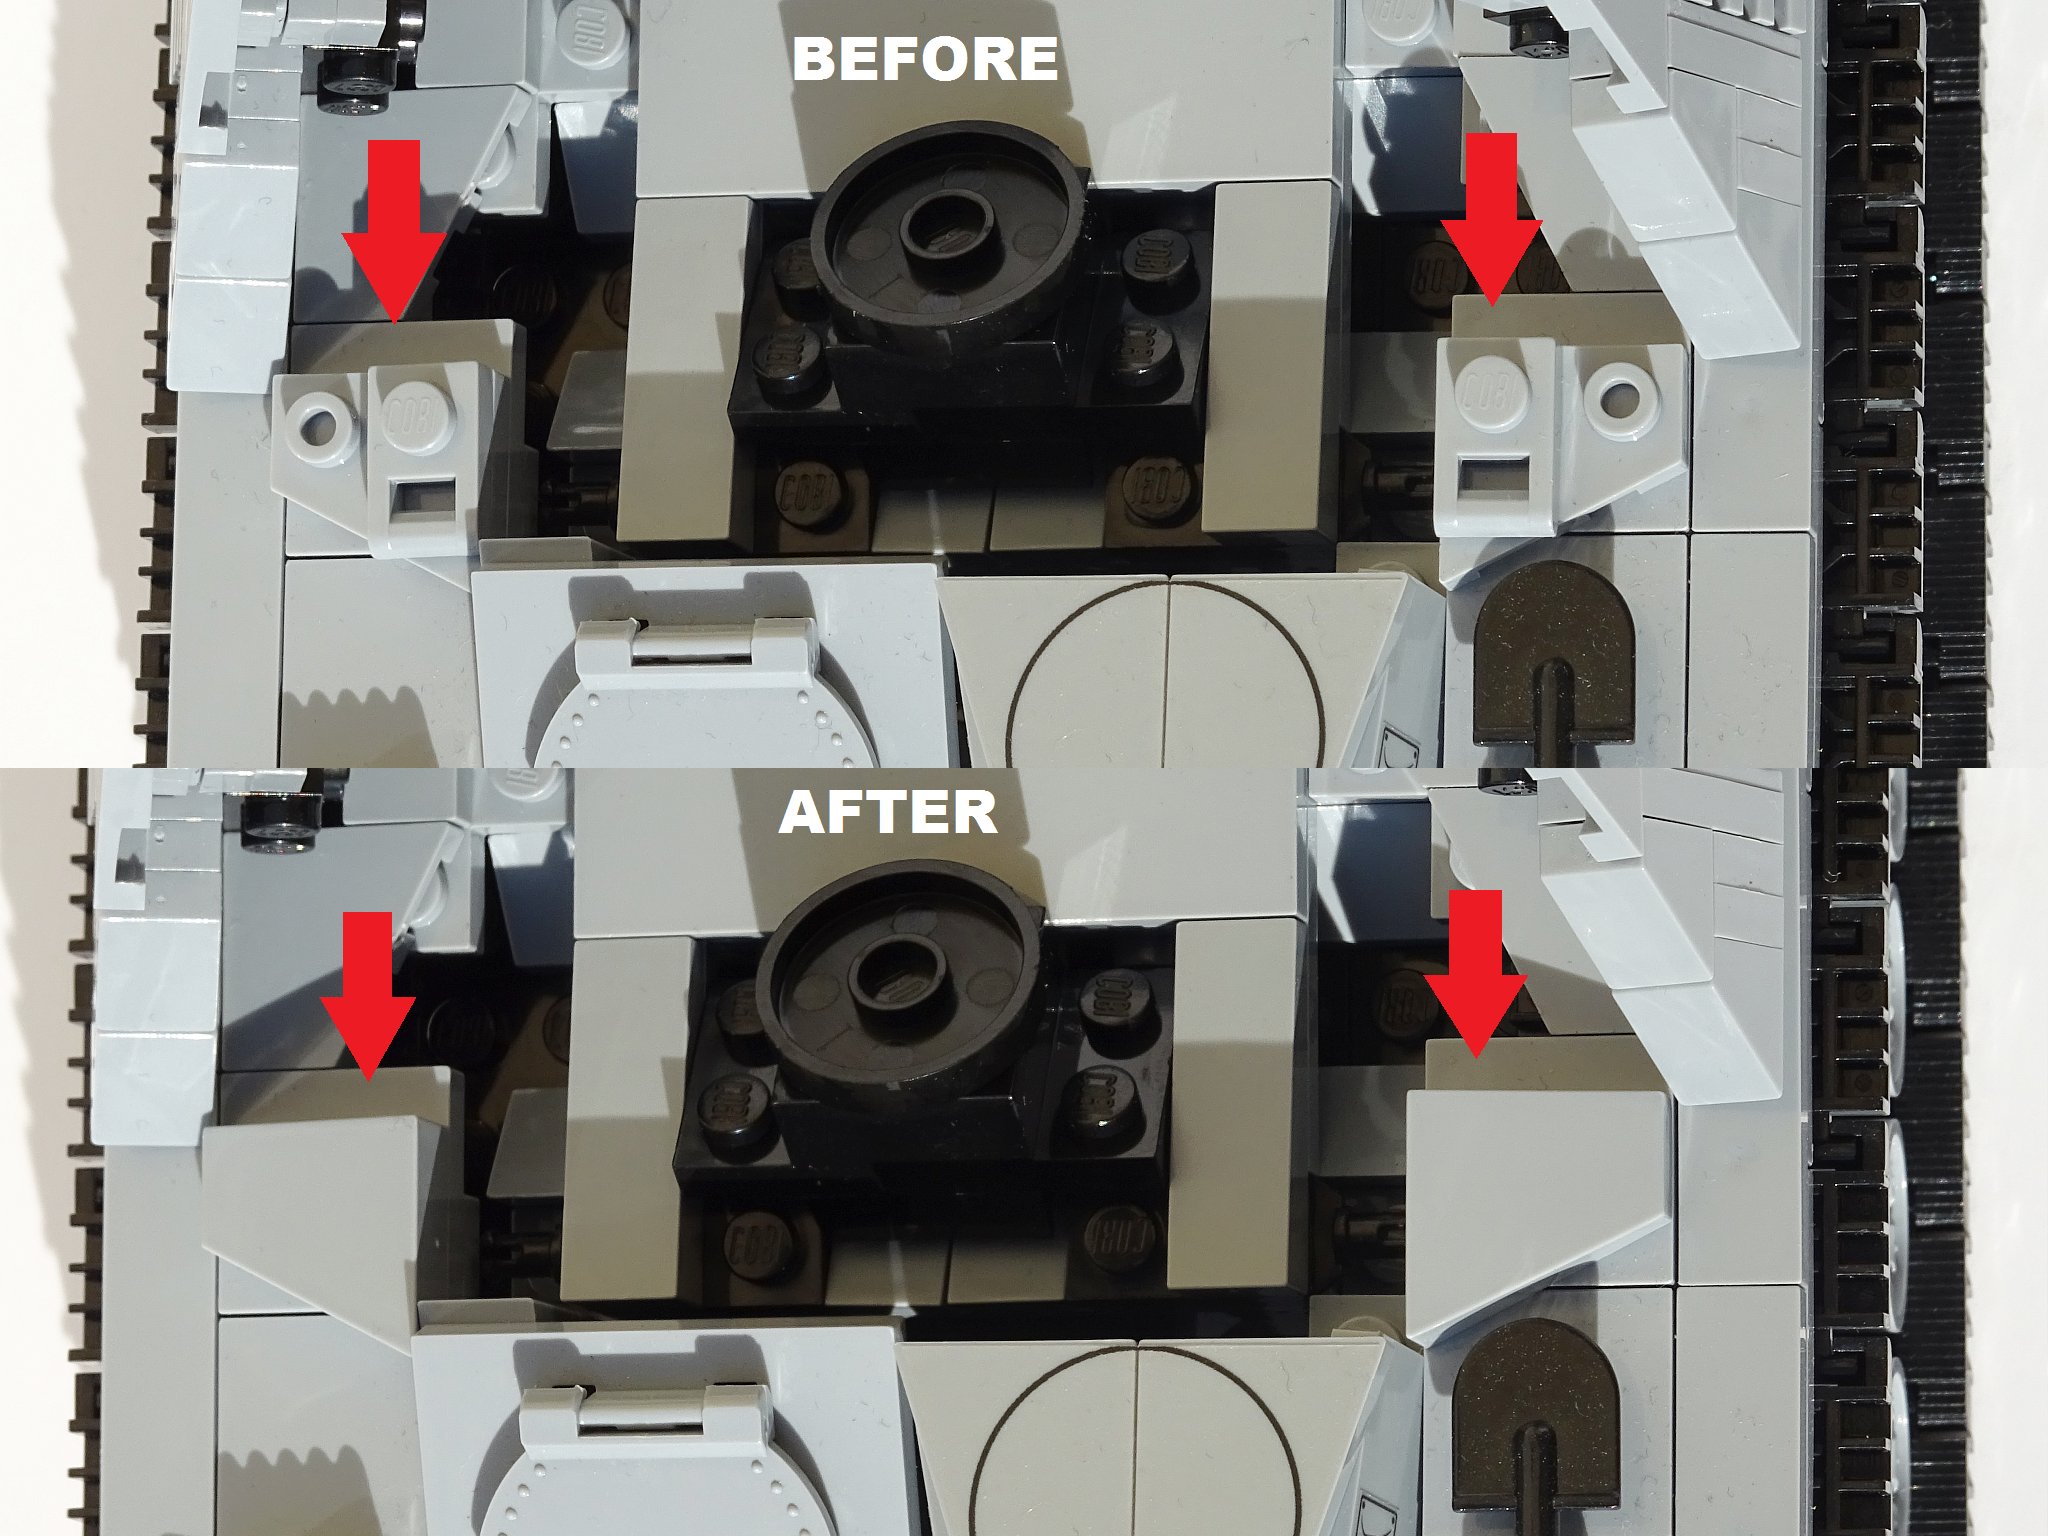
Upper hull side armor:For correct proportions the side armor panels had to have a height of 5 studs, but there was no suitable 2x2 wing tile with the same angle to fit to the 3x3 wing tile, so I had to use two single 1x1 slope bricks instead (which had the same angle as the 3x3 wing tile).
But in order to create a seamless transition from the 2 slope bricks to the 3x3 wing plate, a distance of 1/2 plate height was necessary.
The only parts that can fill a gap of 1/2 plate height are the bracket pieces, so I had to used them somehow.
But the two 2x2 grille tiles had to be in the correct place of the side armor plate also, adding to the already big challenge of mounting the slope bricks correctly.


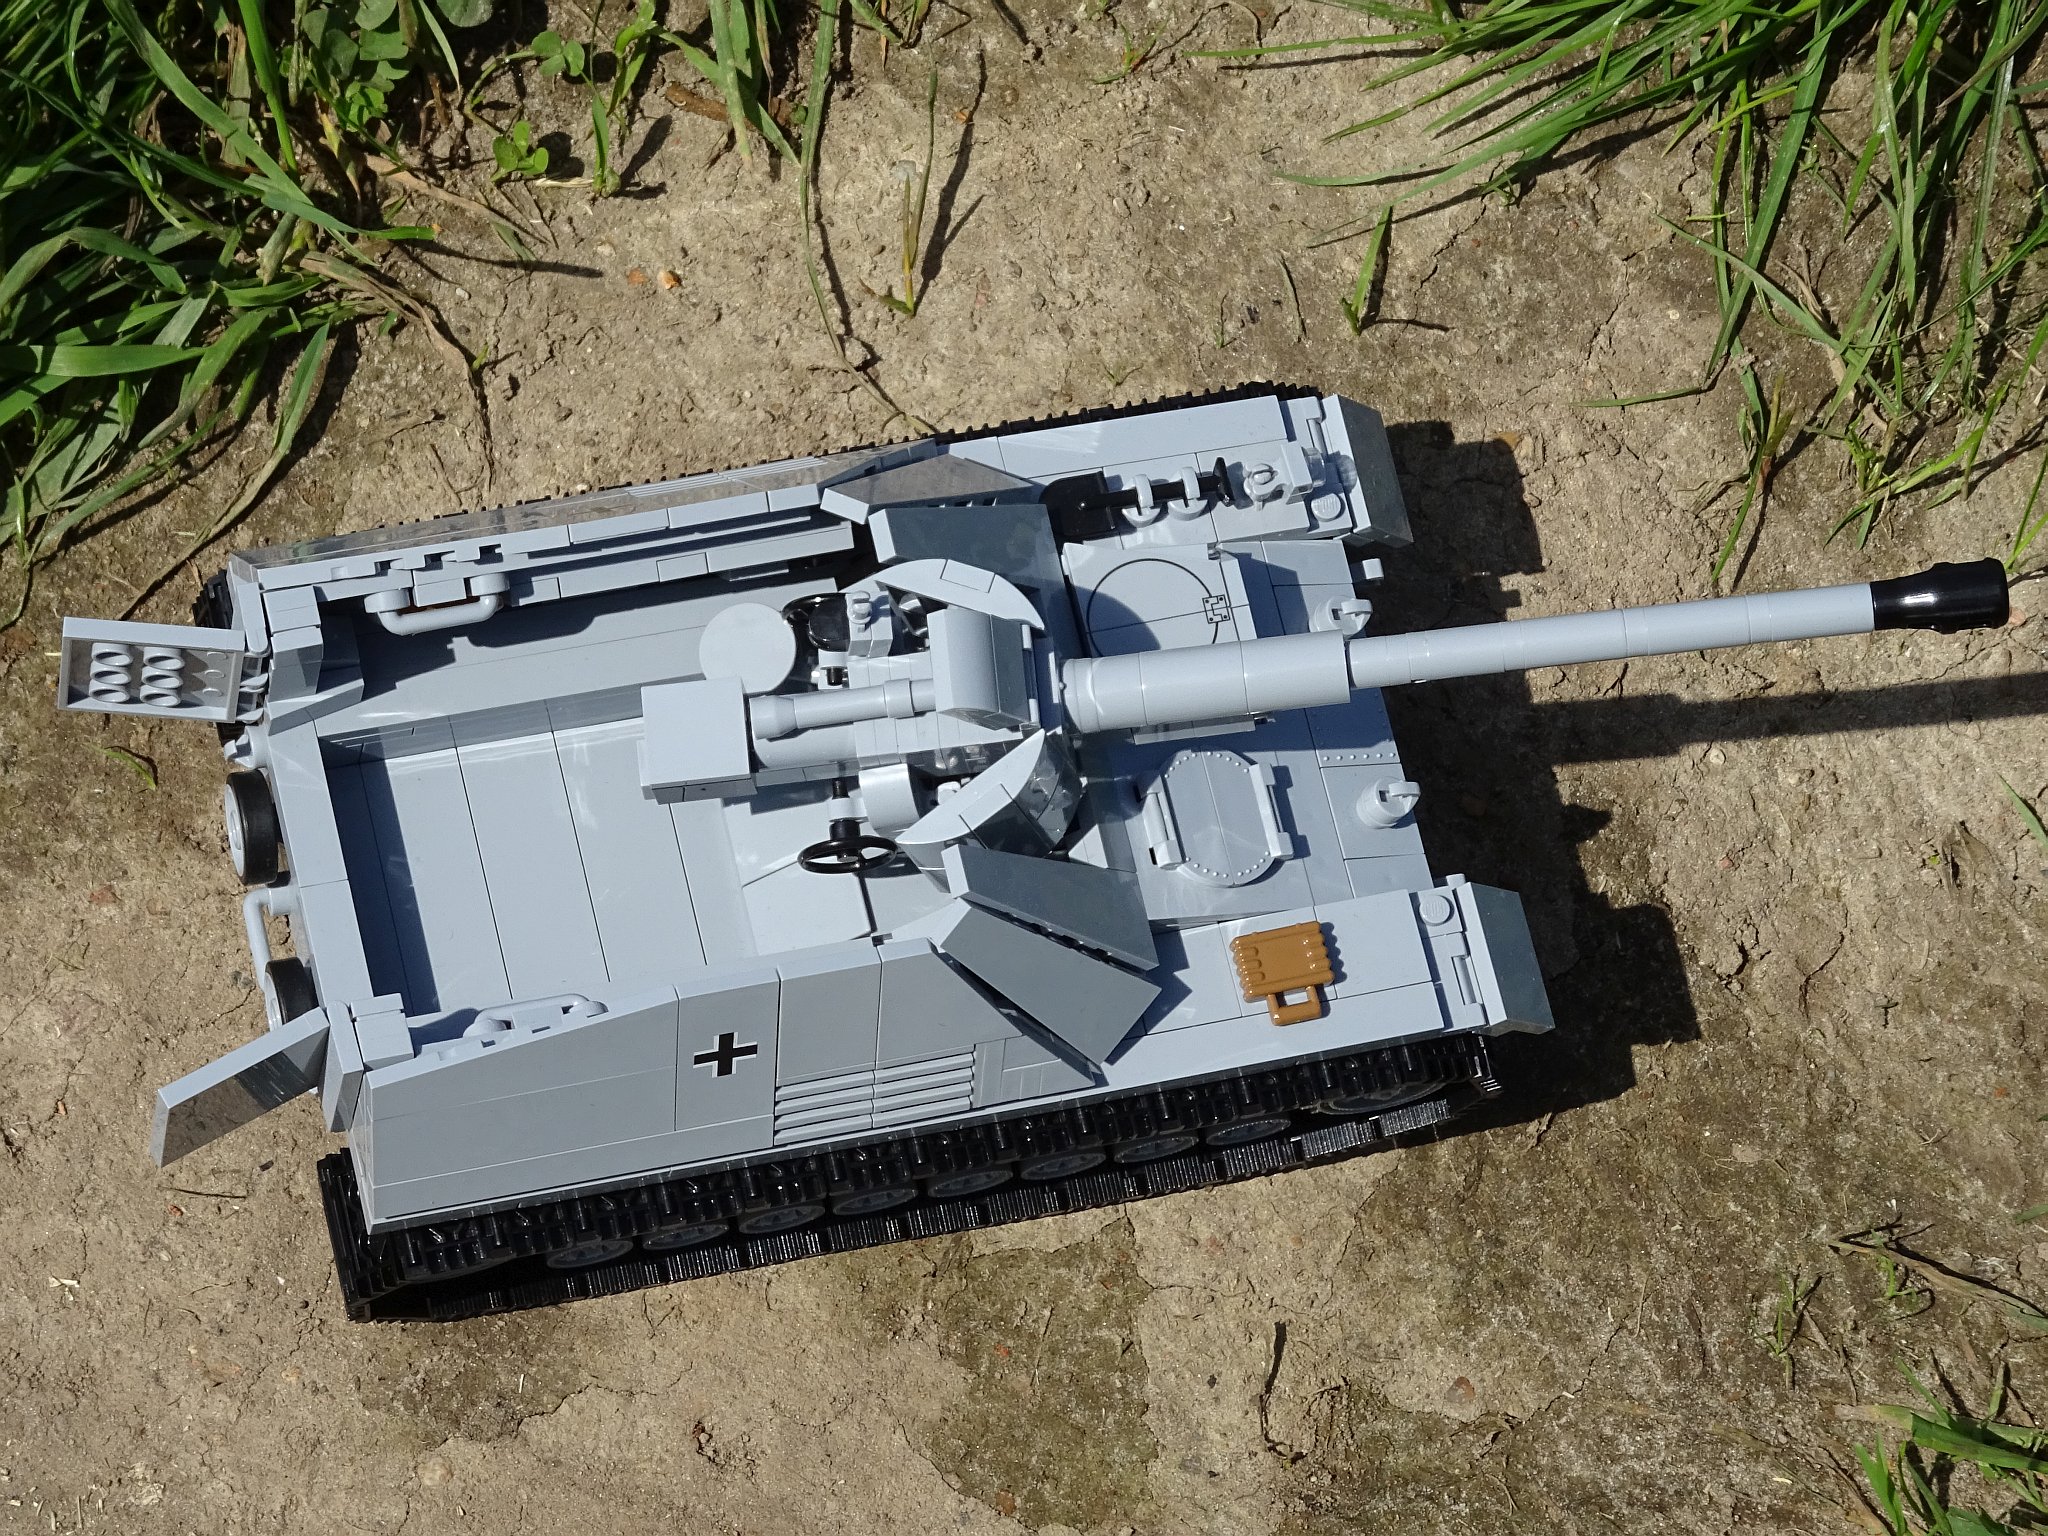
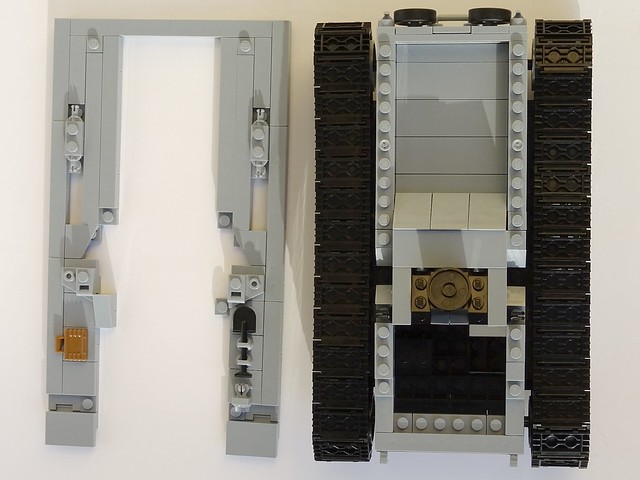
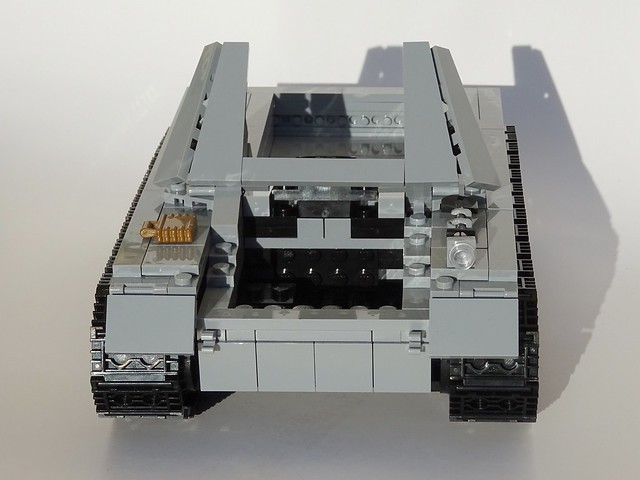
I spend quite some time to figure out how to build the ammunition racks, until I finally ended up using the 1x3 handle bars (mounted to the back of the plate using the ingenious "single stud on demand" part)
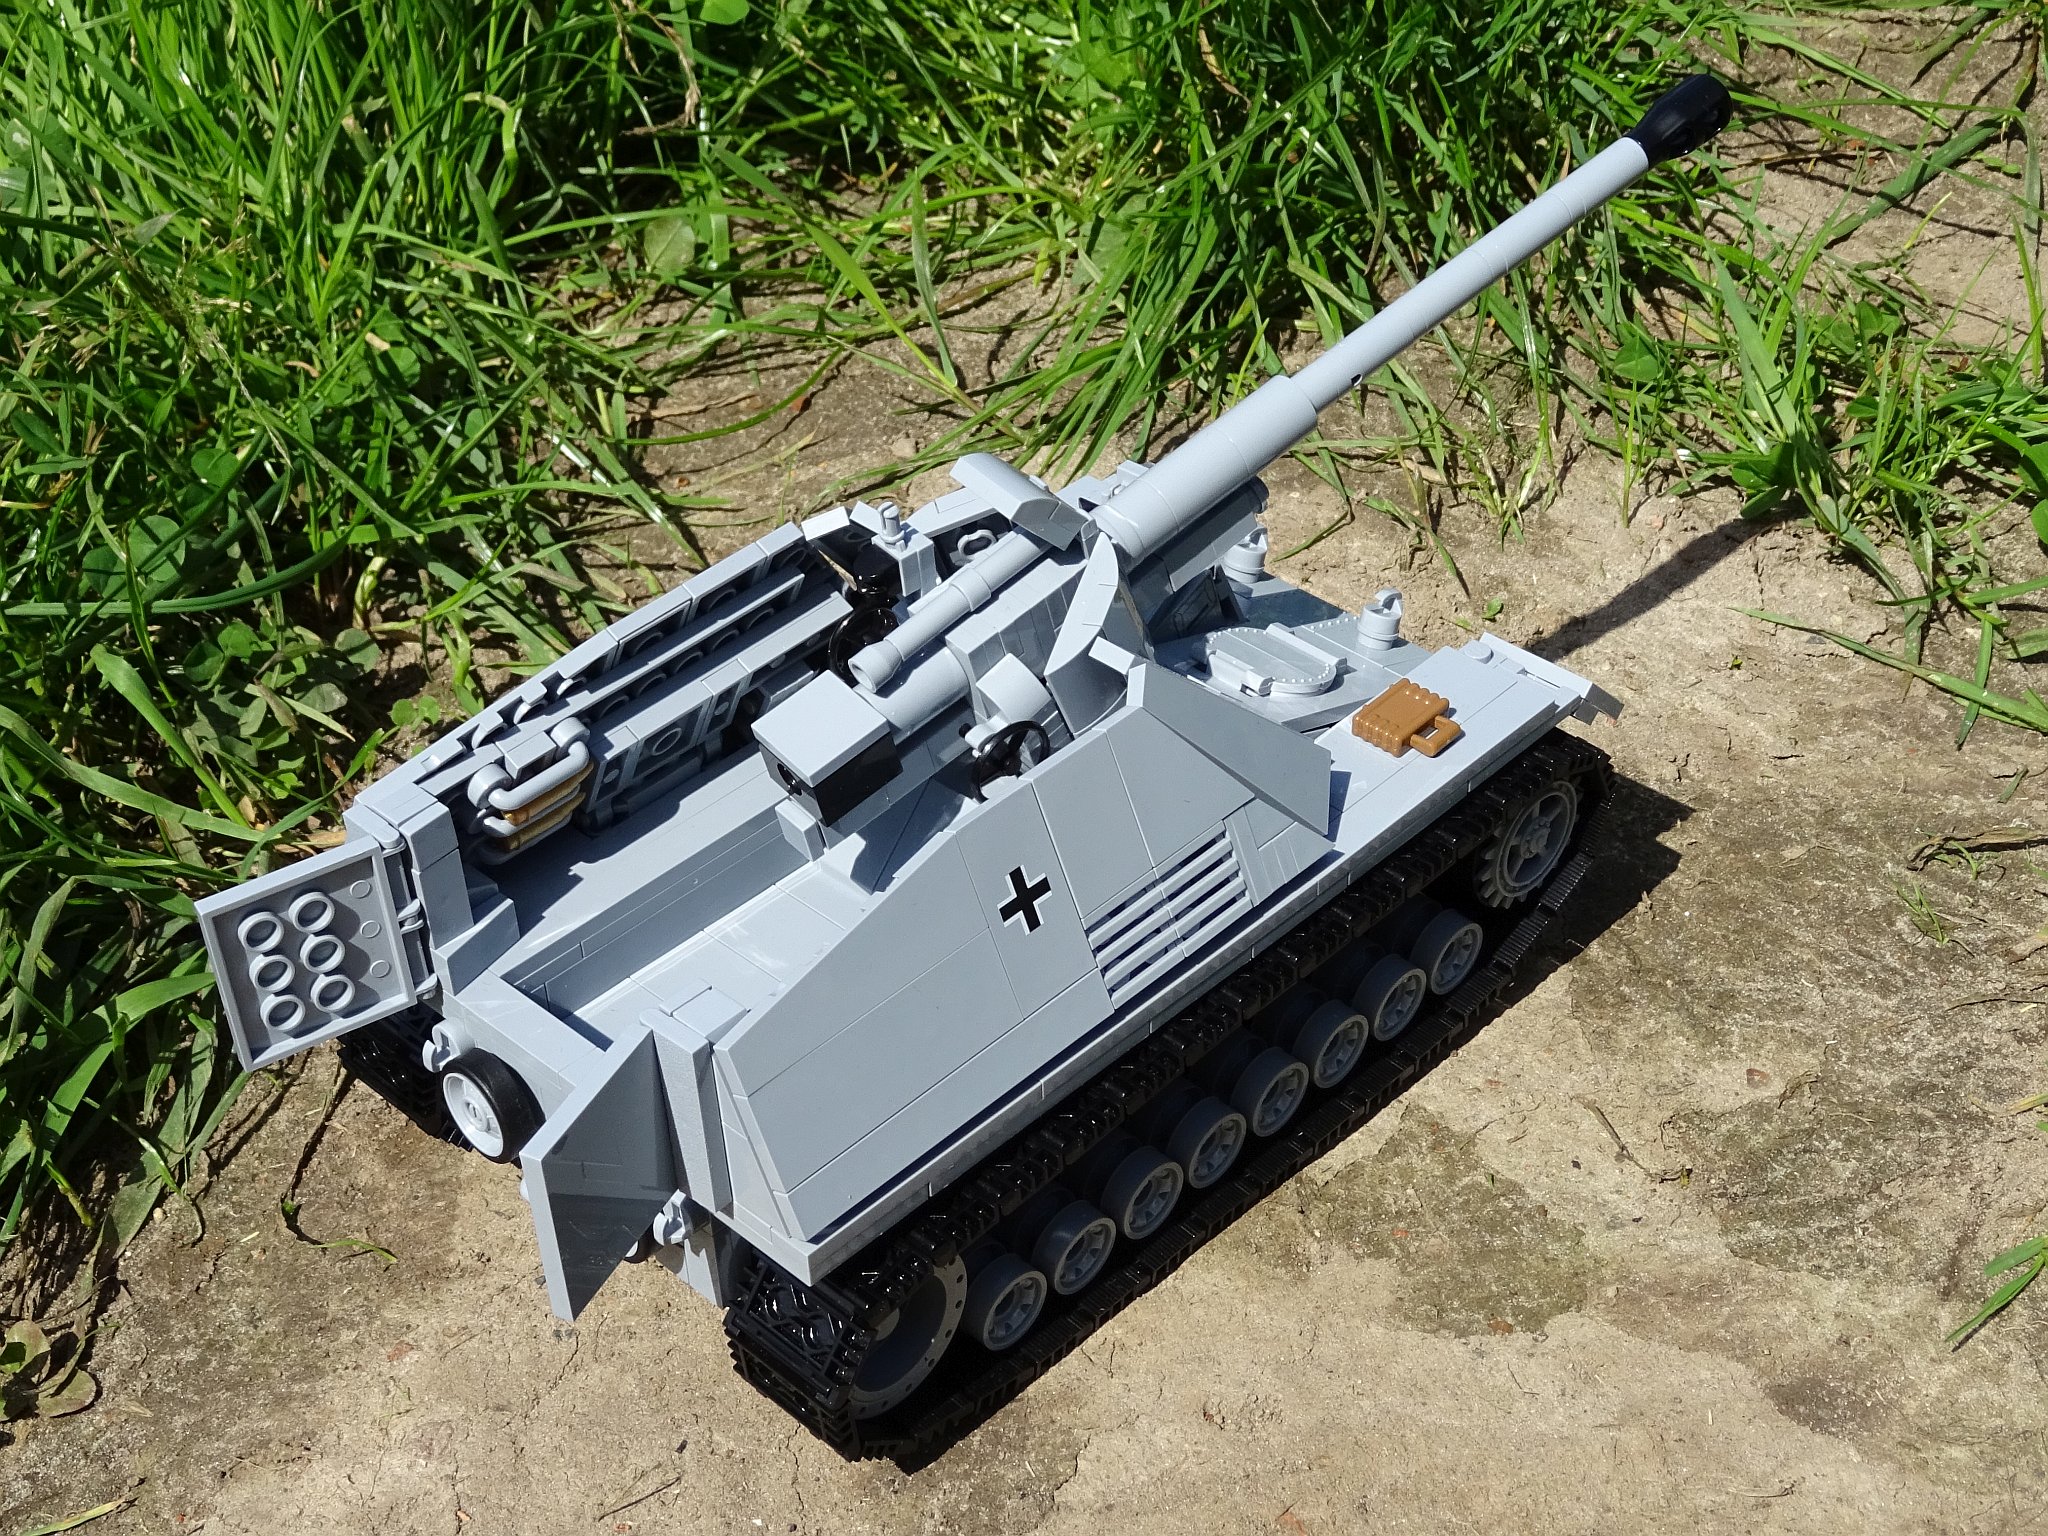
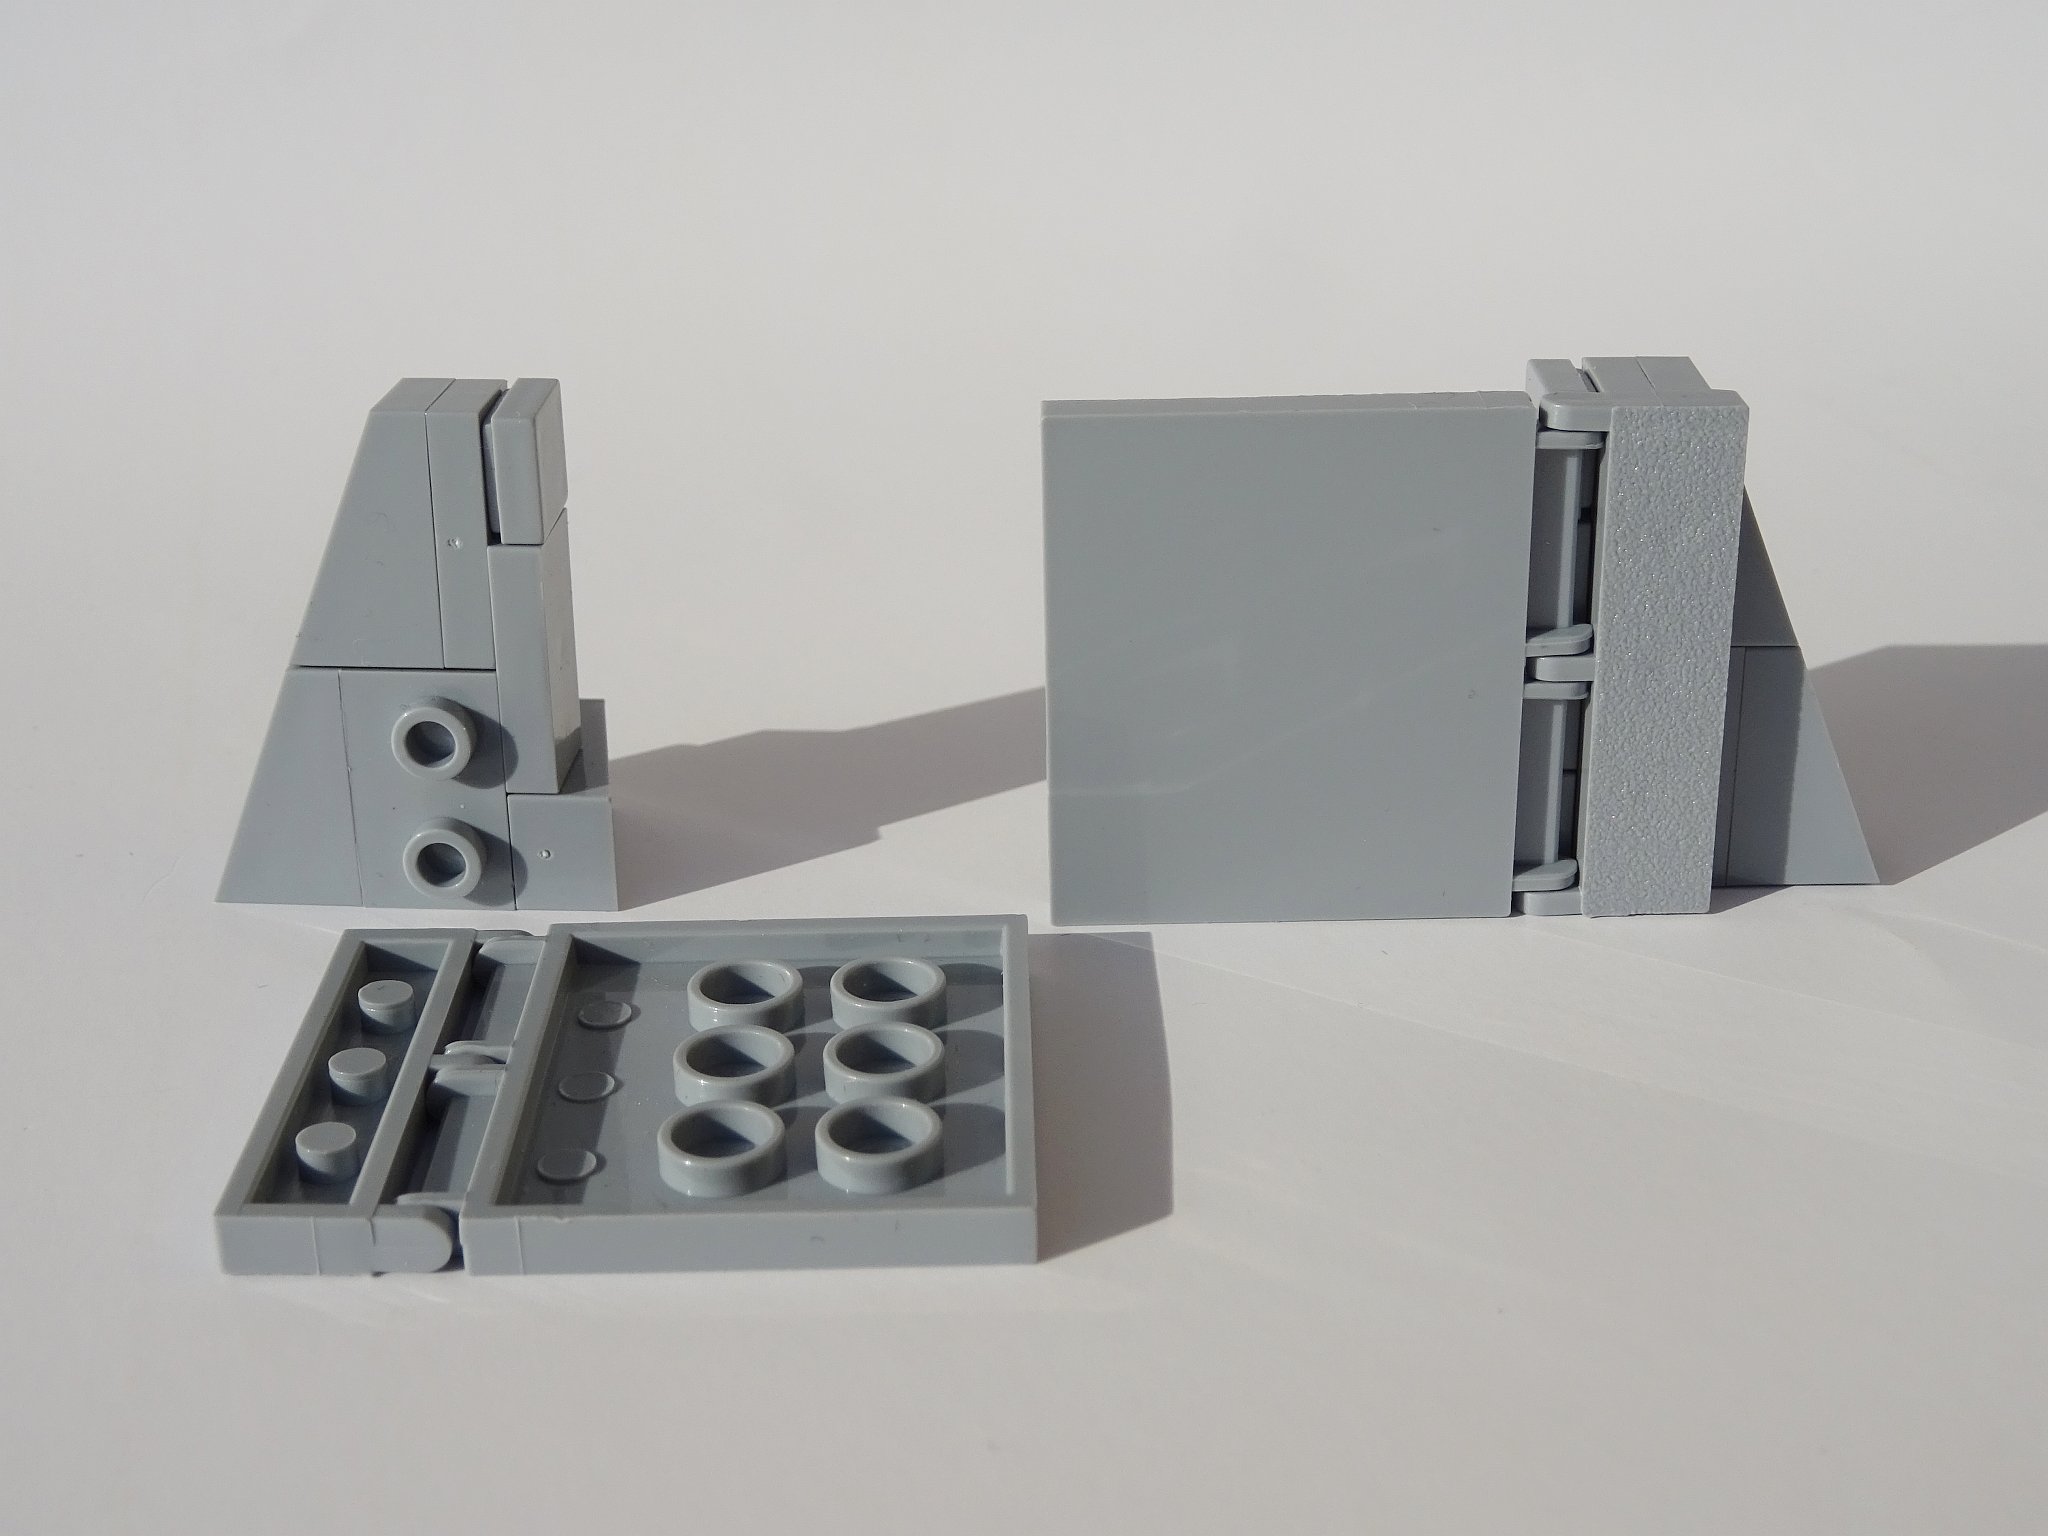
Rear doors:Two 4x4 hinge tiles were perfect for the rear doors, but they had to be mounted somehow on a structure which also closed the gap to the side armor panels in the correct angle.
Only two 1x2 slope bricks had the correct angle to close the gap, so again a combination of vertically mounted plates and bricks mounted sideways was necessary.
Using a 1x2 slope brick instead of a 1x2 tile at the bottom of the structure prevents the doors from being able to be bended inwards.


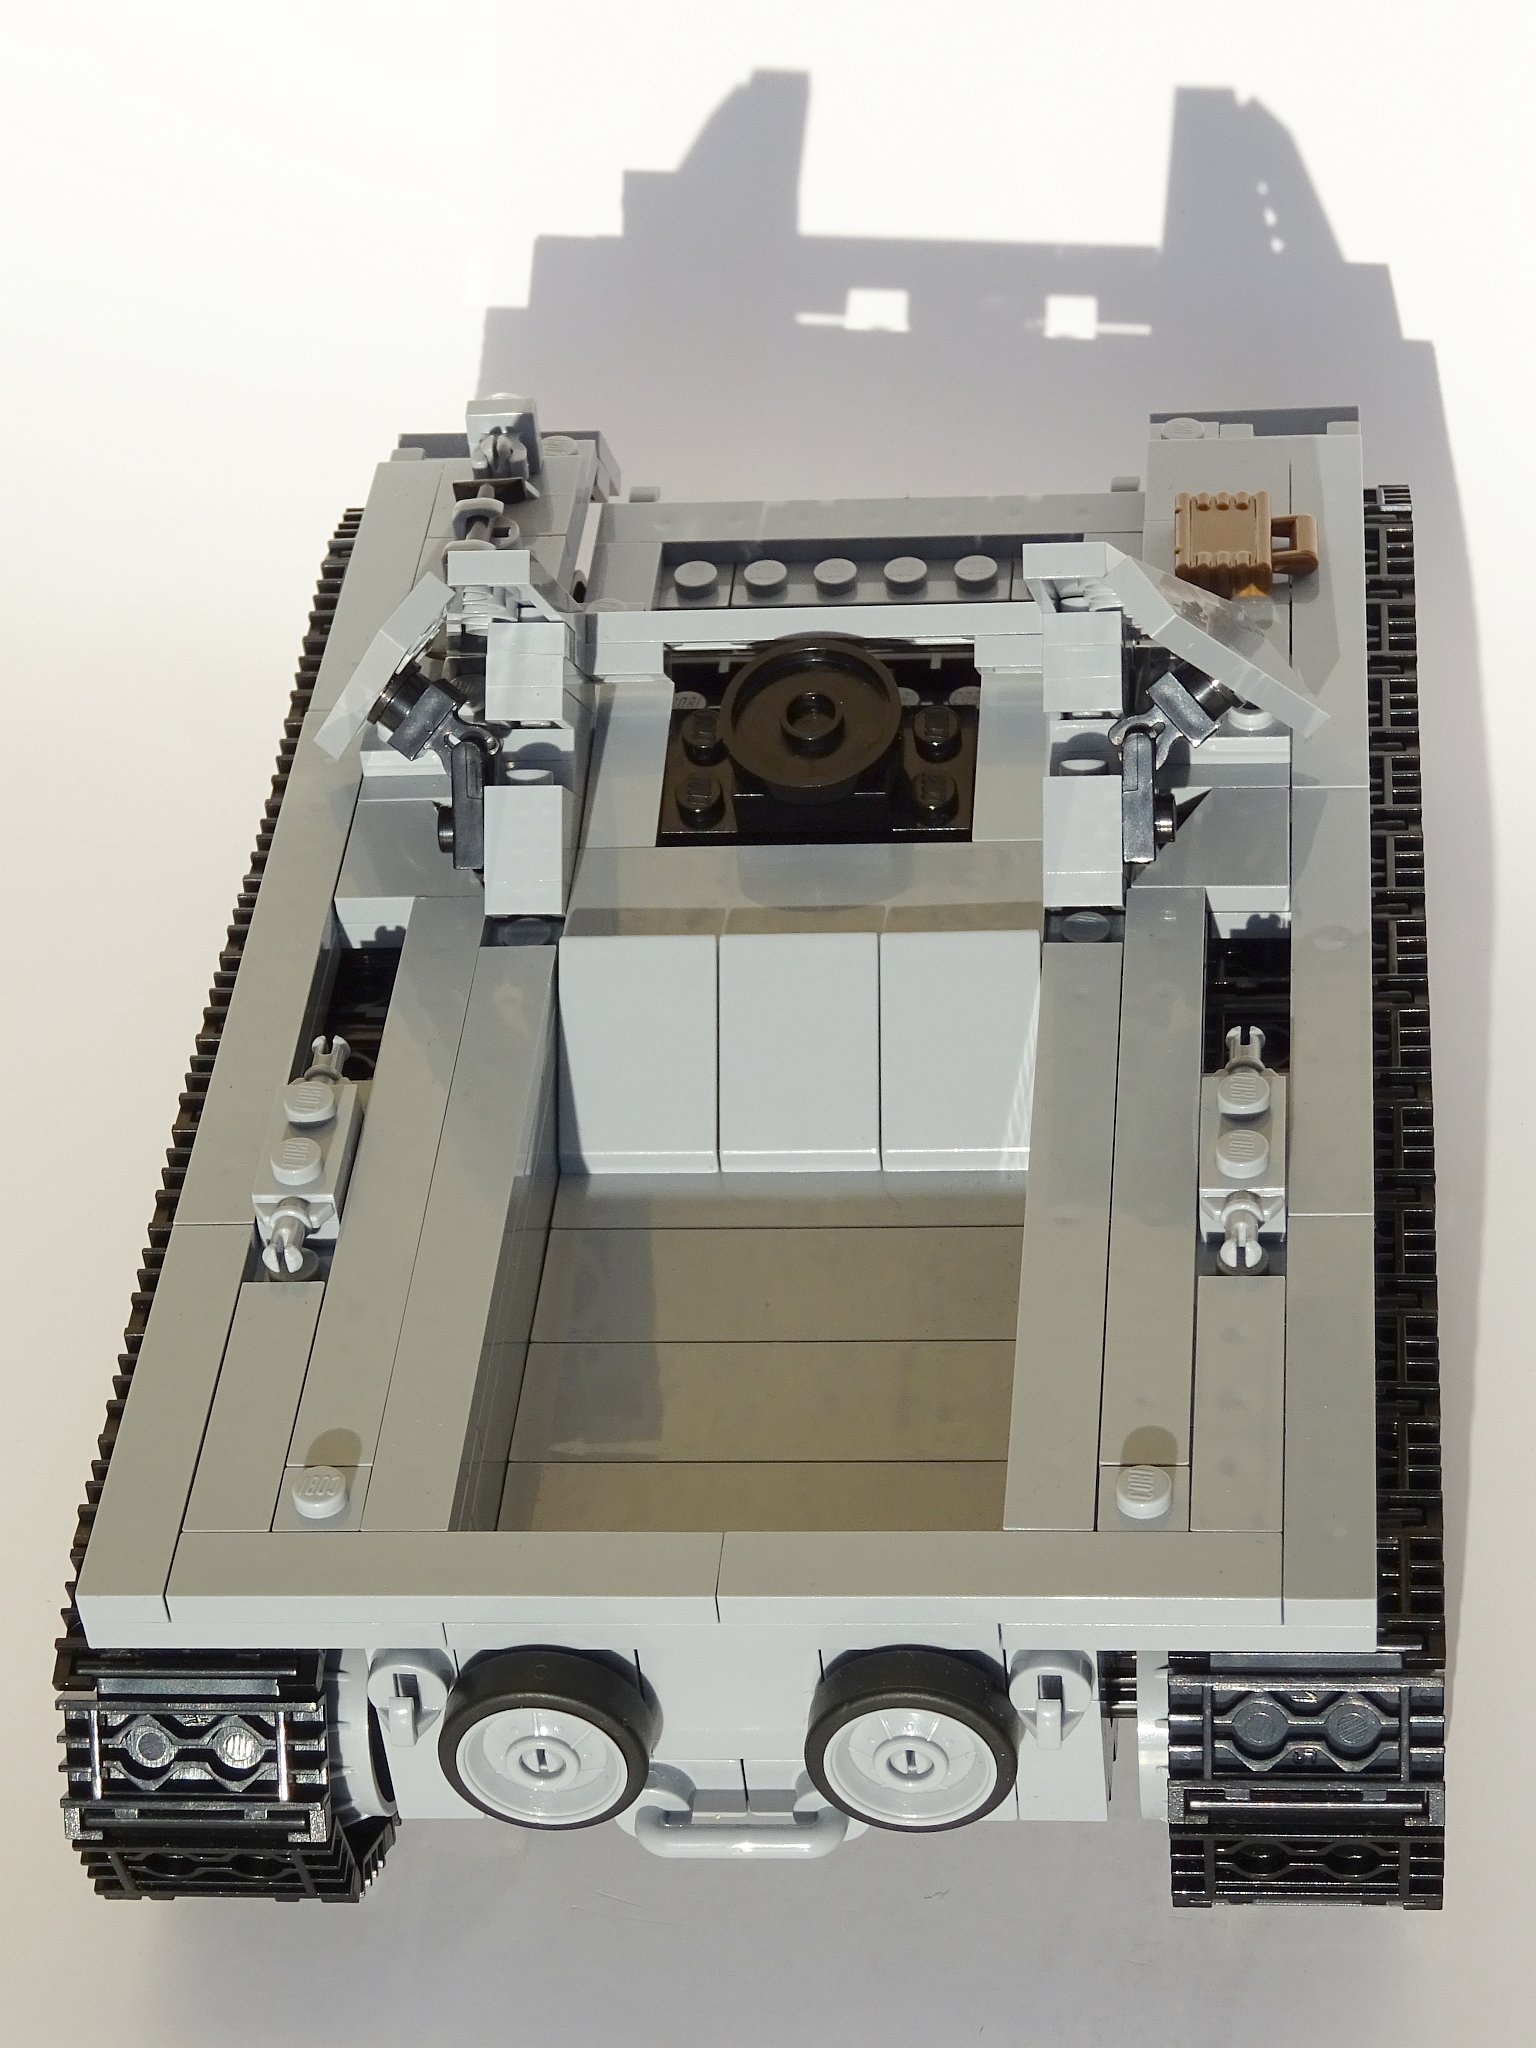
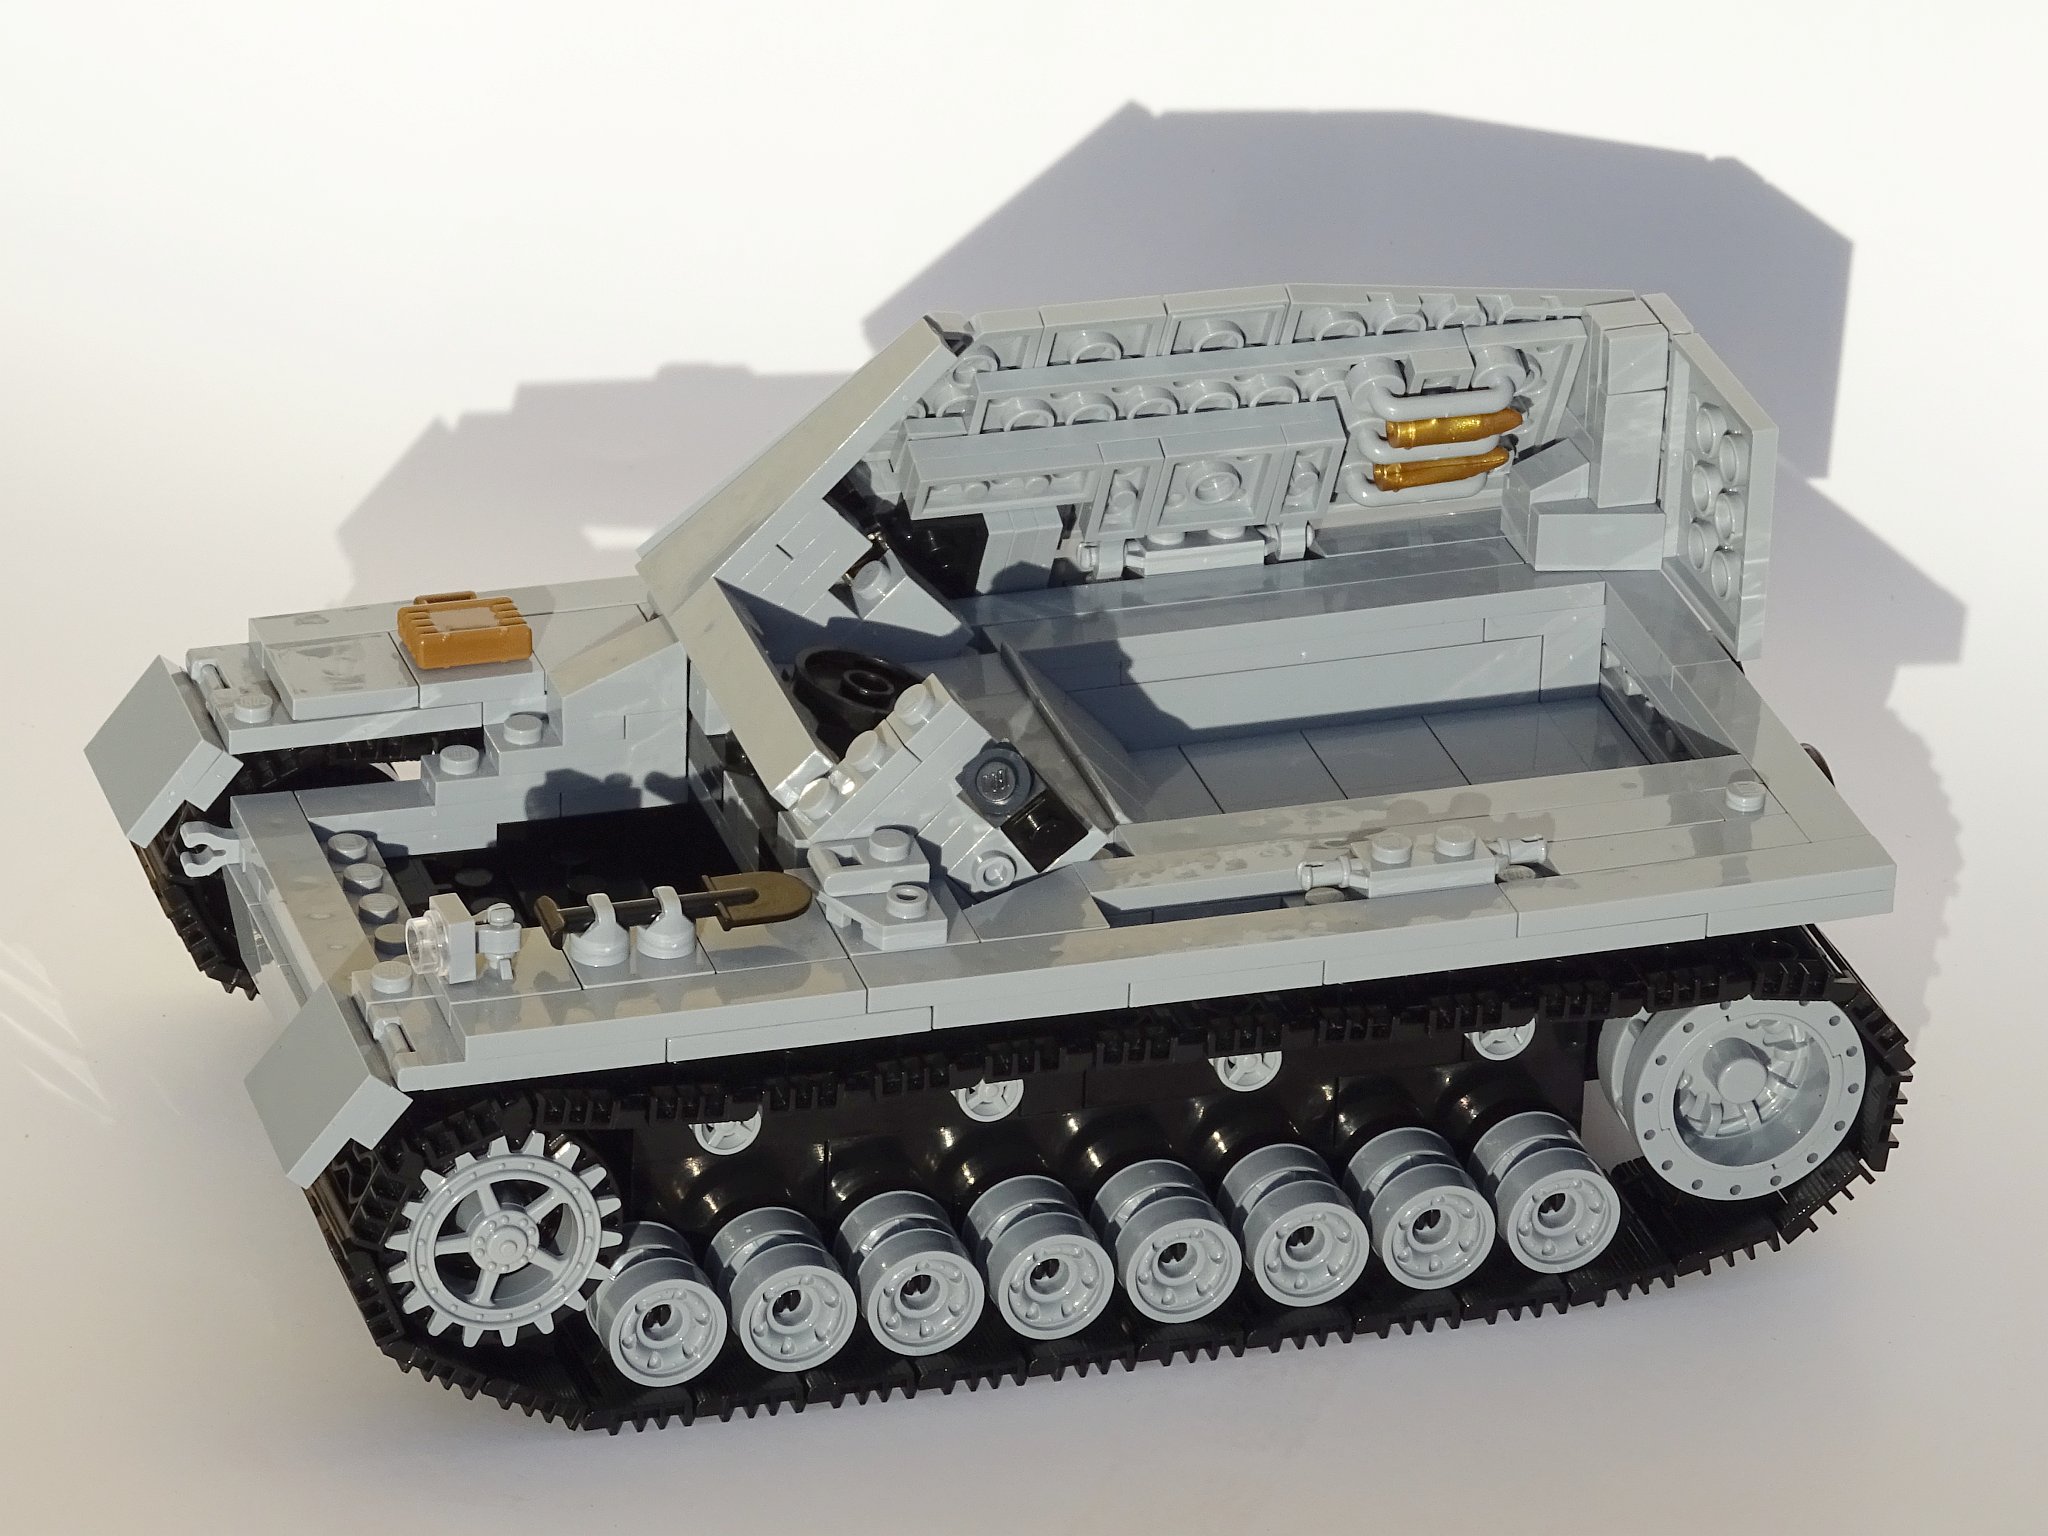
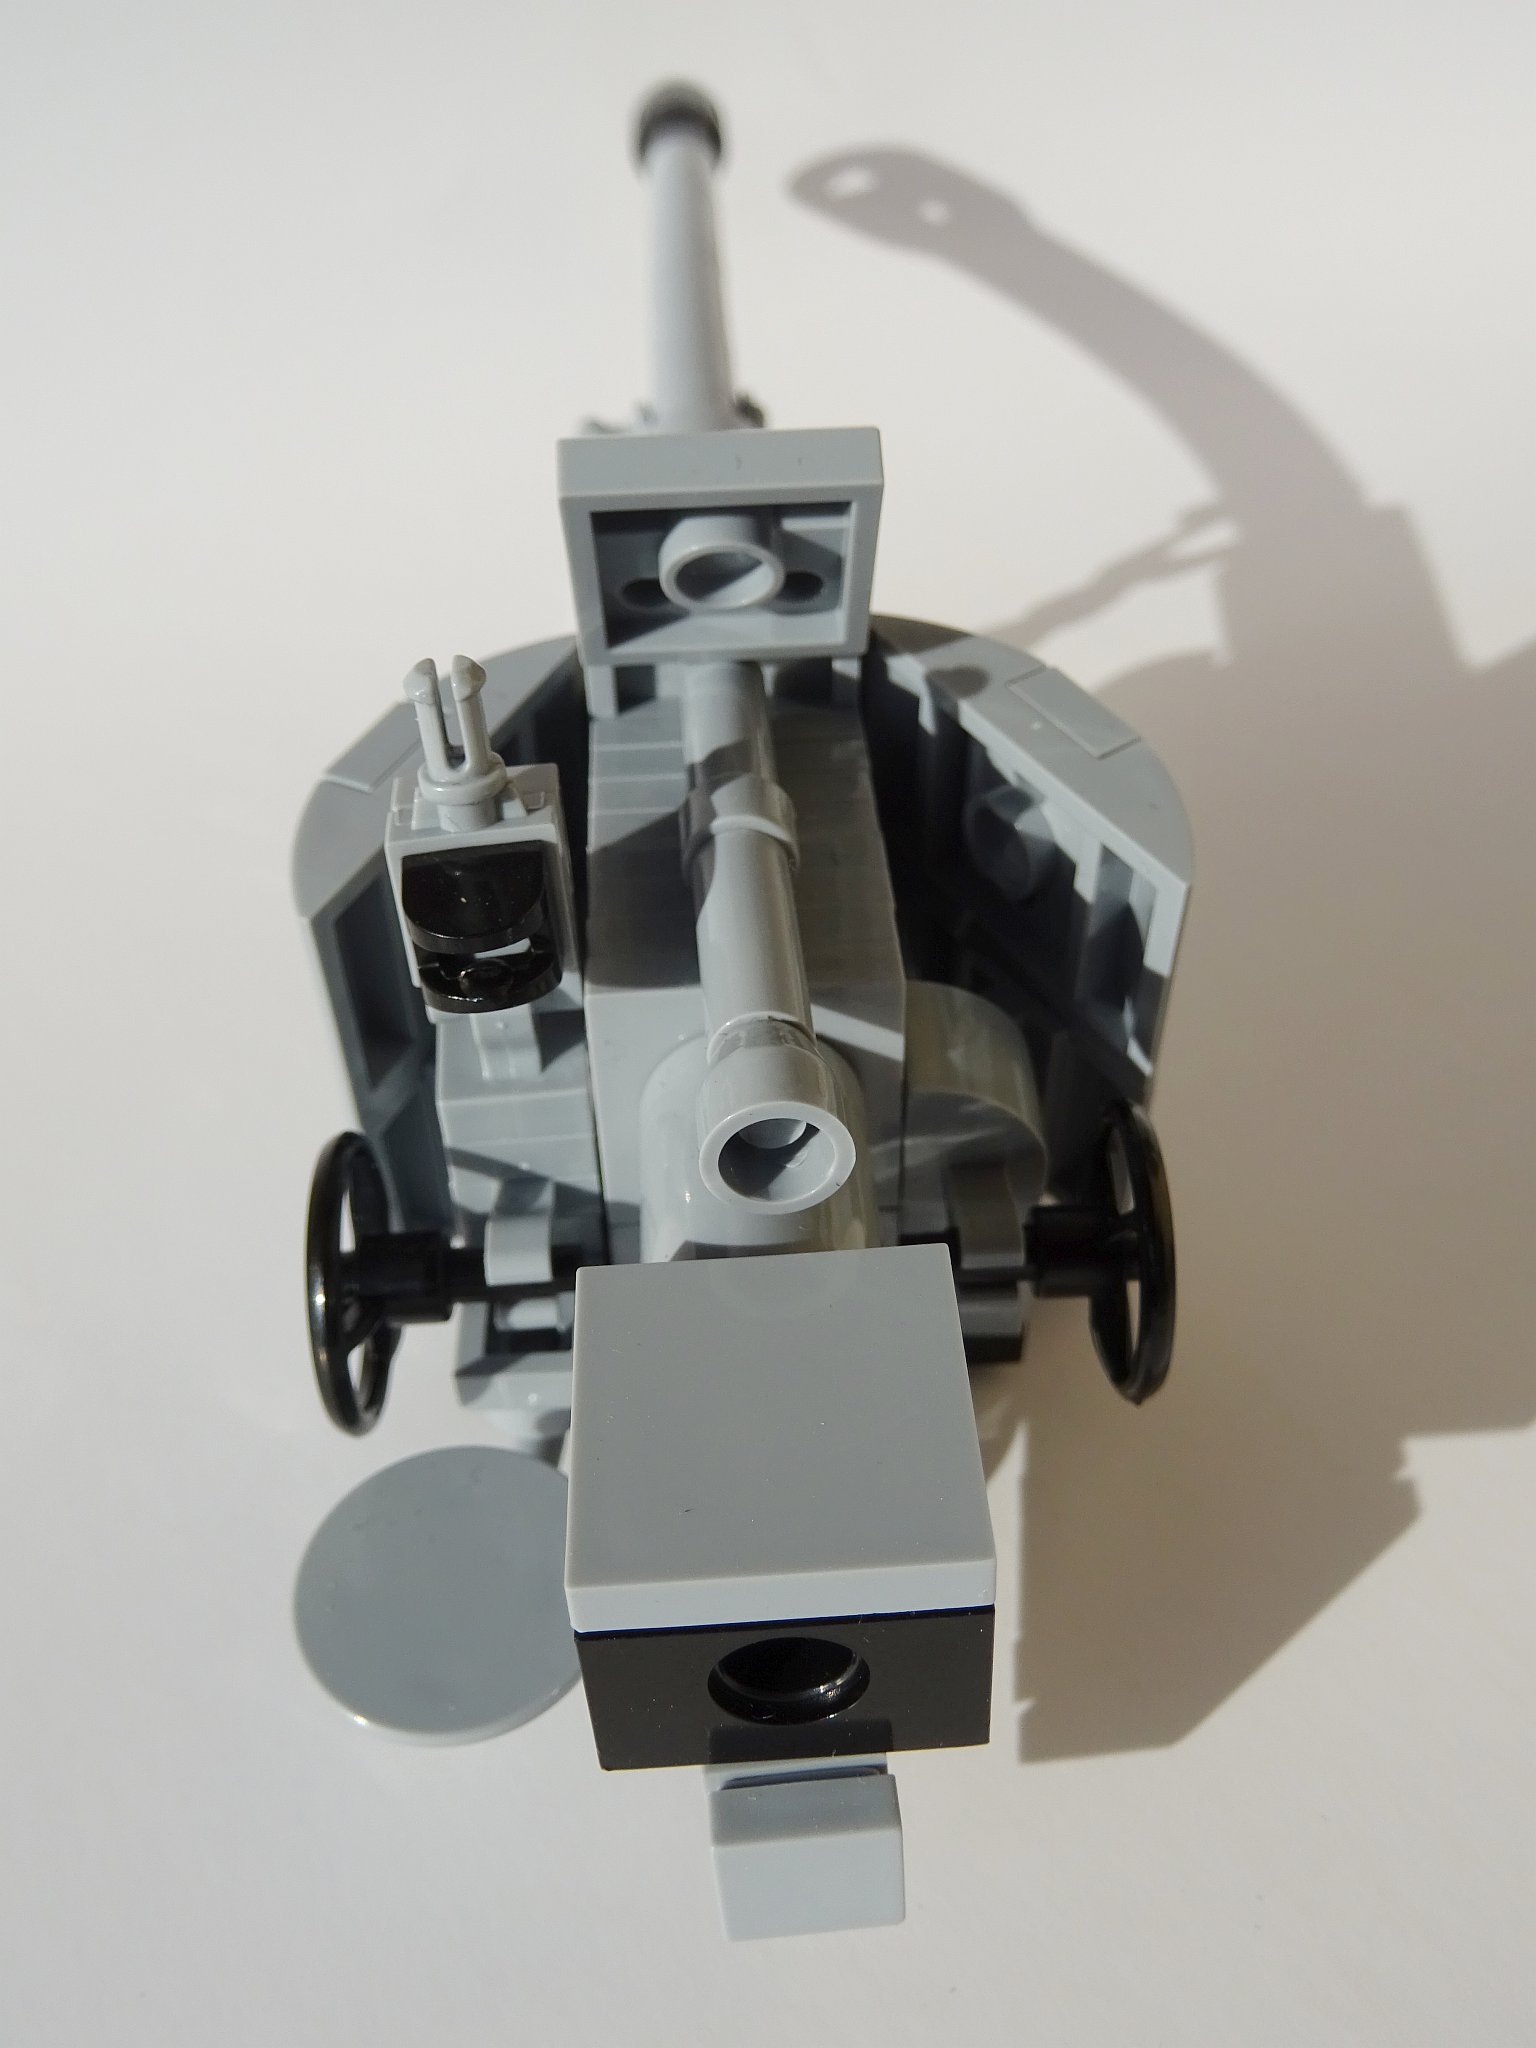
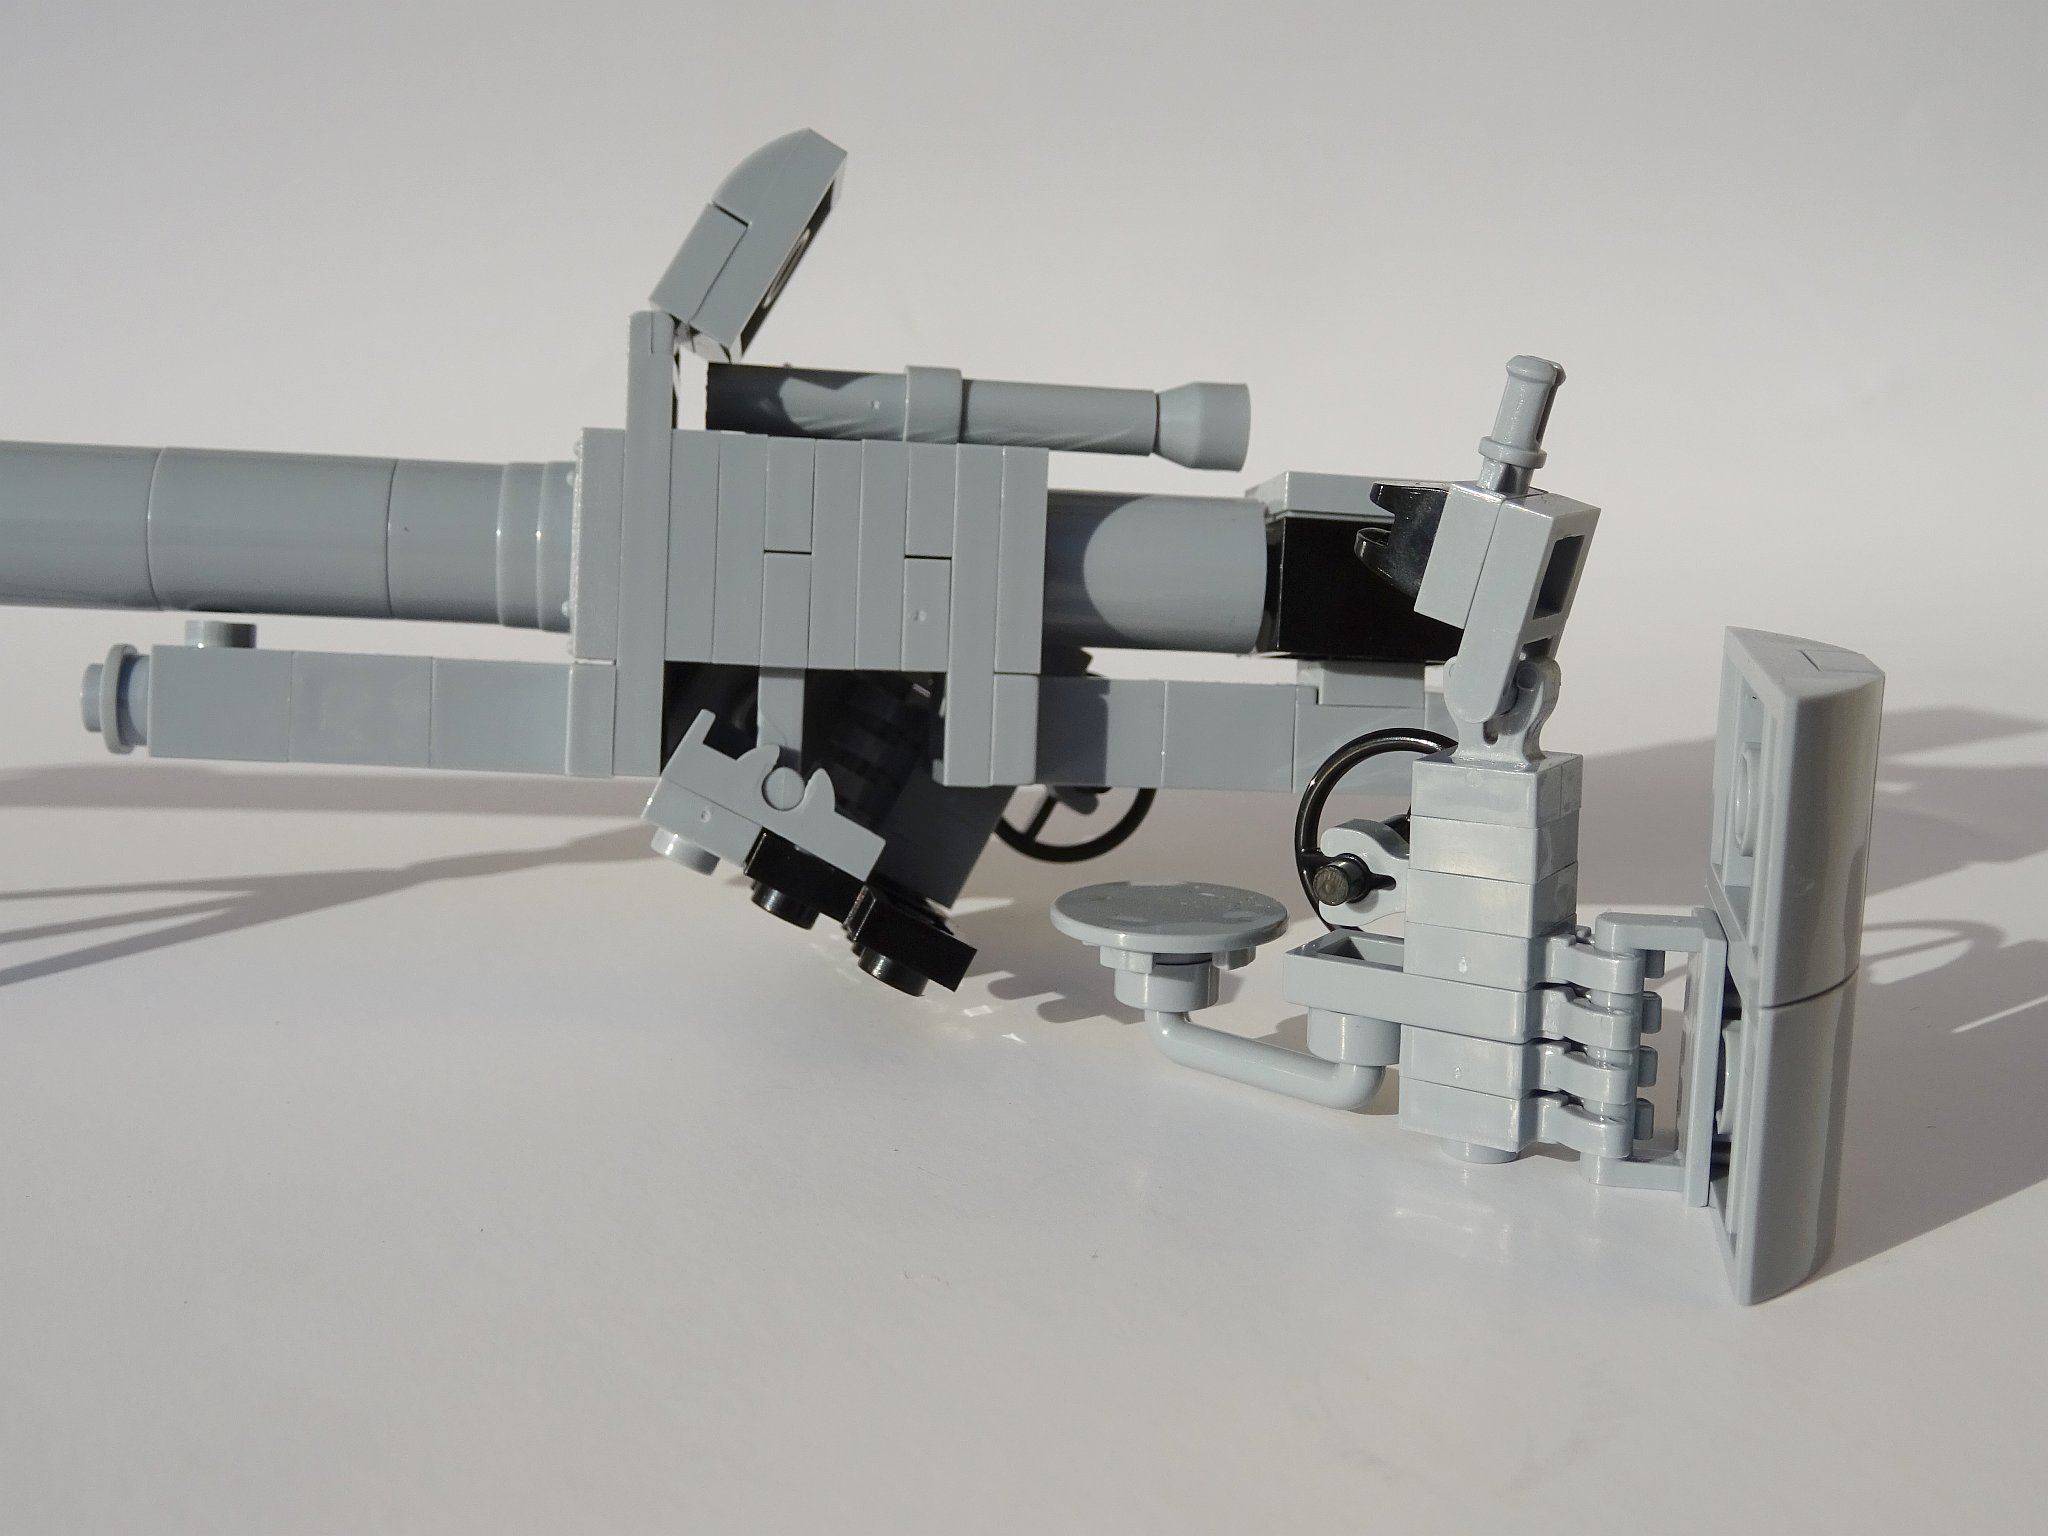
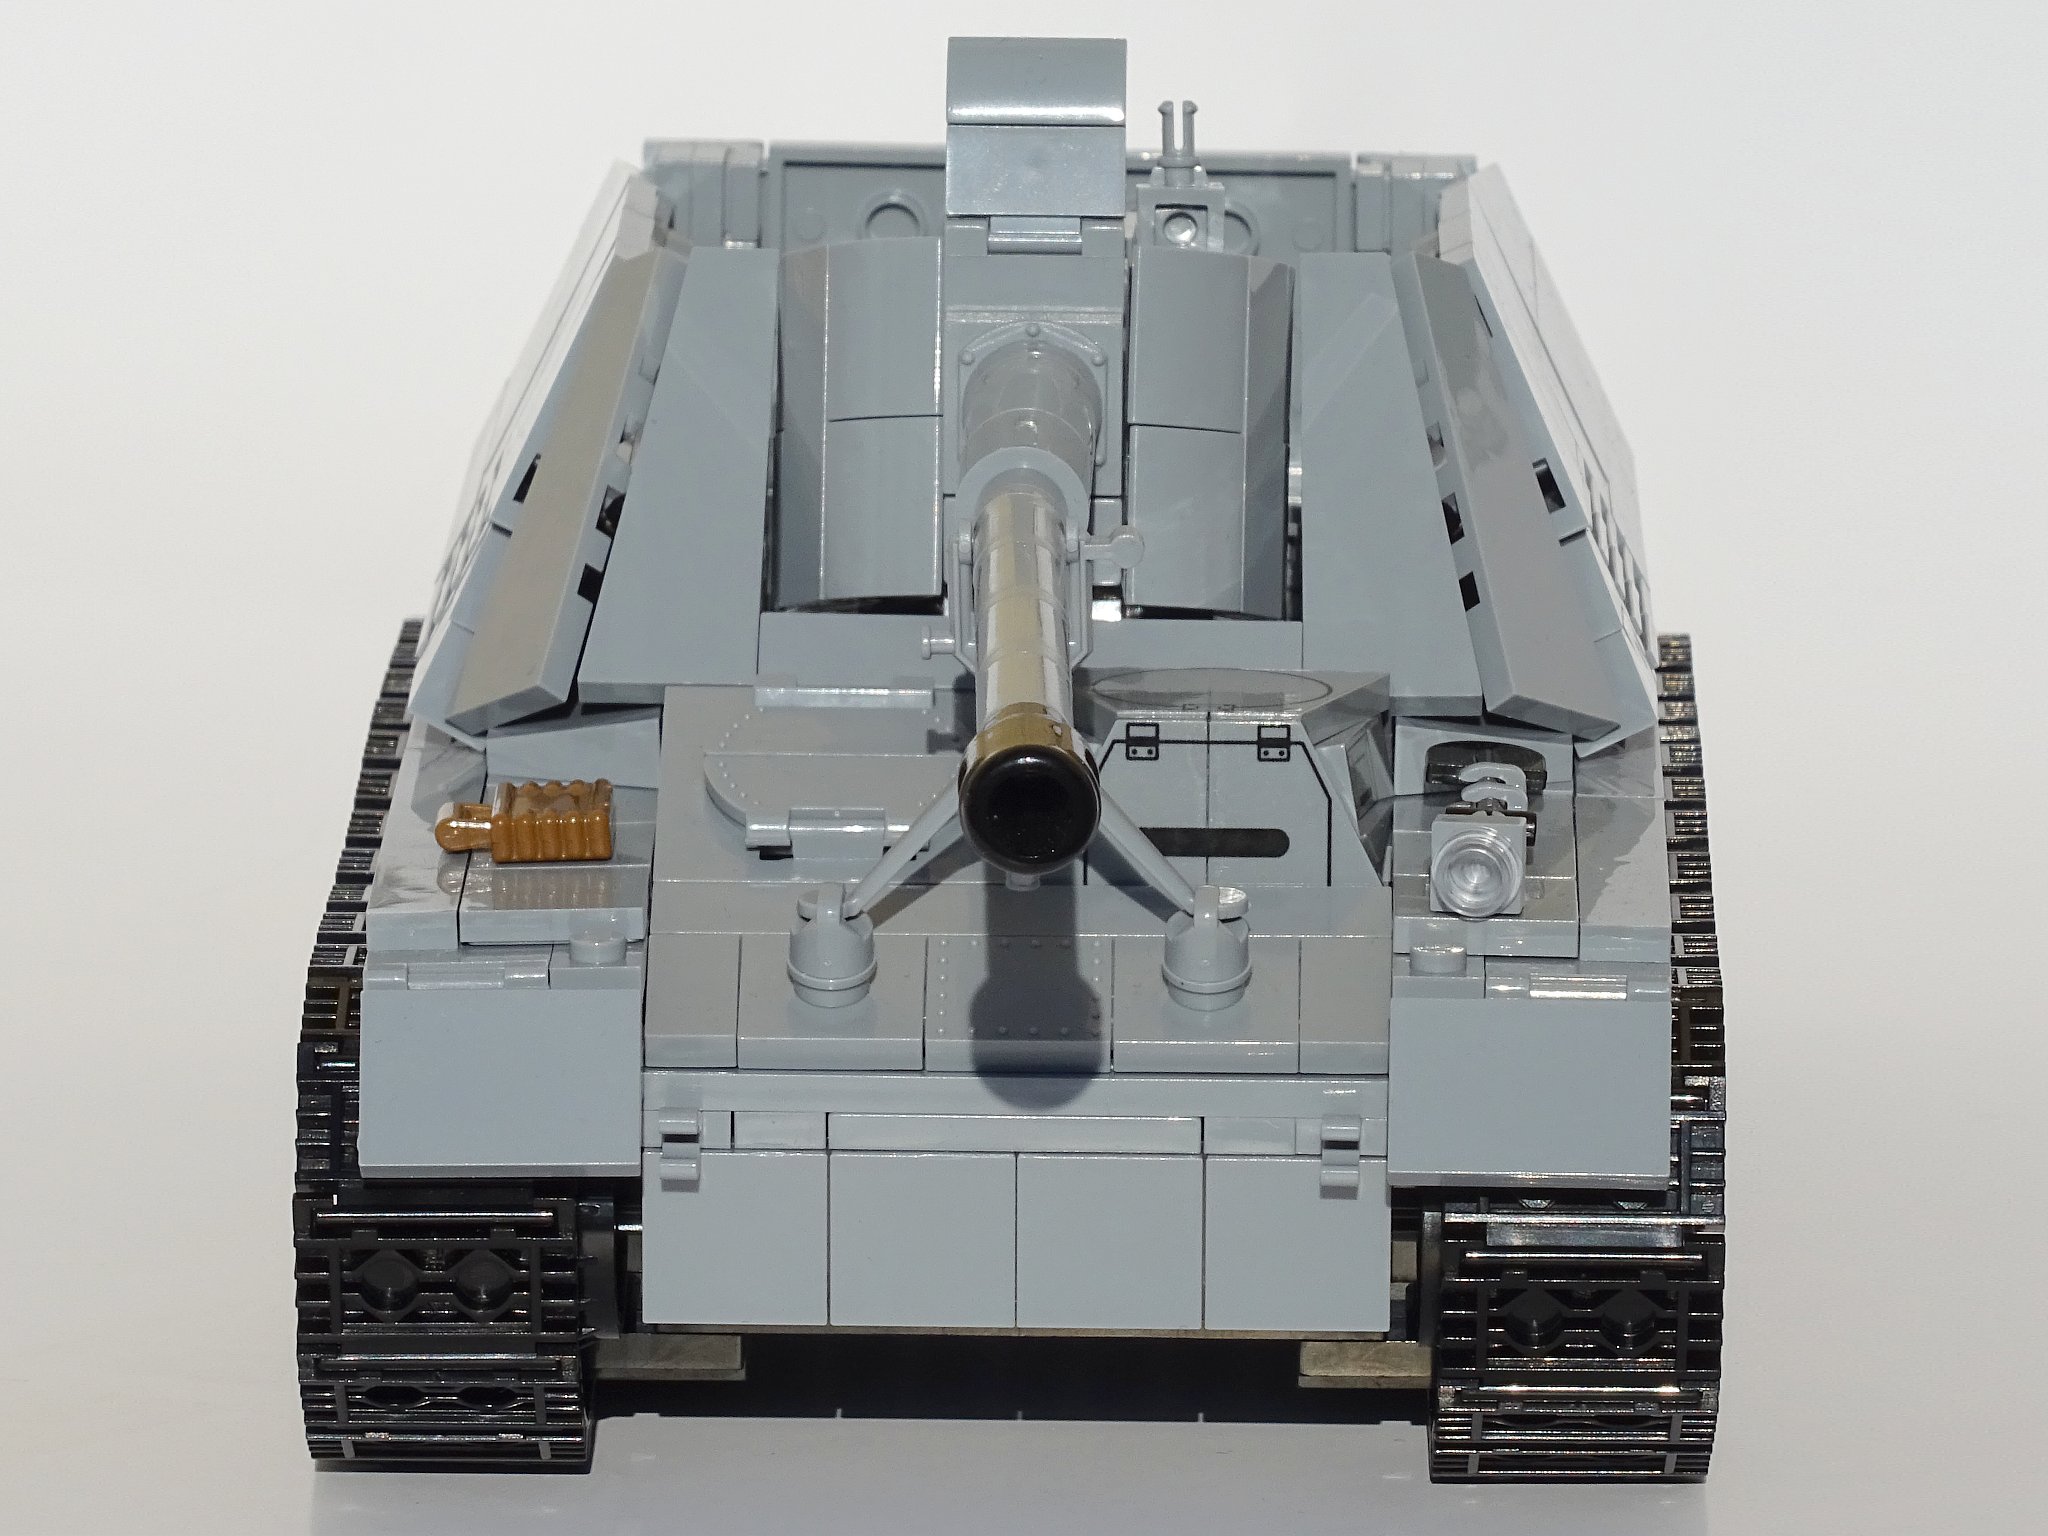
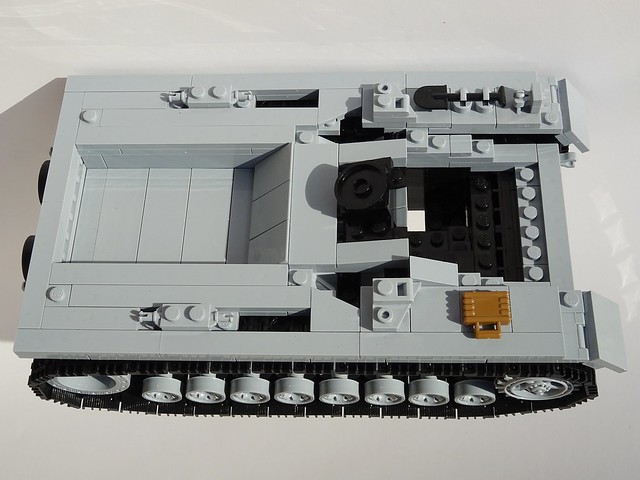
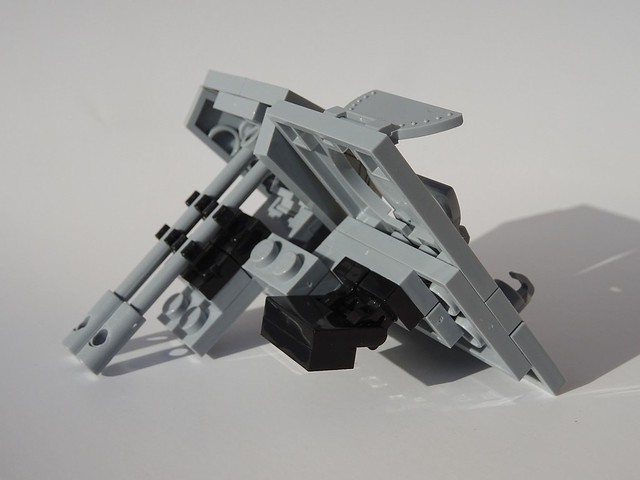
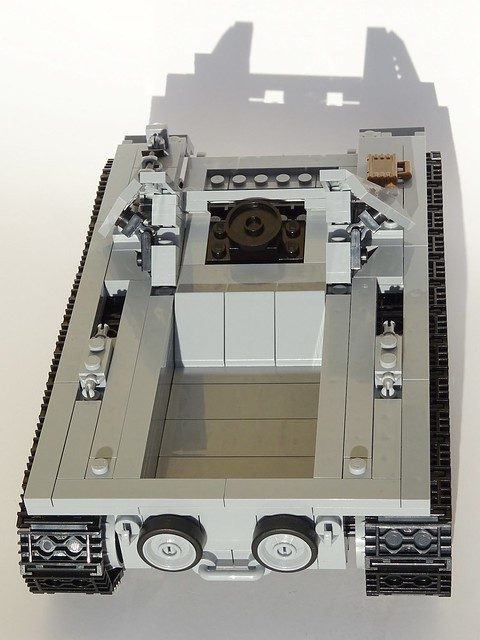
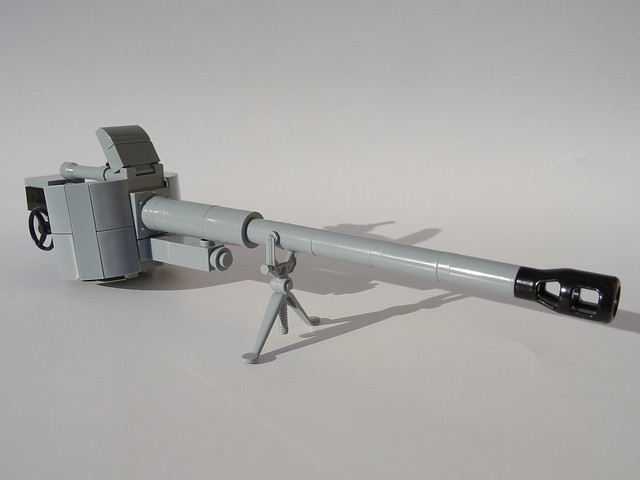
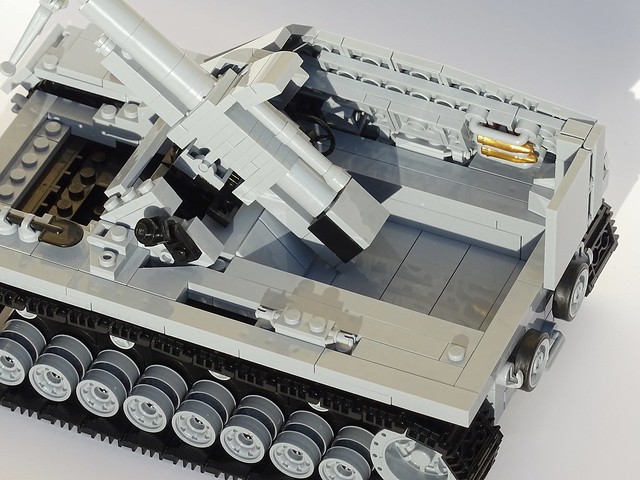
Gun: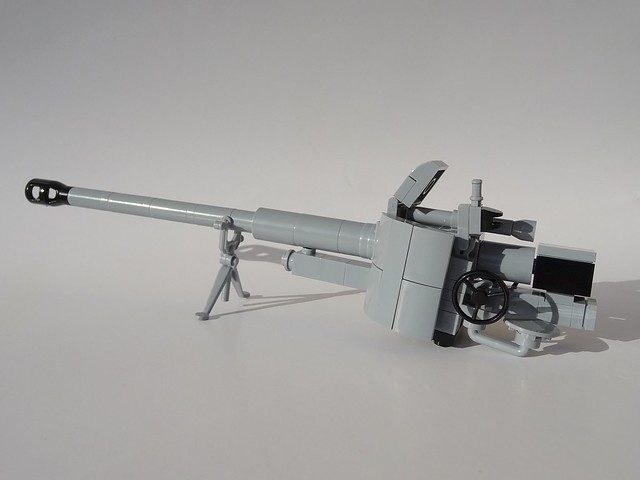
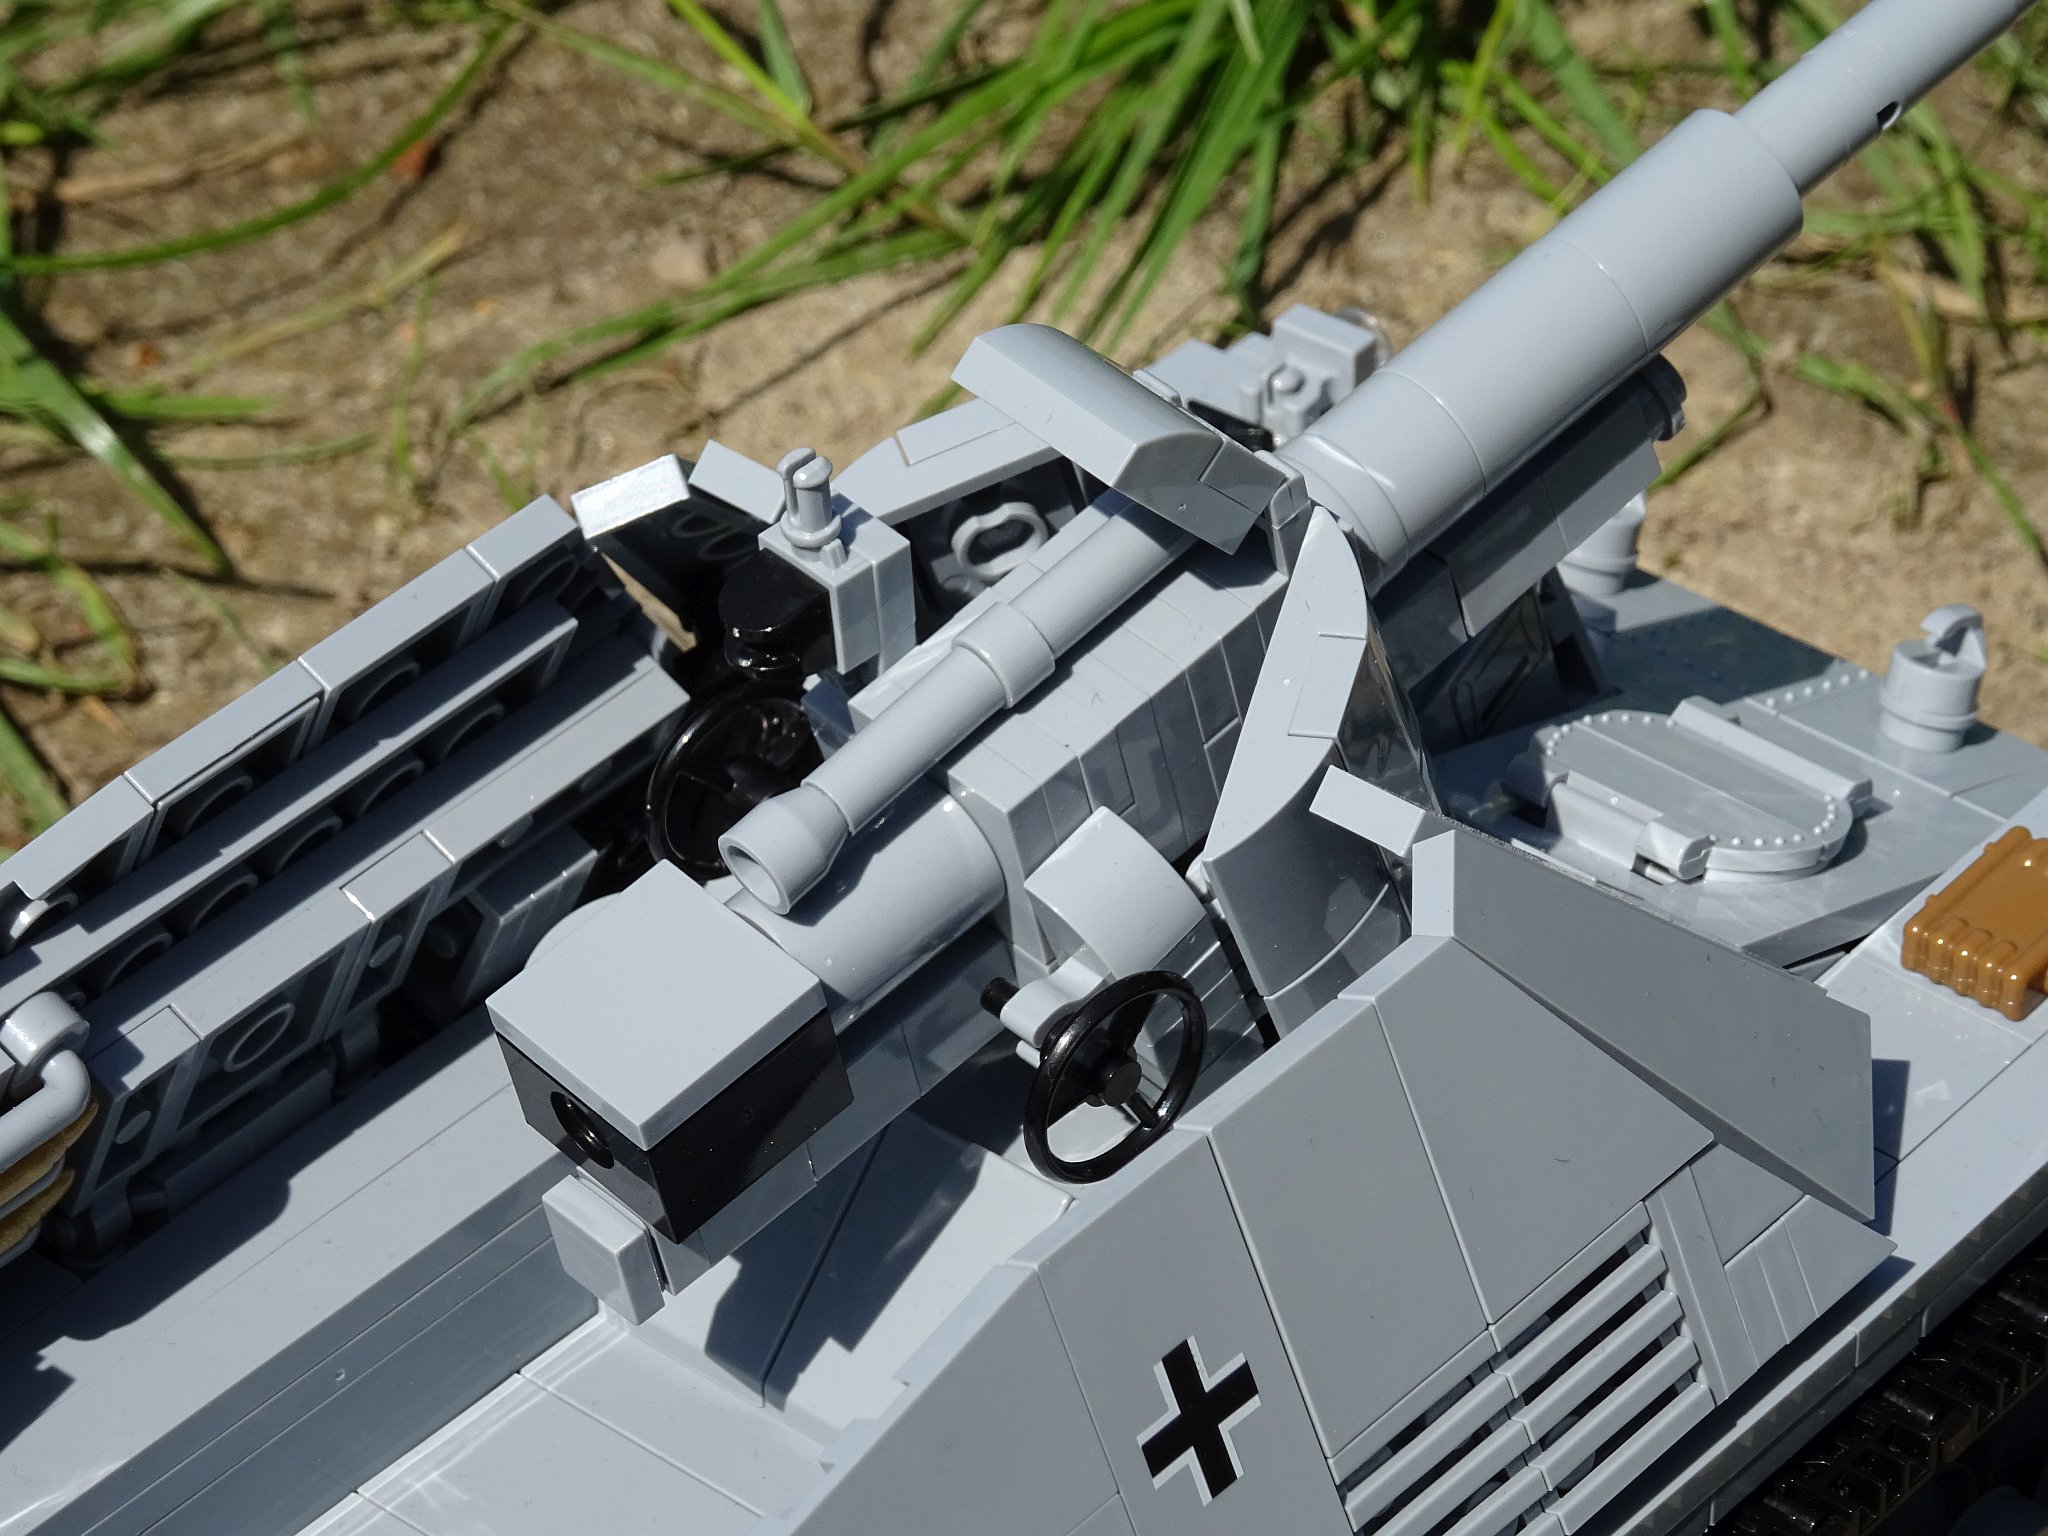
The first time I encountered the "mortar stand" piece, I knew I definitely had to use it for a gun travel lock sometime.
And when I finally got it in grey, it was set as a "must" feature of the MOC.
But it was quite challenging to fit it in the right distance of the finished model, so in the end I had to raise it a bit with two 1x1 round plates, so the gun wouldn't point too much downwards in locked position.
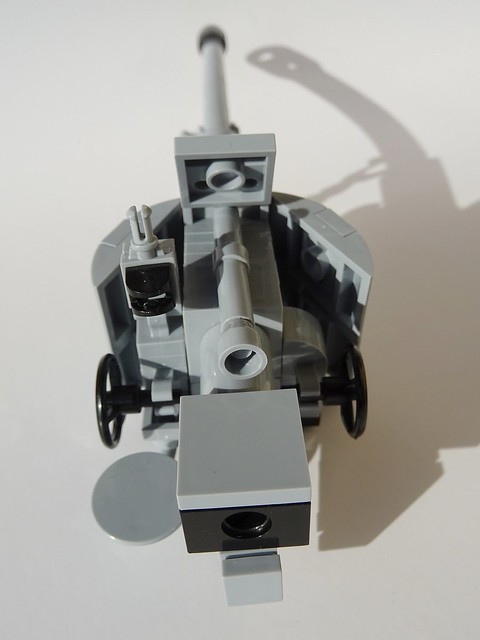
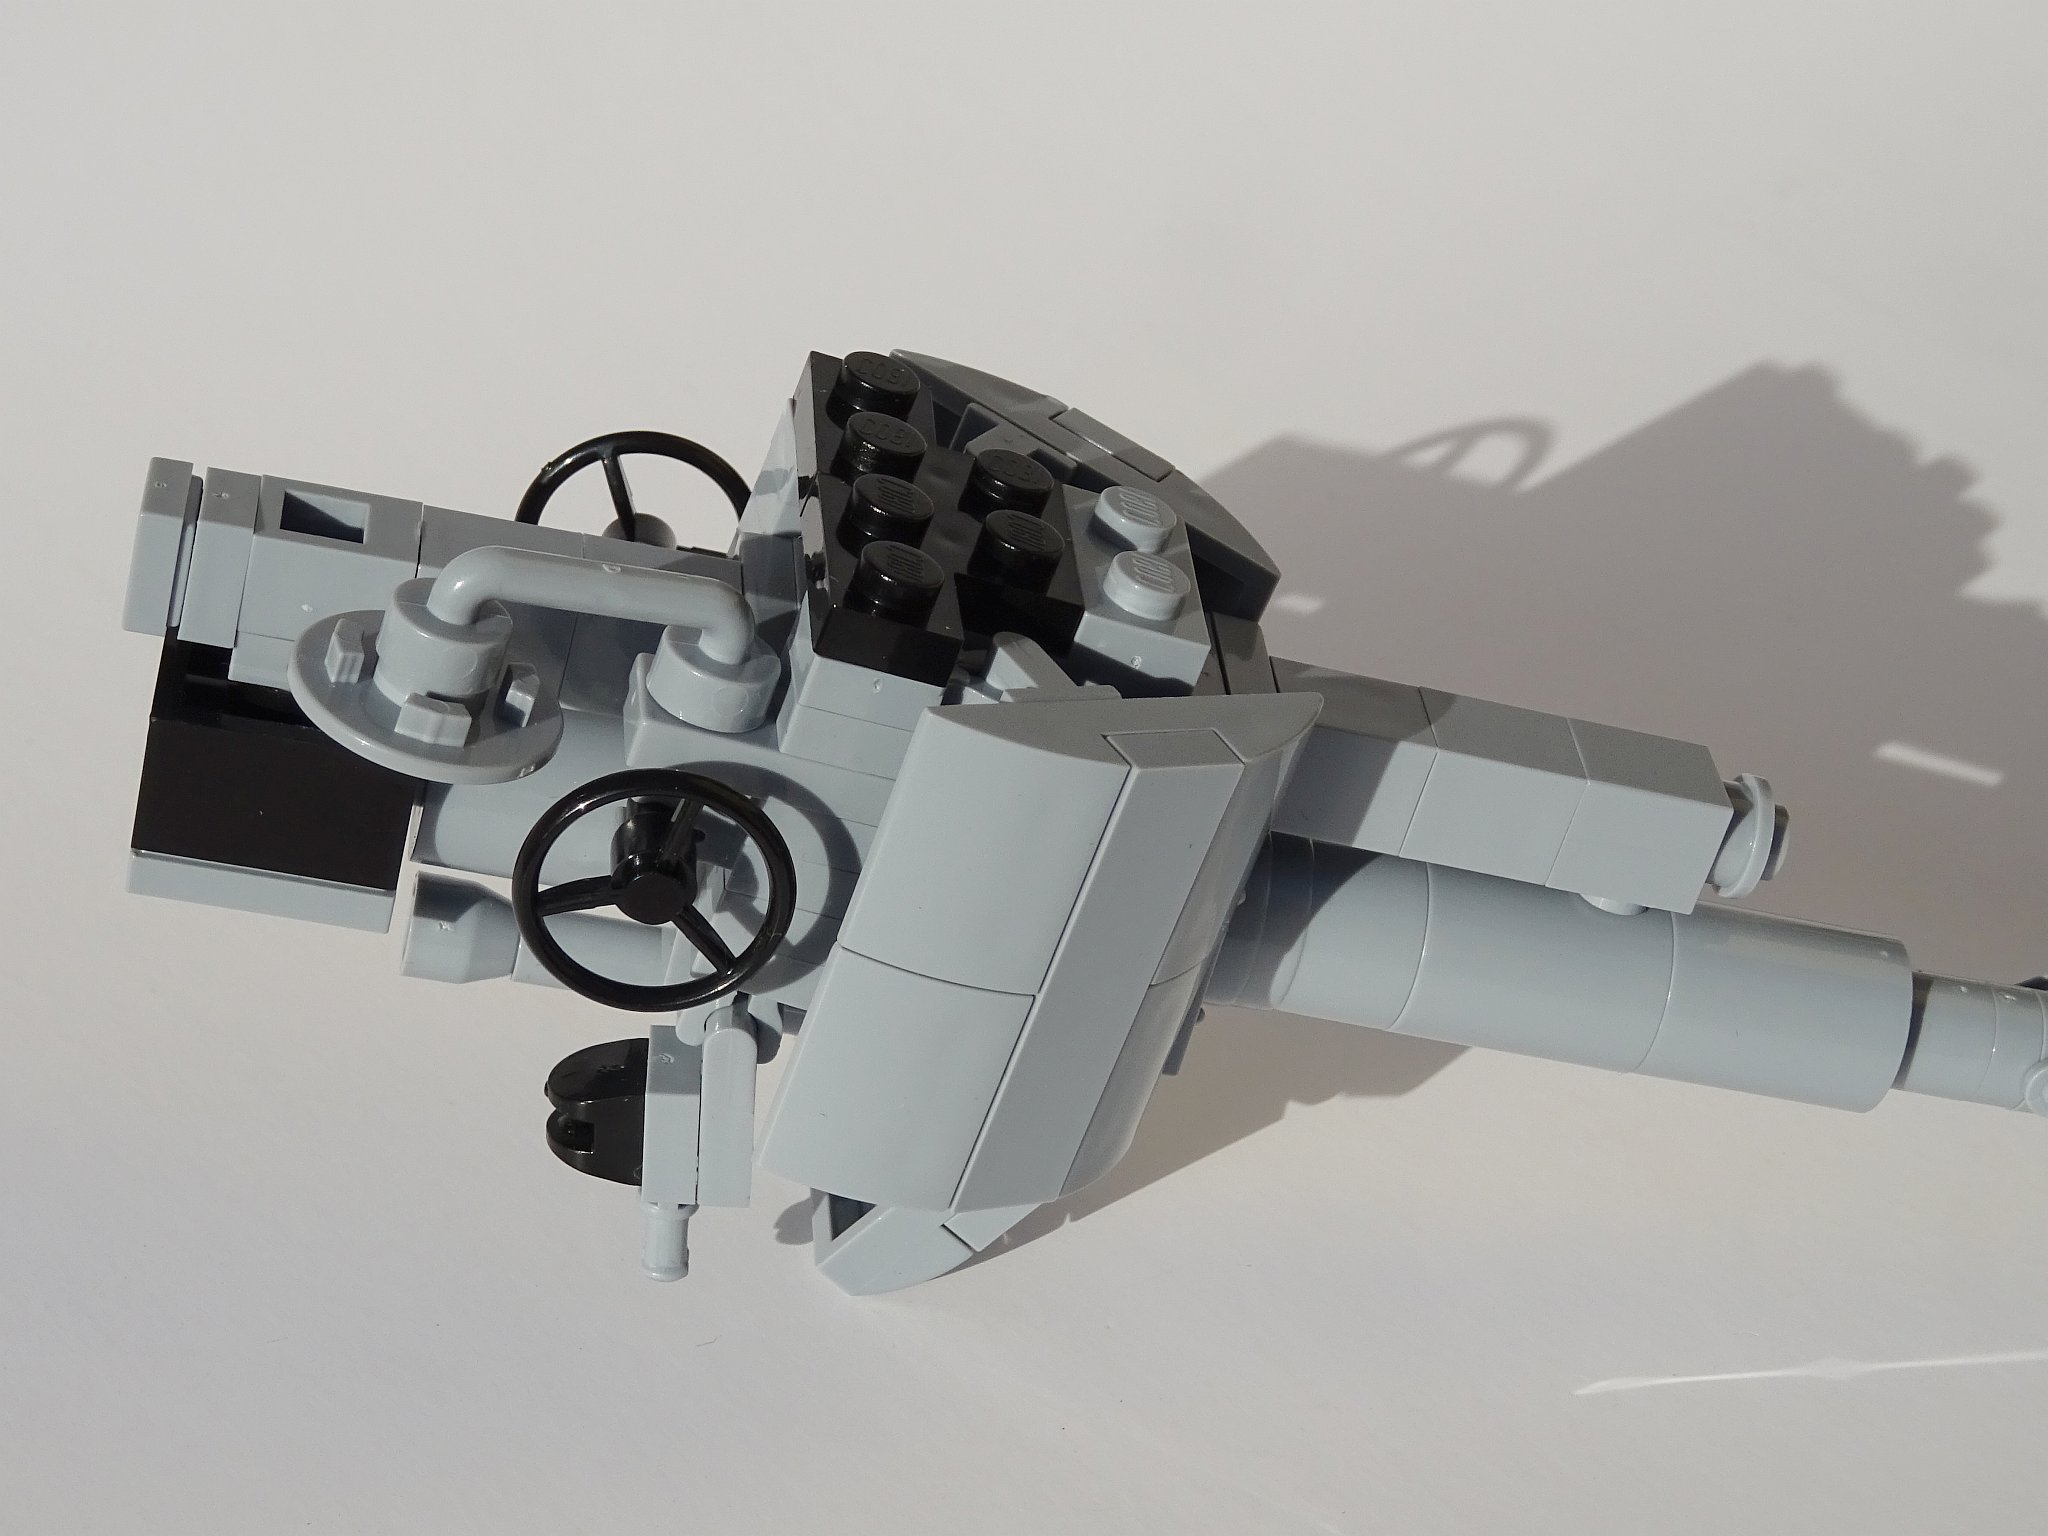
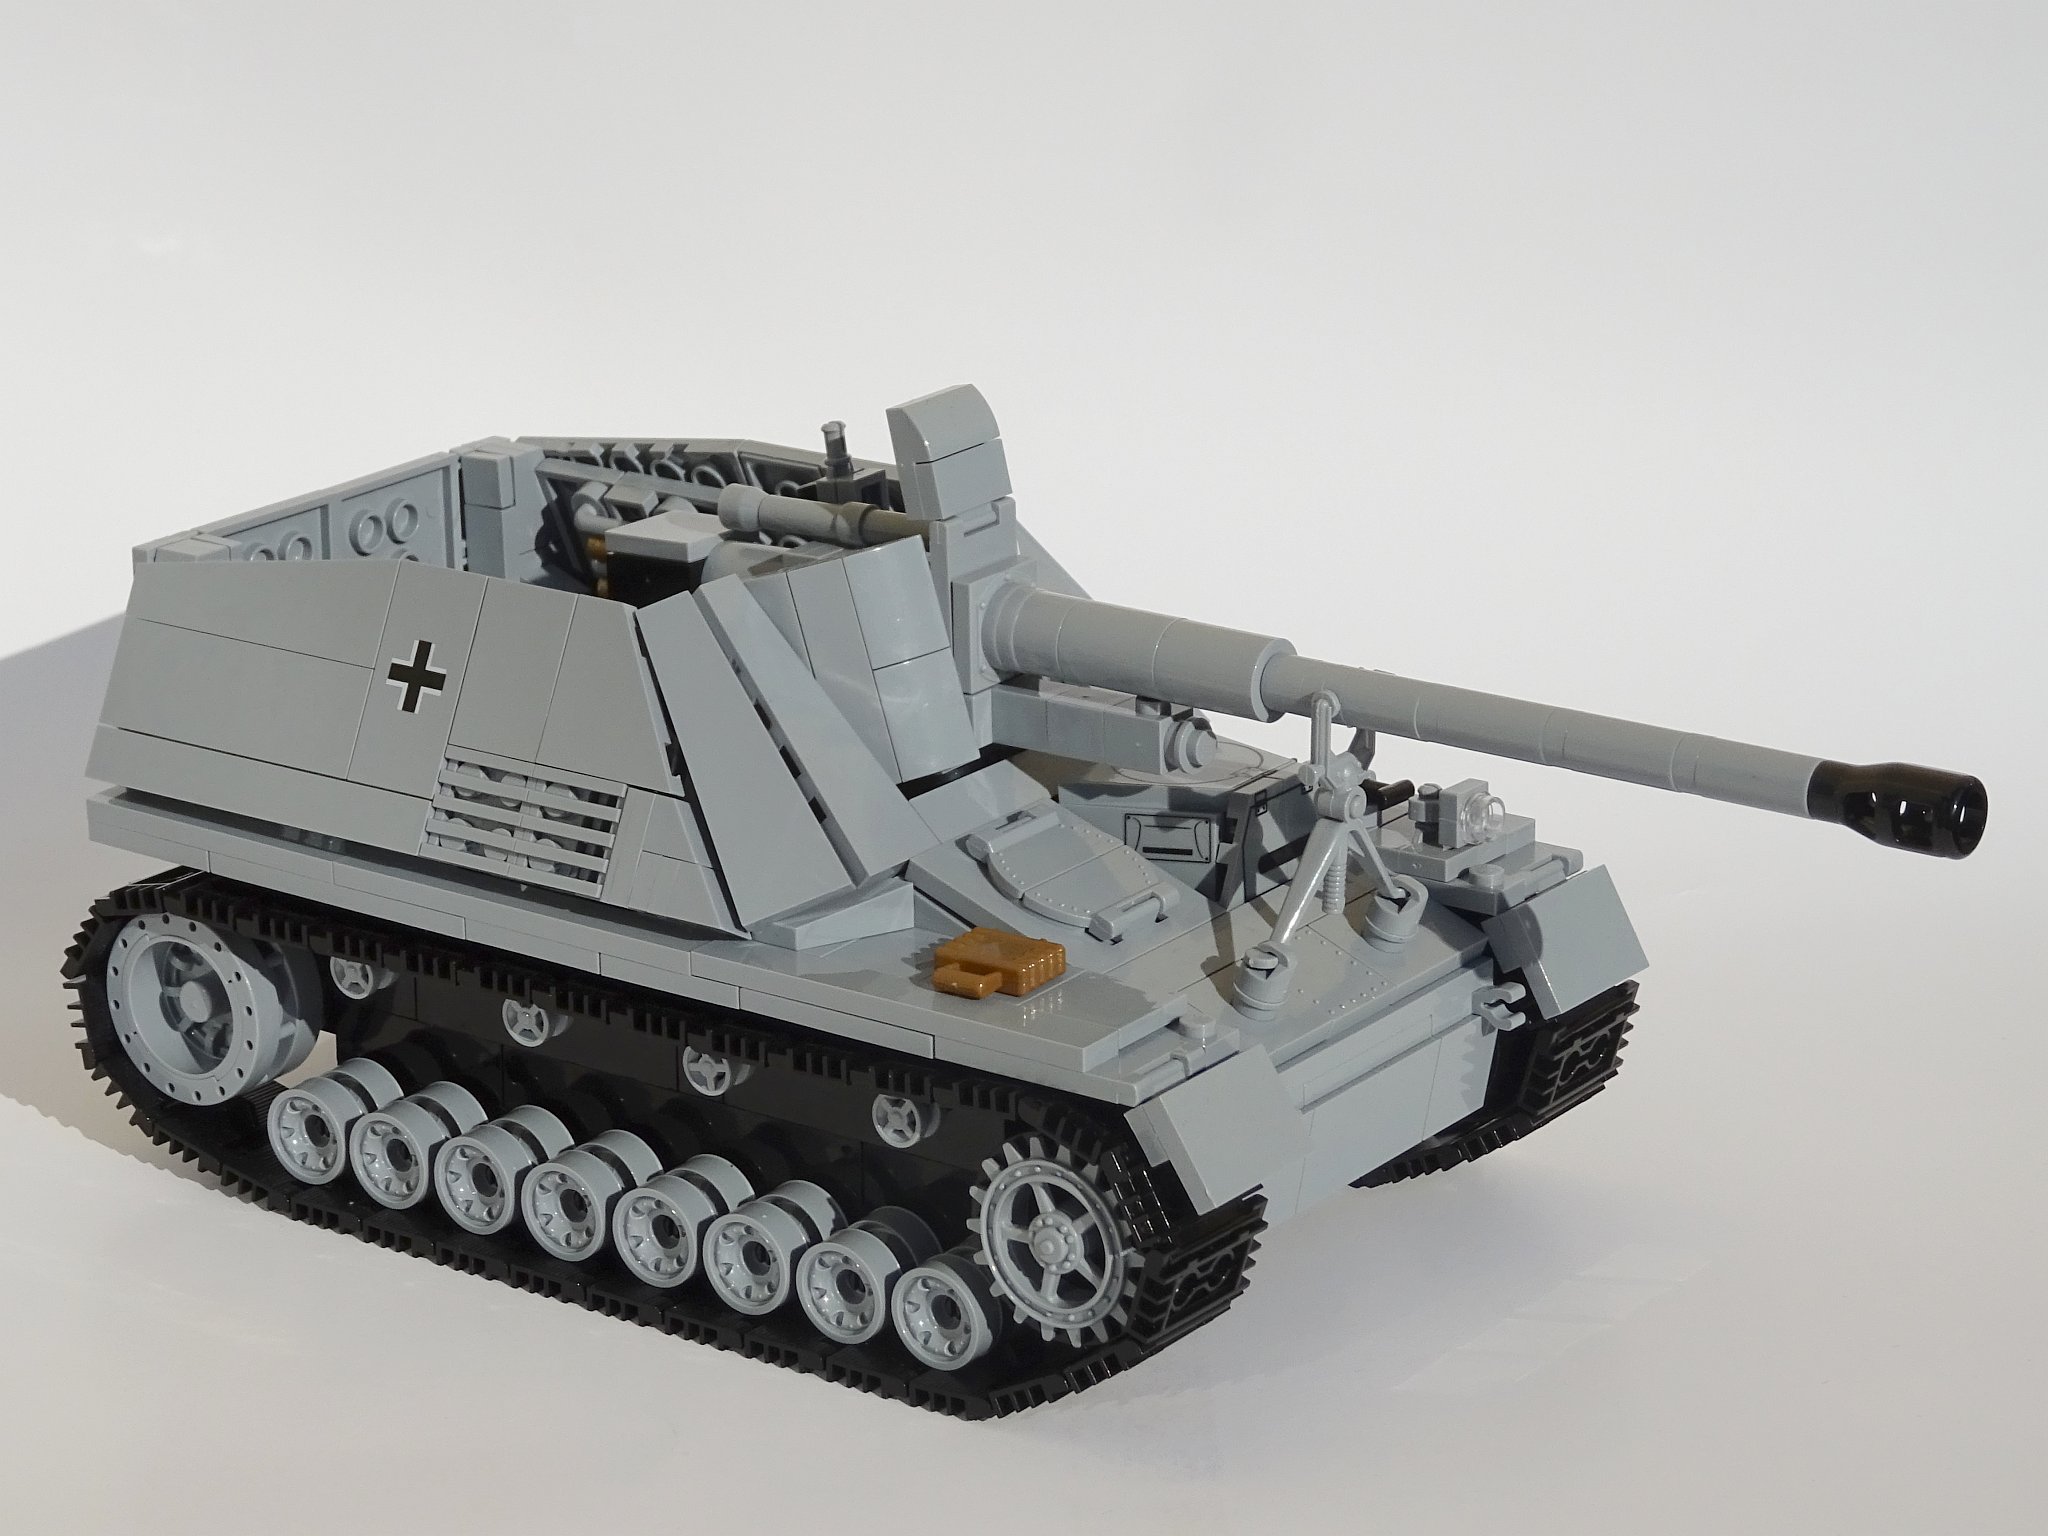
Watching a "World of Tanks" video on youtube, I realized that the gun not only moves up and down, but can also be tilted slightly to the left and right.
So for my model, the gun (together with its armor) had to be able to be rotated slightly to the left and right.
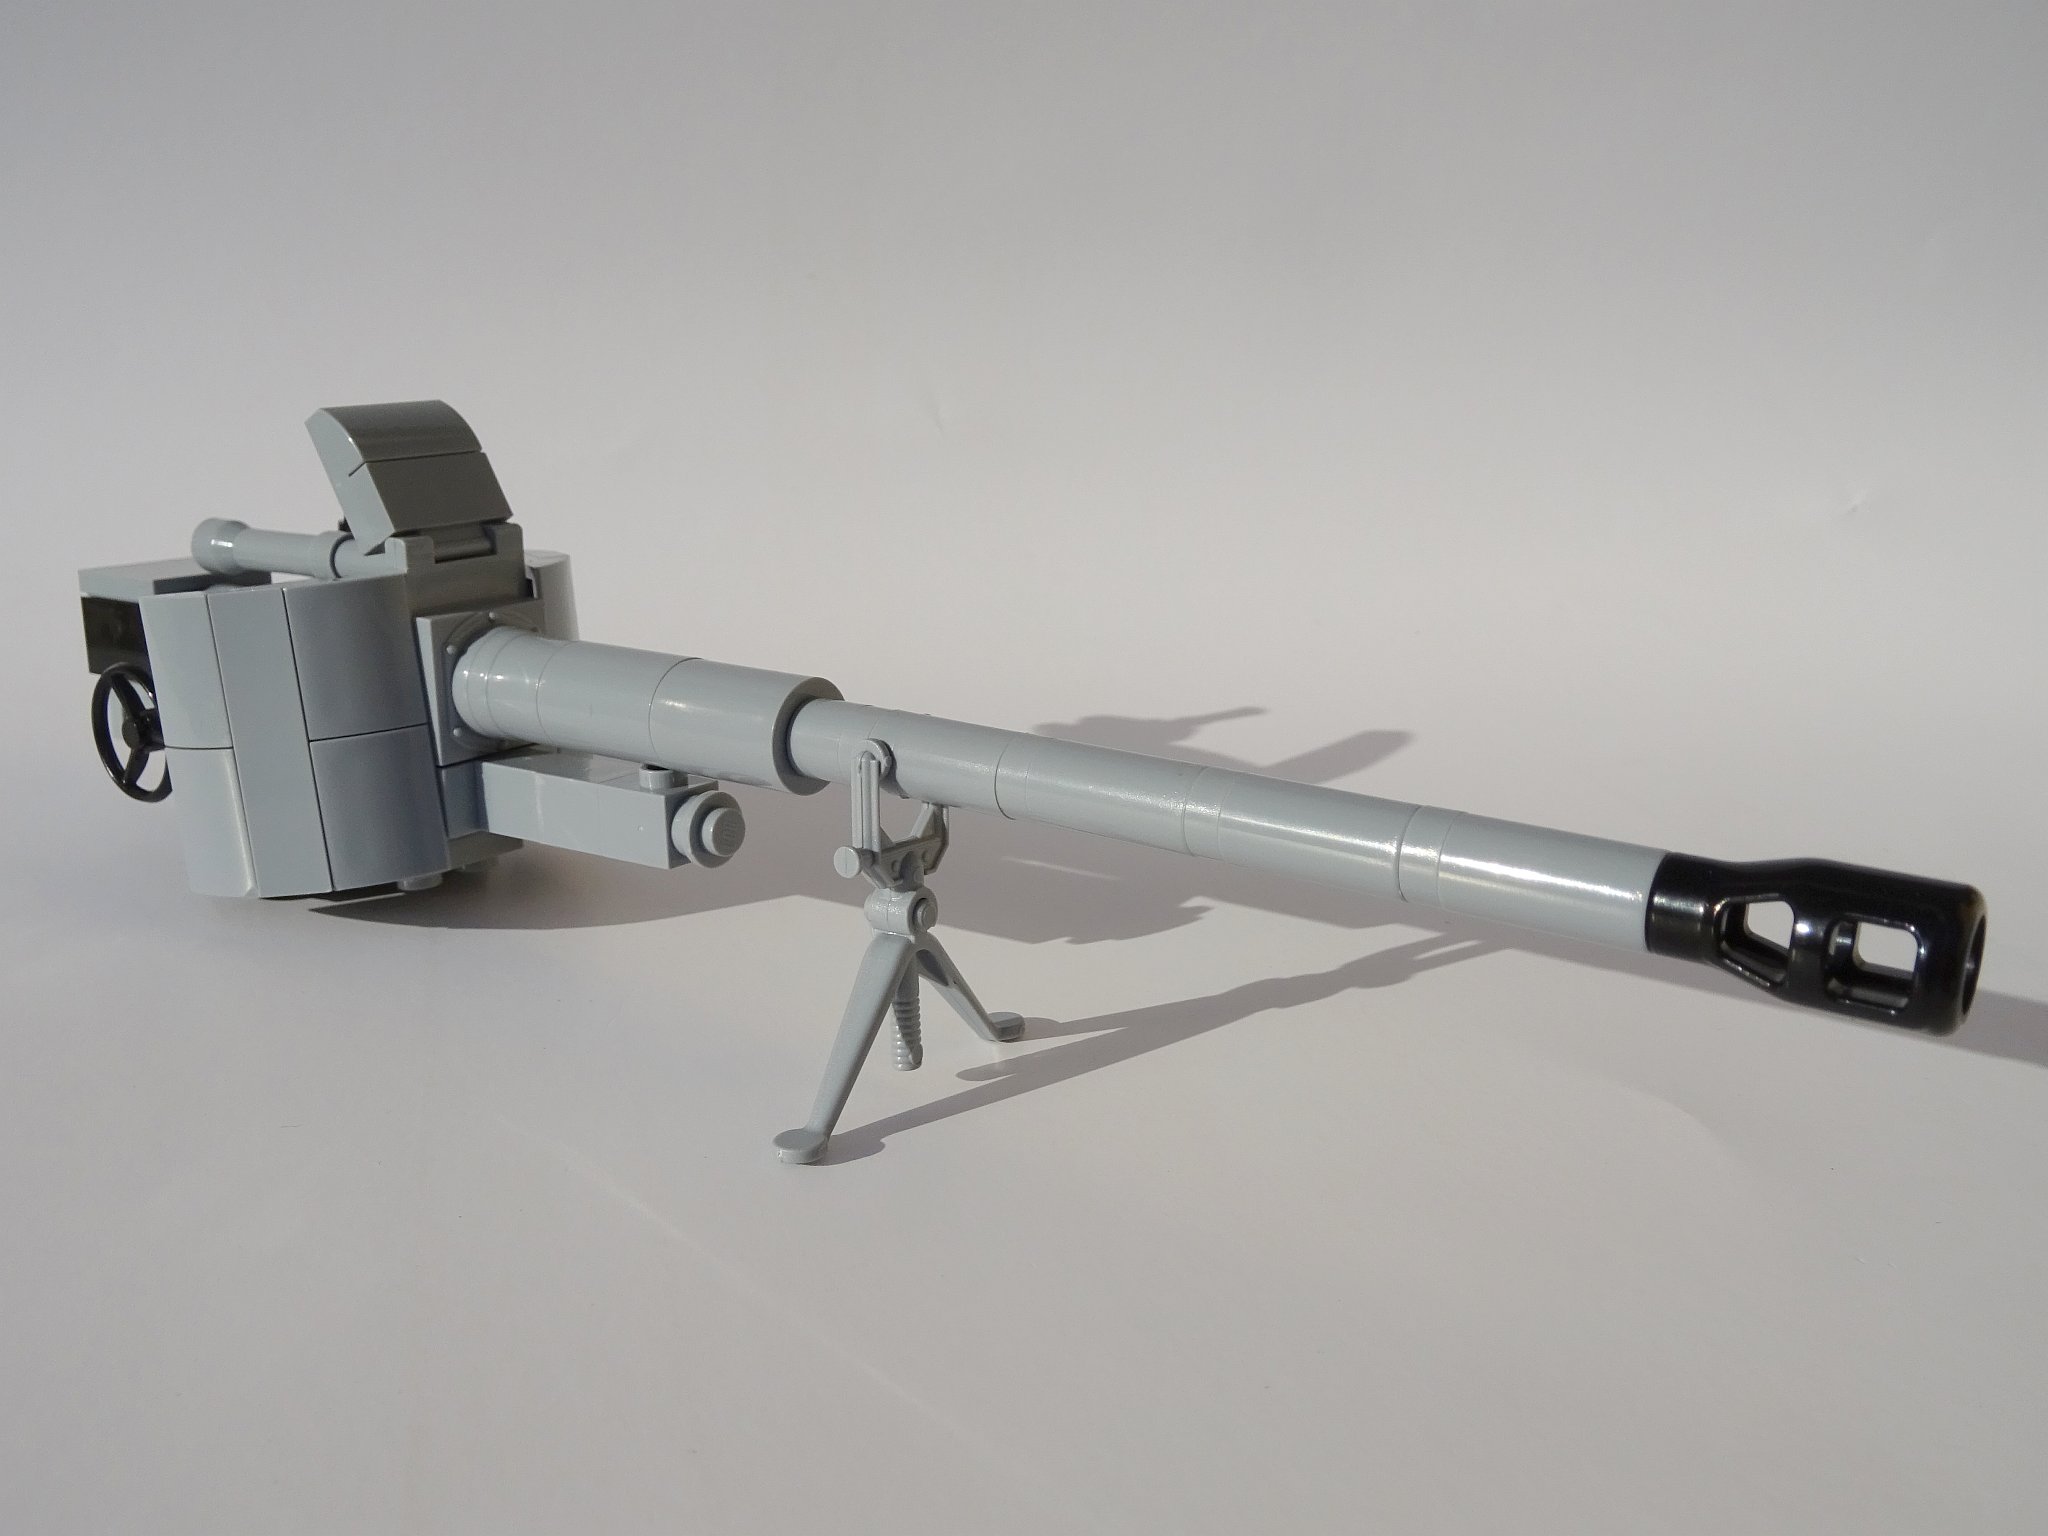
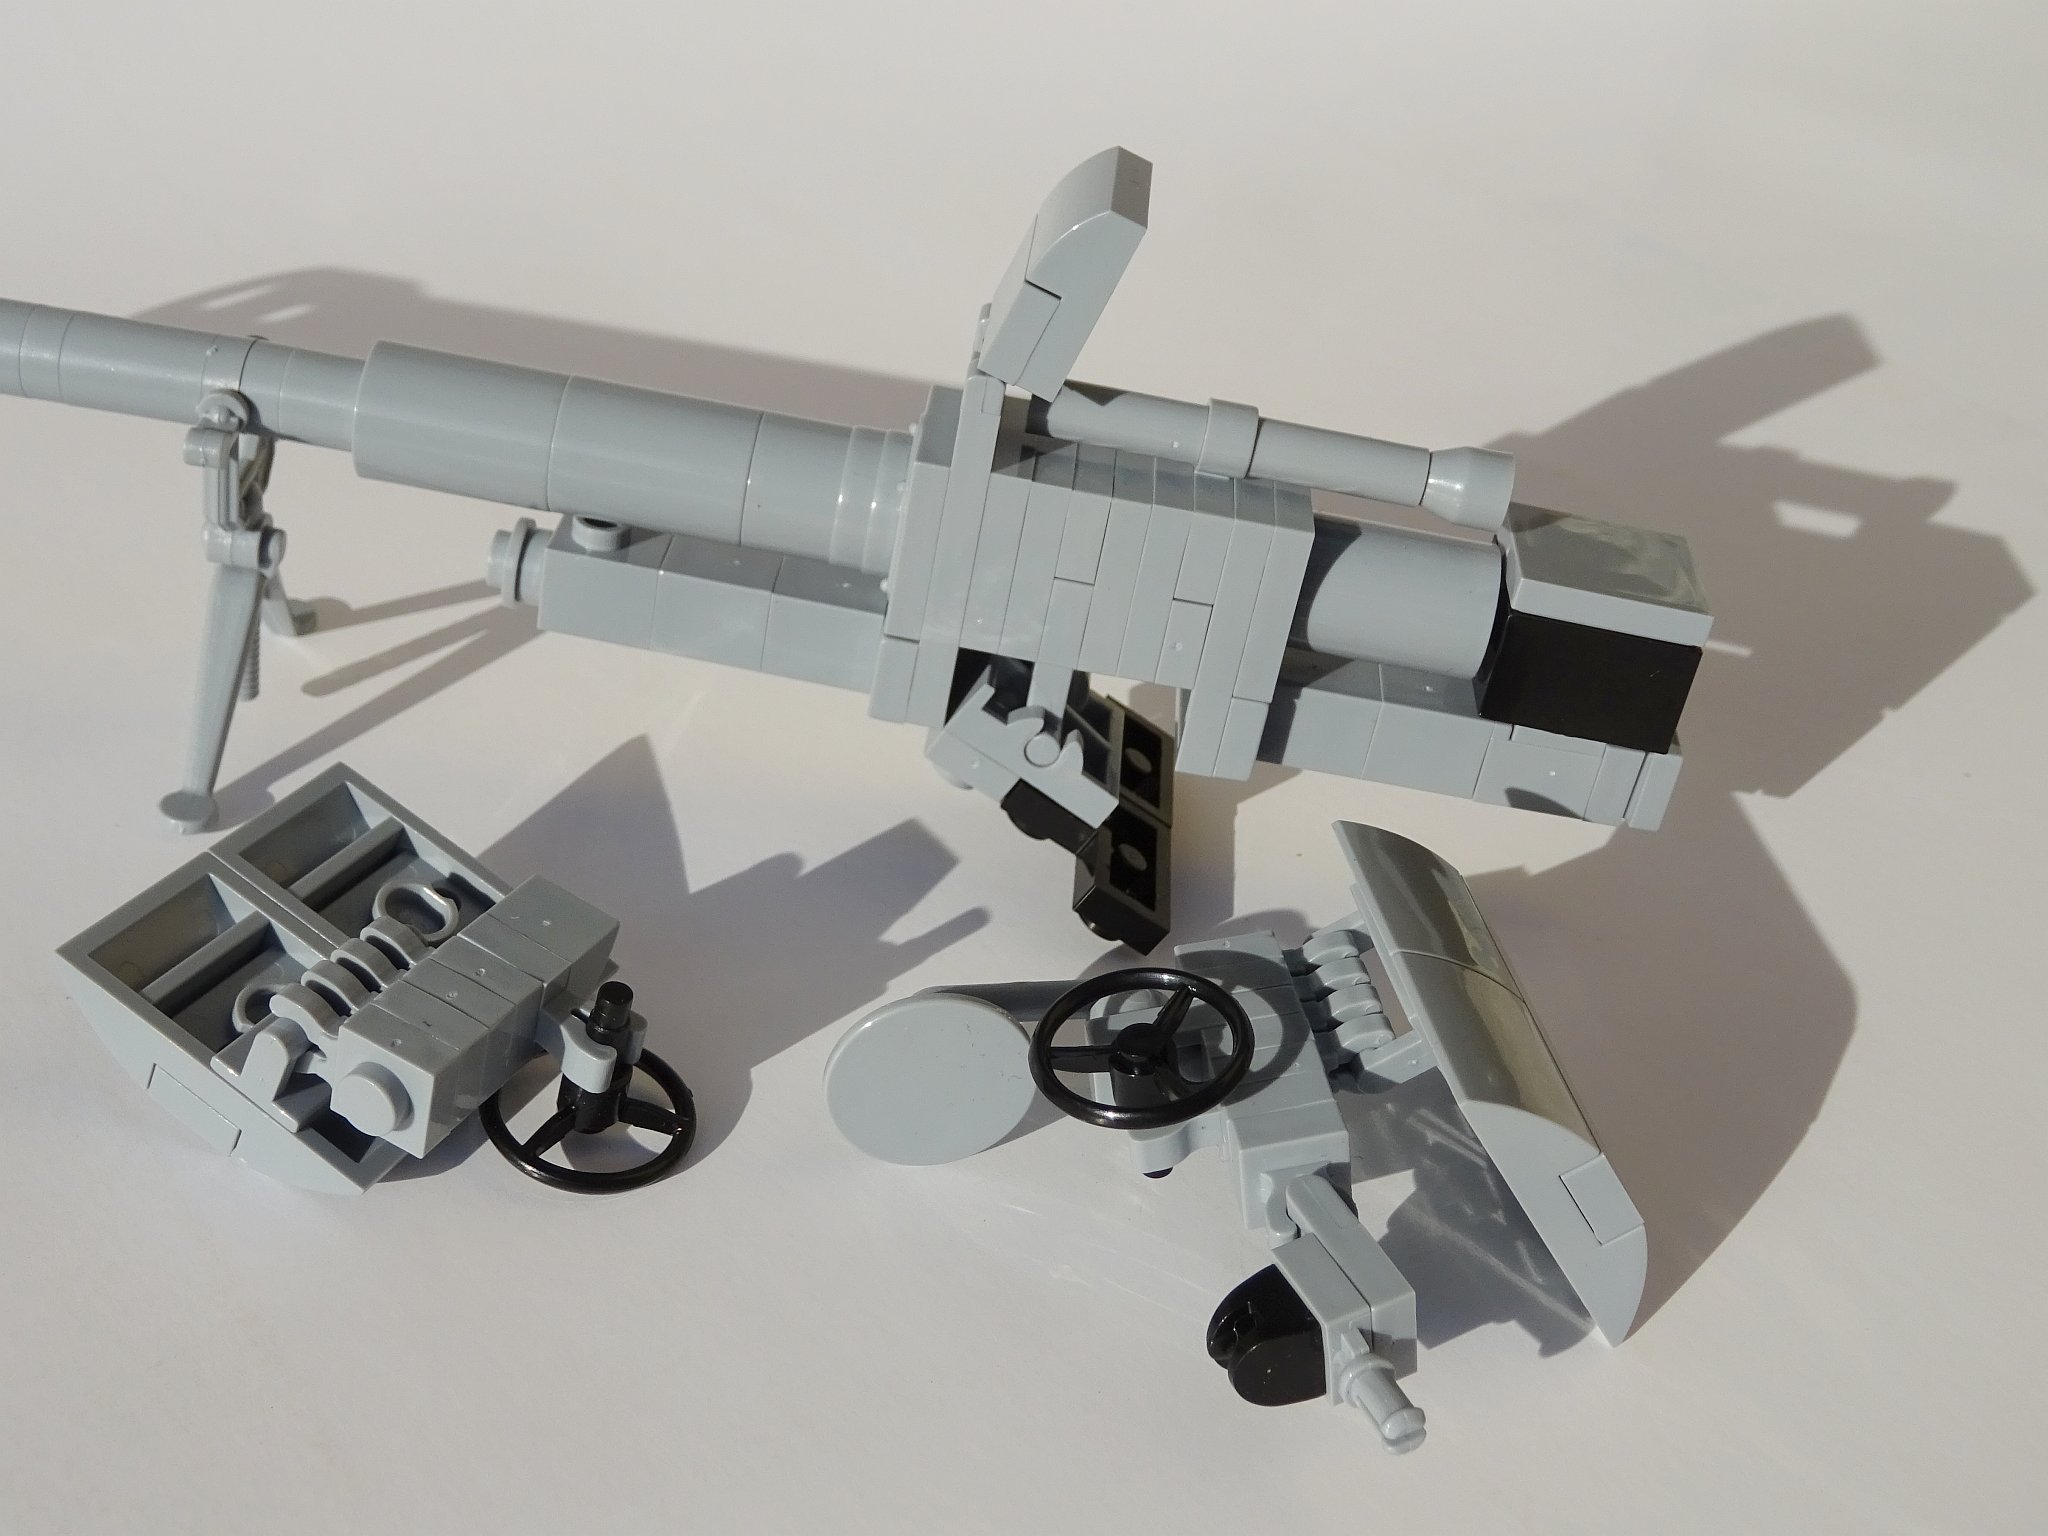
For the armor of the gun, the 2x4 pieces used for the upper part of the noses of the WW2 planes had the perfect shape.
The only problem: I needed 4 of them, and in grey color only 2 of them are contained in a single Spitfire set.
So 2 Spitfire sets just for the 2 parts for the gun armour ... hmmm ... but these parts were just too perfect not to use them!
Next problem: How to mount the armour and still being able to tilt the gun up and down?
Well ... just look at the pictures to see how I did it in the end.
Oh, and scrapping a Tiger and a Leopard set just for the thicker gun barrel parts added up to the total costs of the gun ;-)


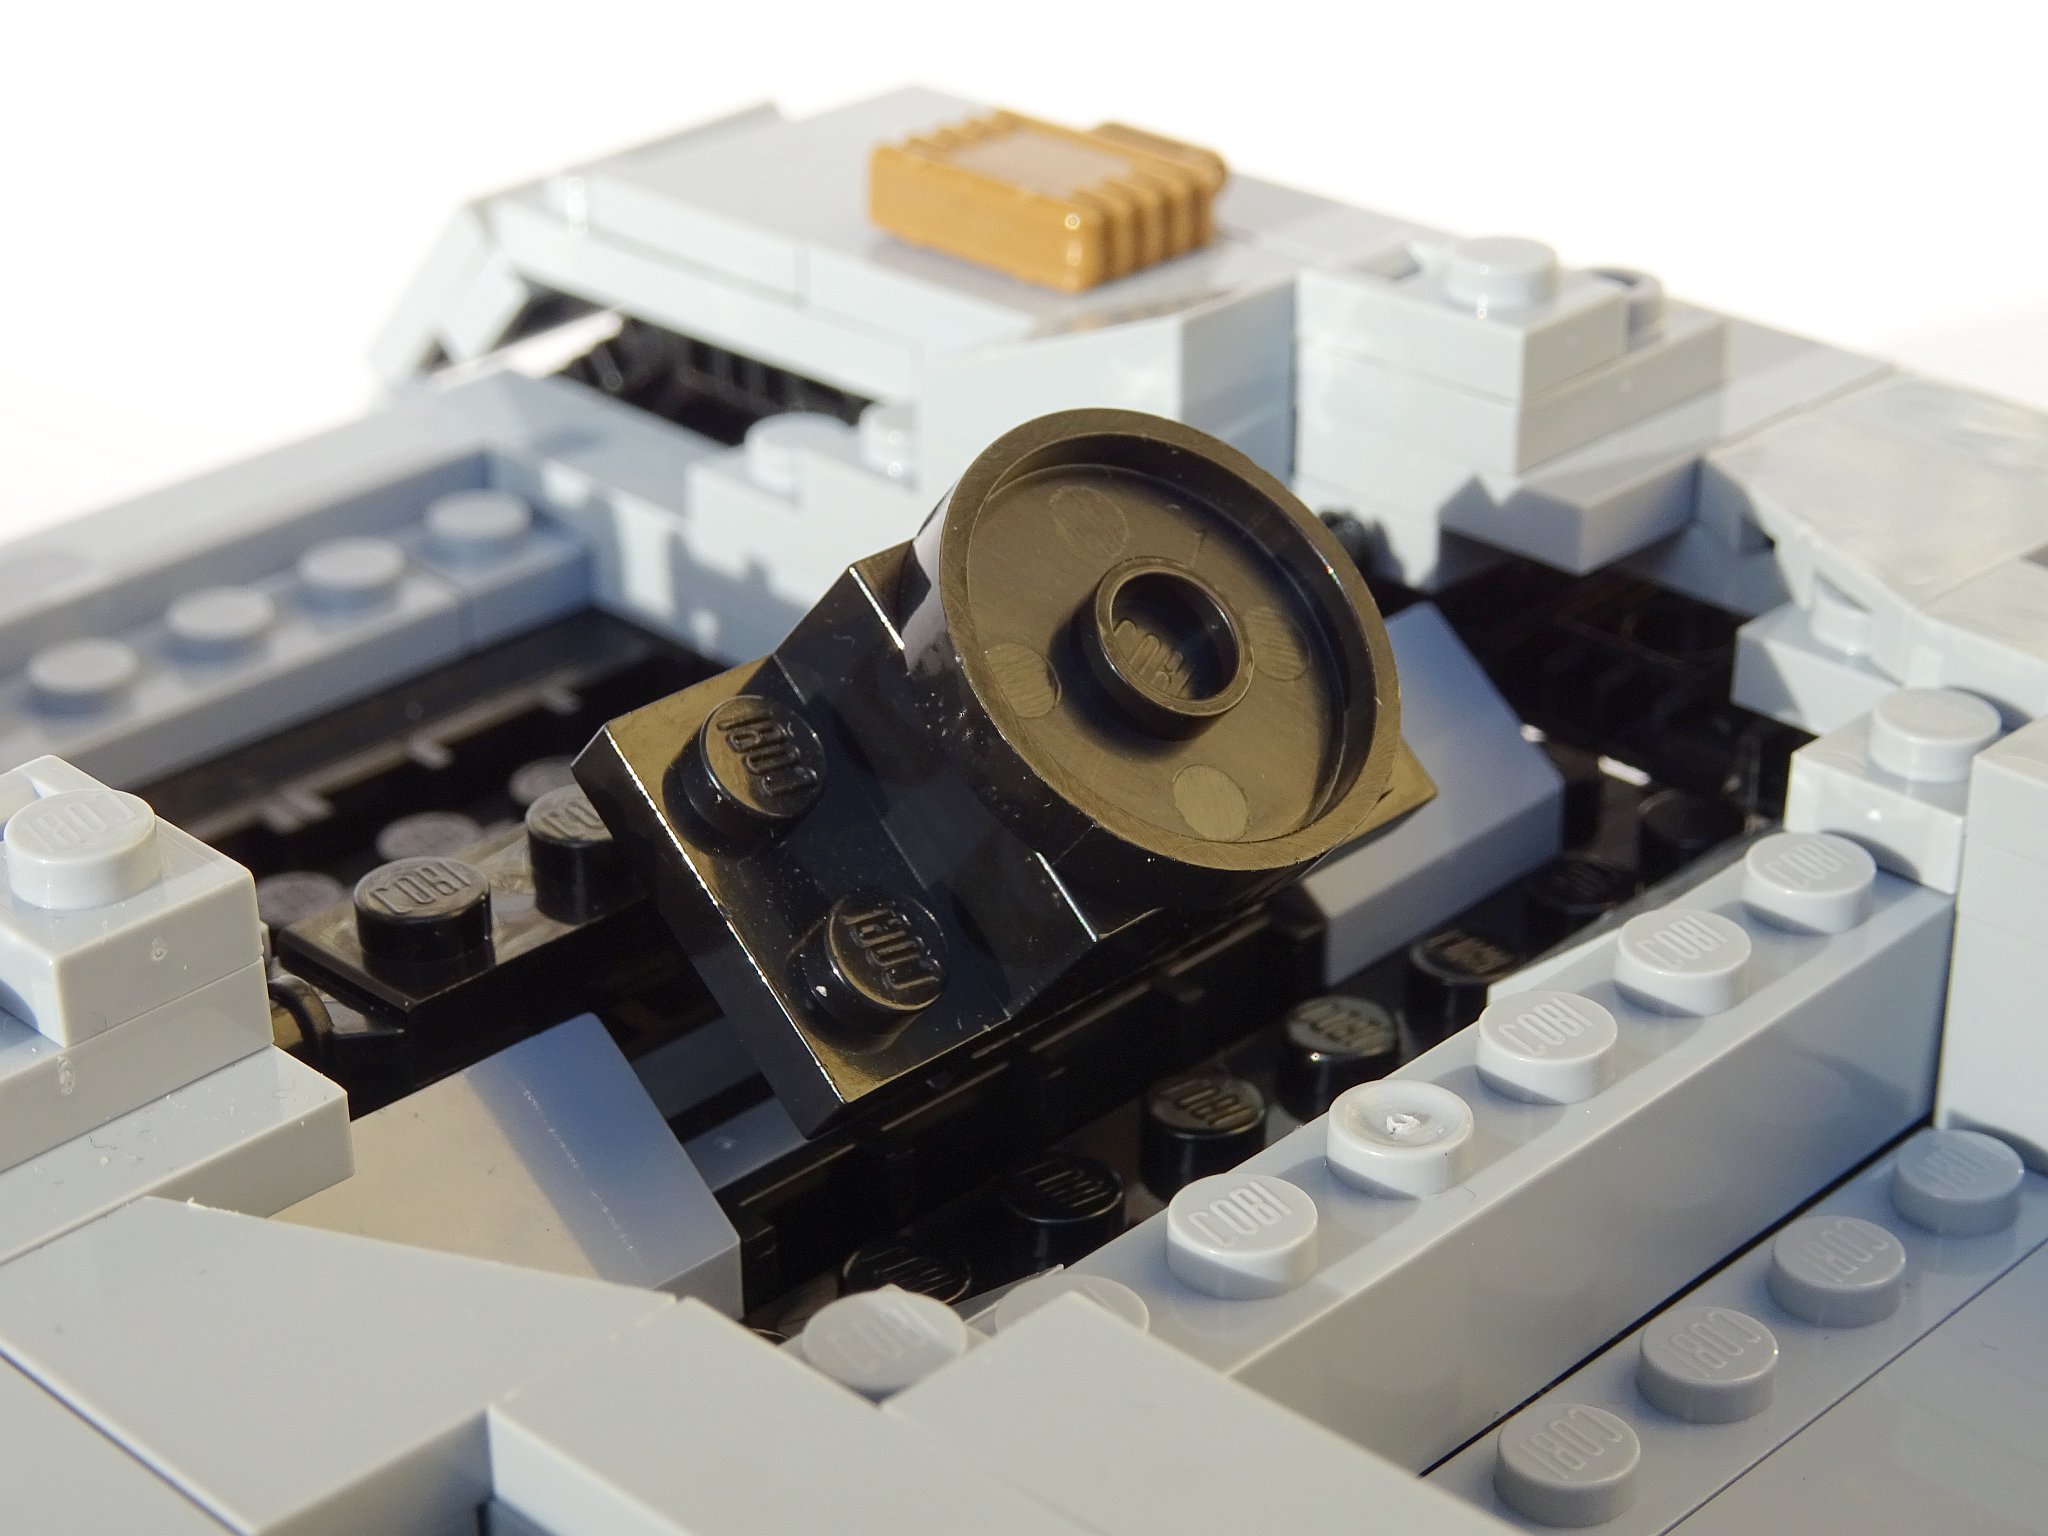
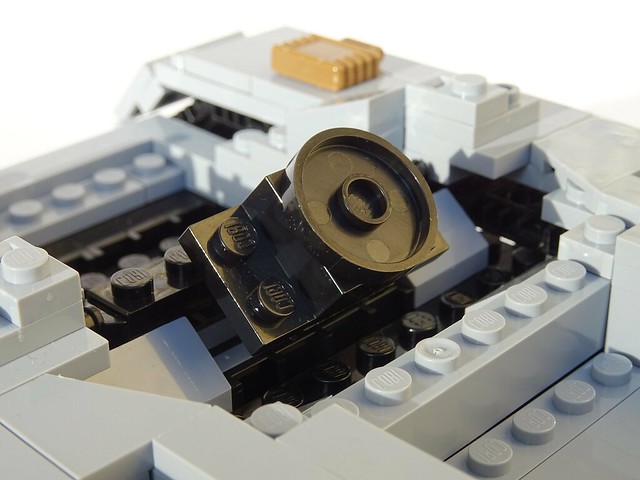
I would have loved to use a grey 2x2 brick with hole for the shell loading system part, but this part in grey is only available inside the second release of the original "Tiger I" set (2450), not in the initial elease (set 2436) that I own (In this set a normal 2x4 grey brick is used instead).
So due to the unavailablity of that part in grey, I had to use a black piece instead (which is OK, as it simulates "smear").

Well ... I hope you enjoy my "Nashorn" MOC and the accompanying story of how I constructed it :-)
As usual:
All the pictures can also be found in my
flickr album for this MOC or in the
COBI Small Army WWII Brick Sets user group.